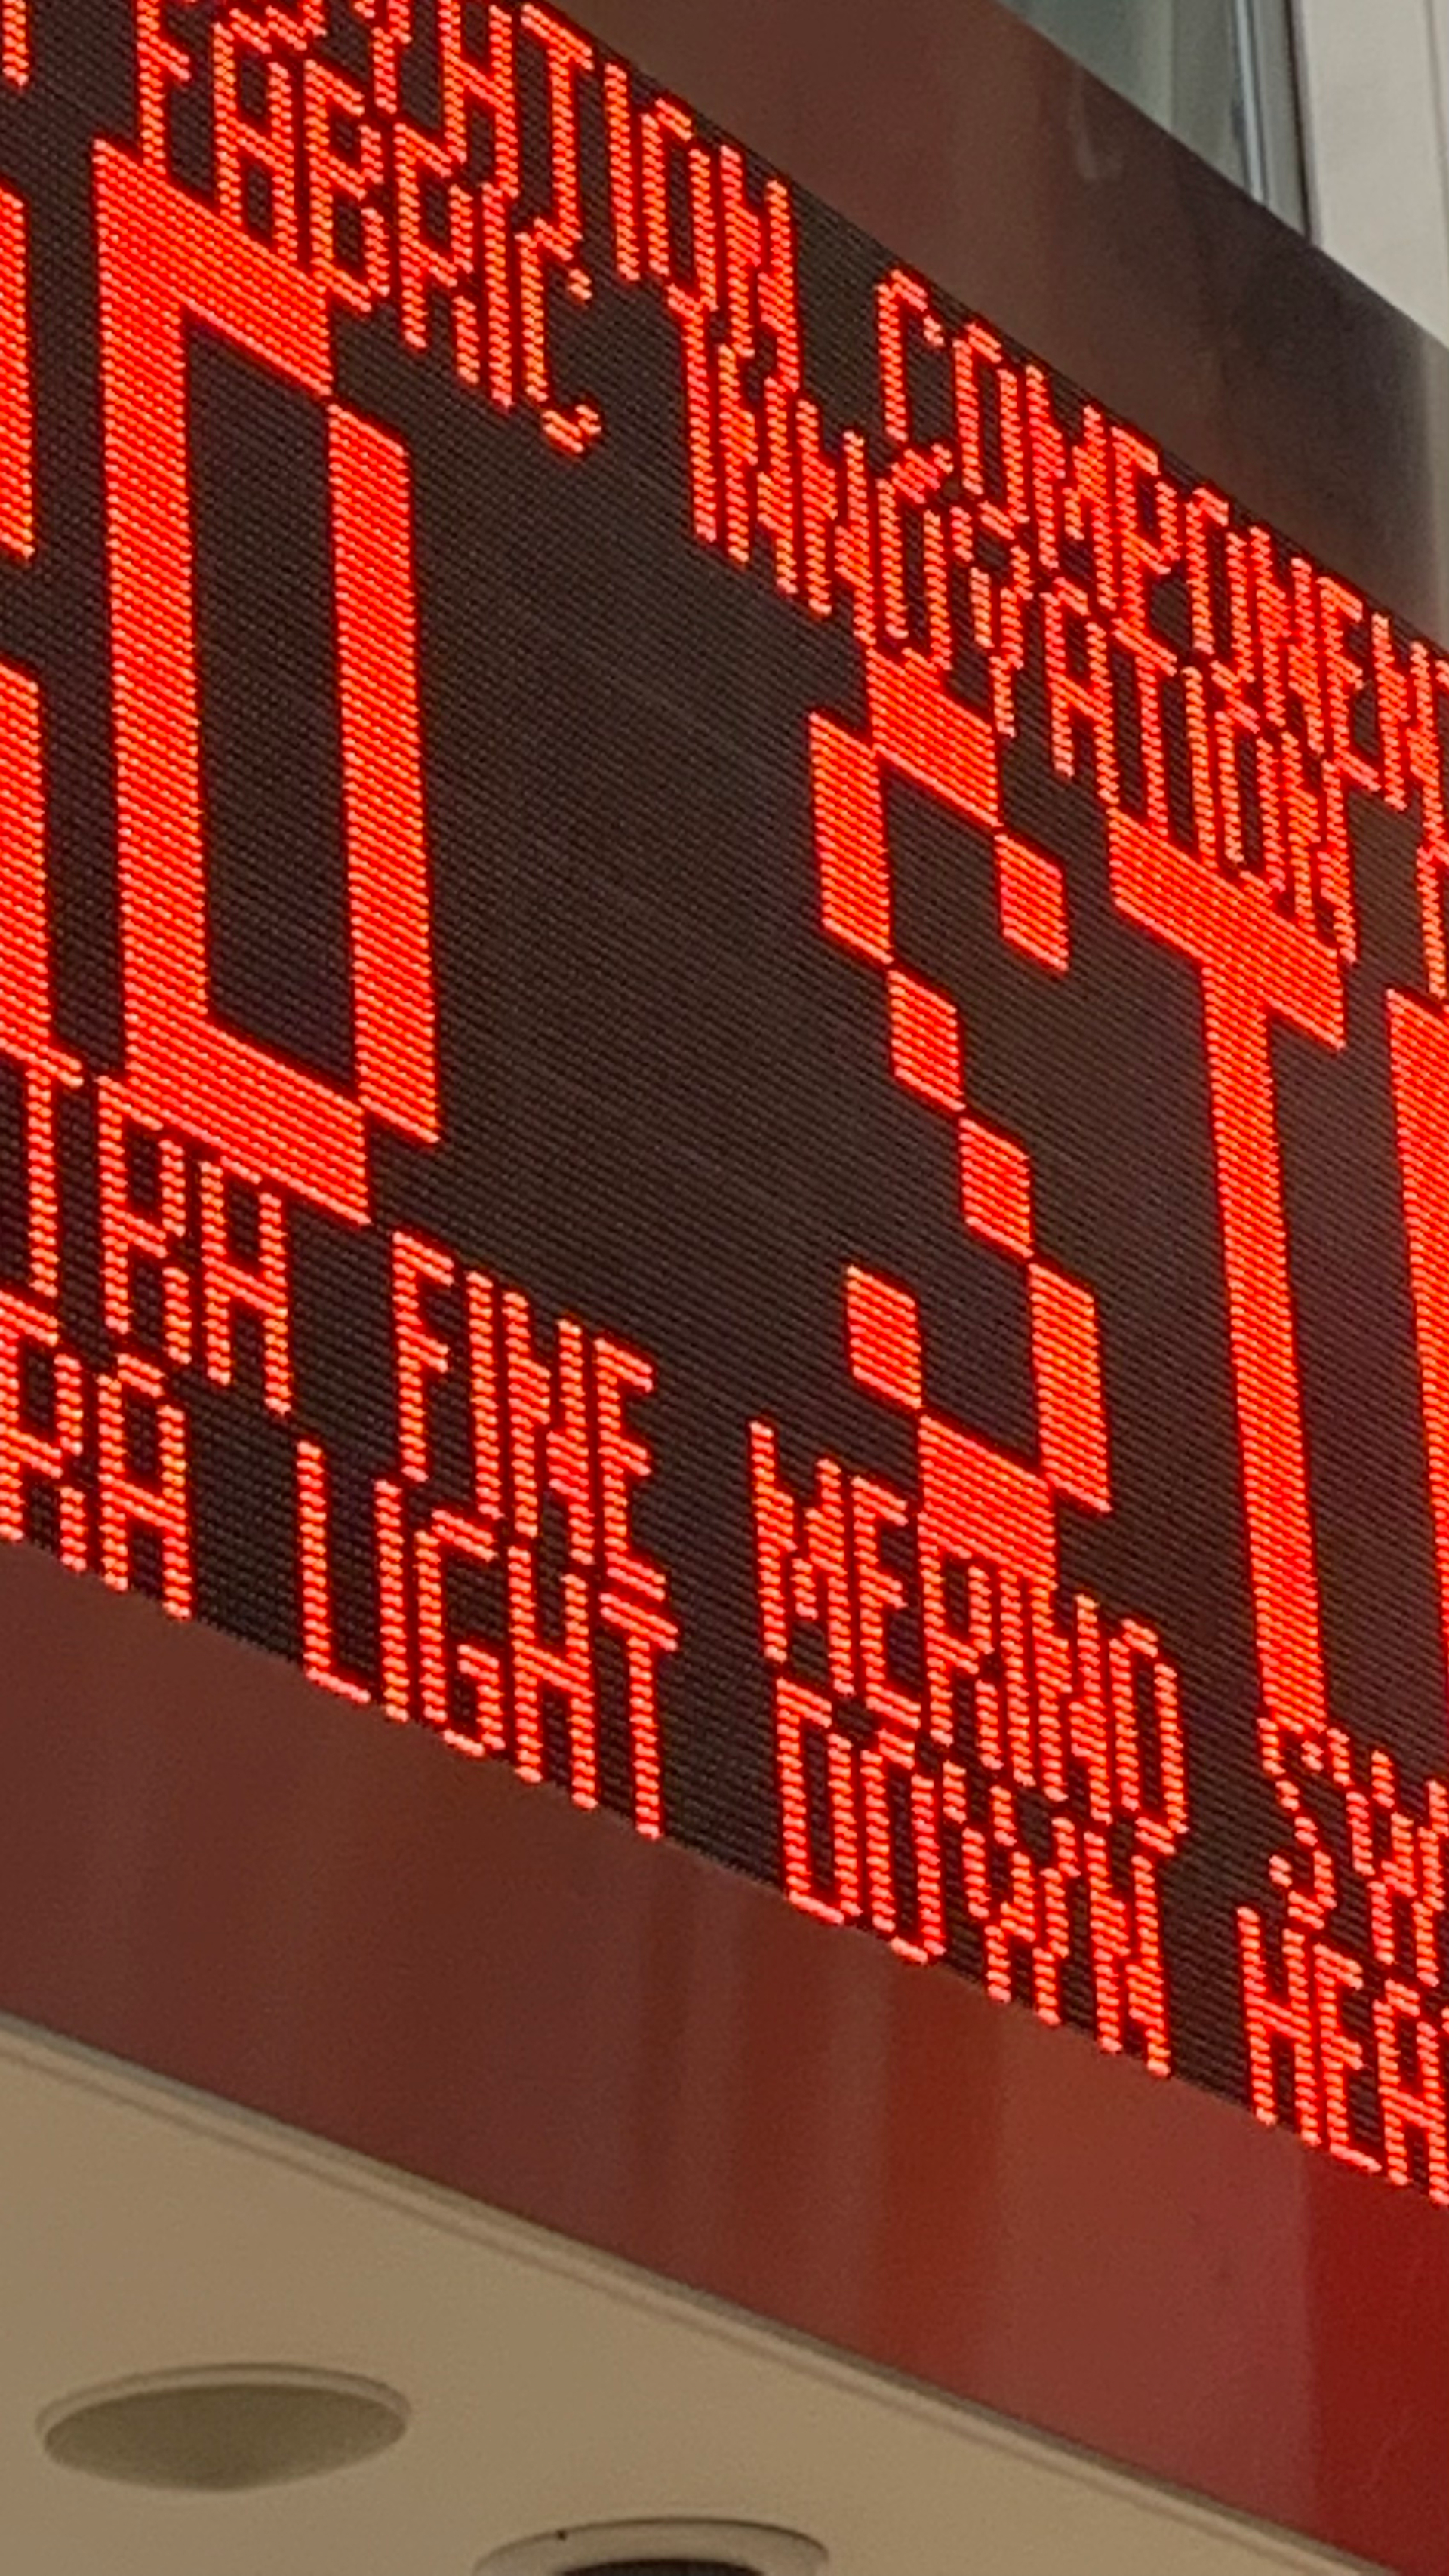

Examples of the RGB technology, In order of appearance: Tokyo World Festival - Sigma, UNIQLO - Oxford Street, Bershka - Bristol
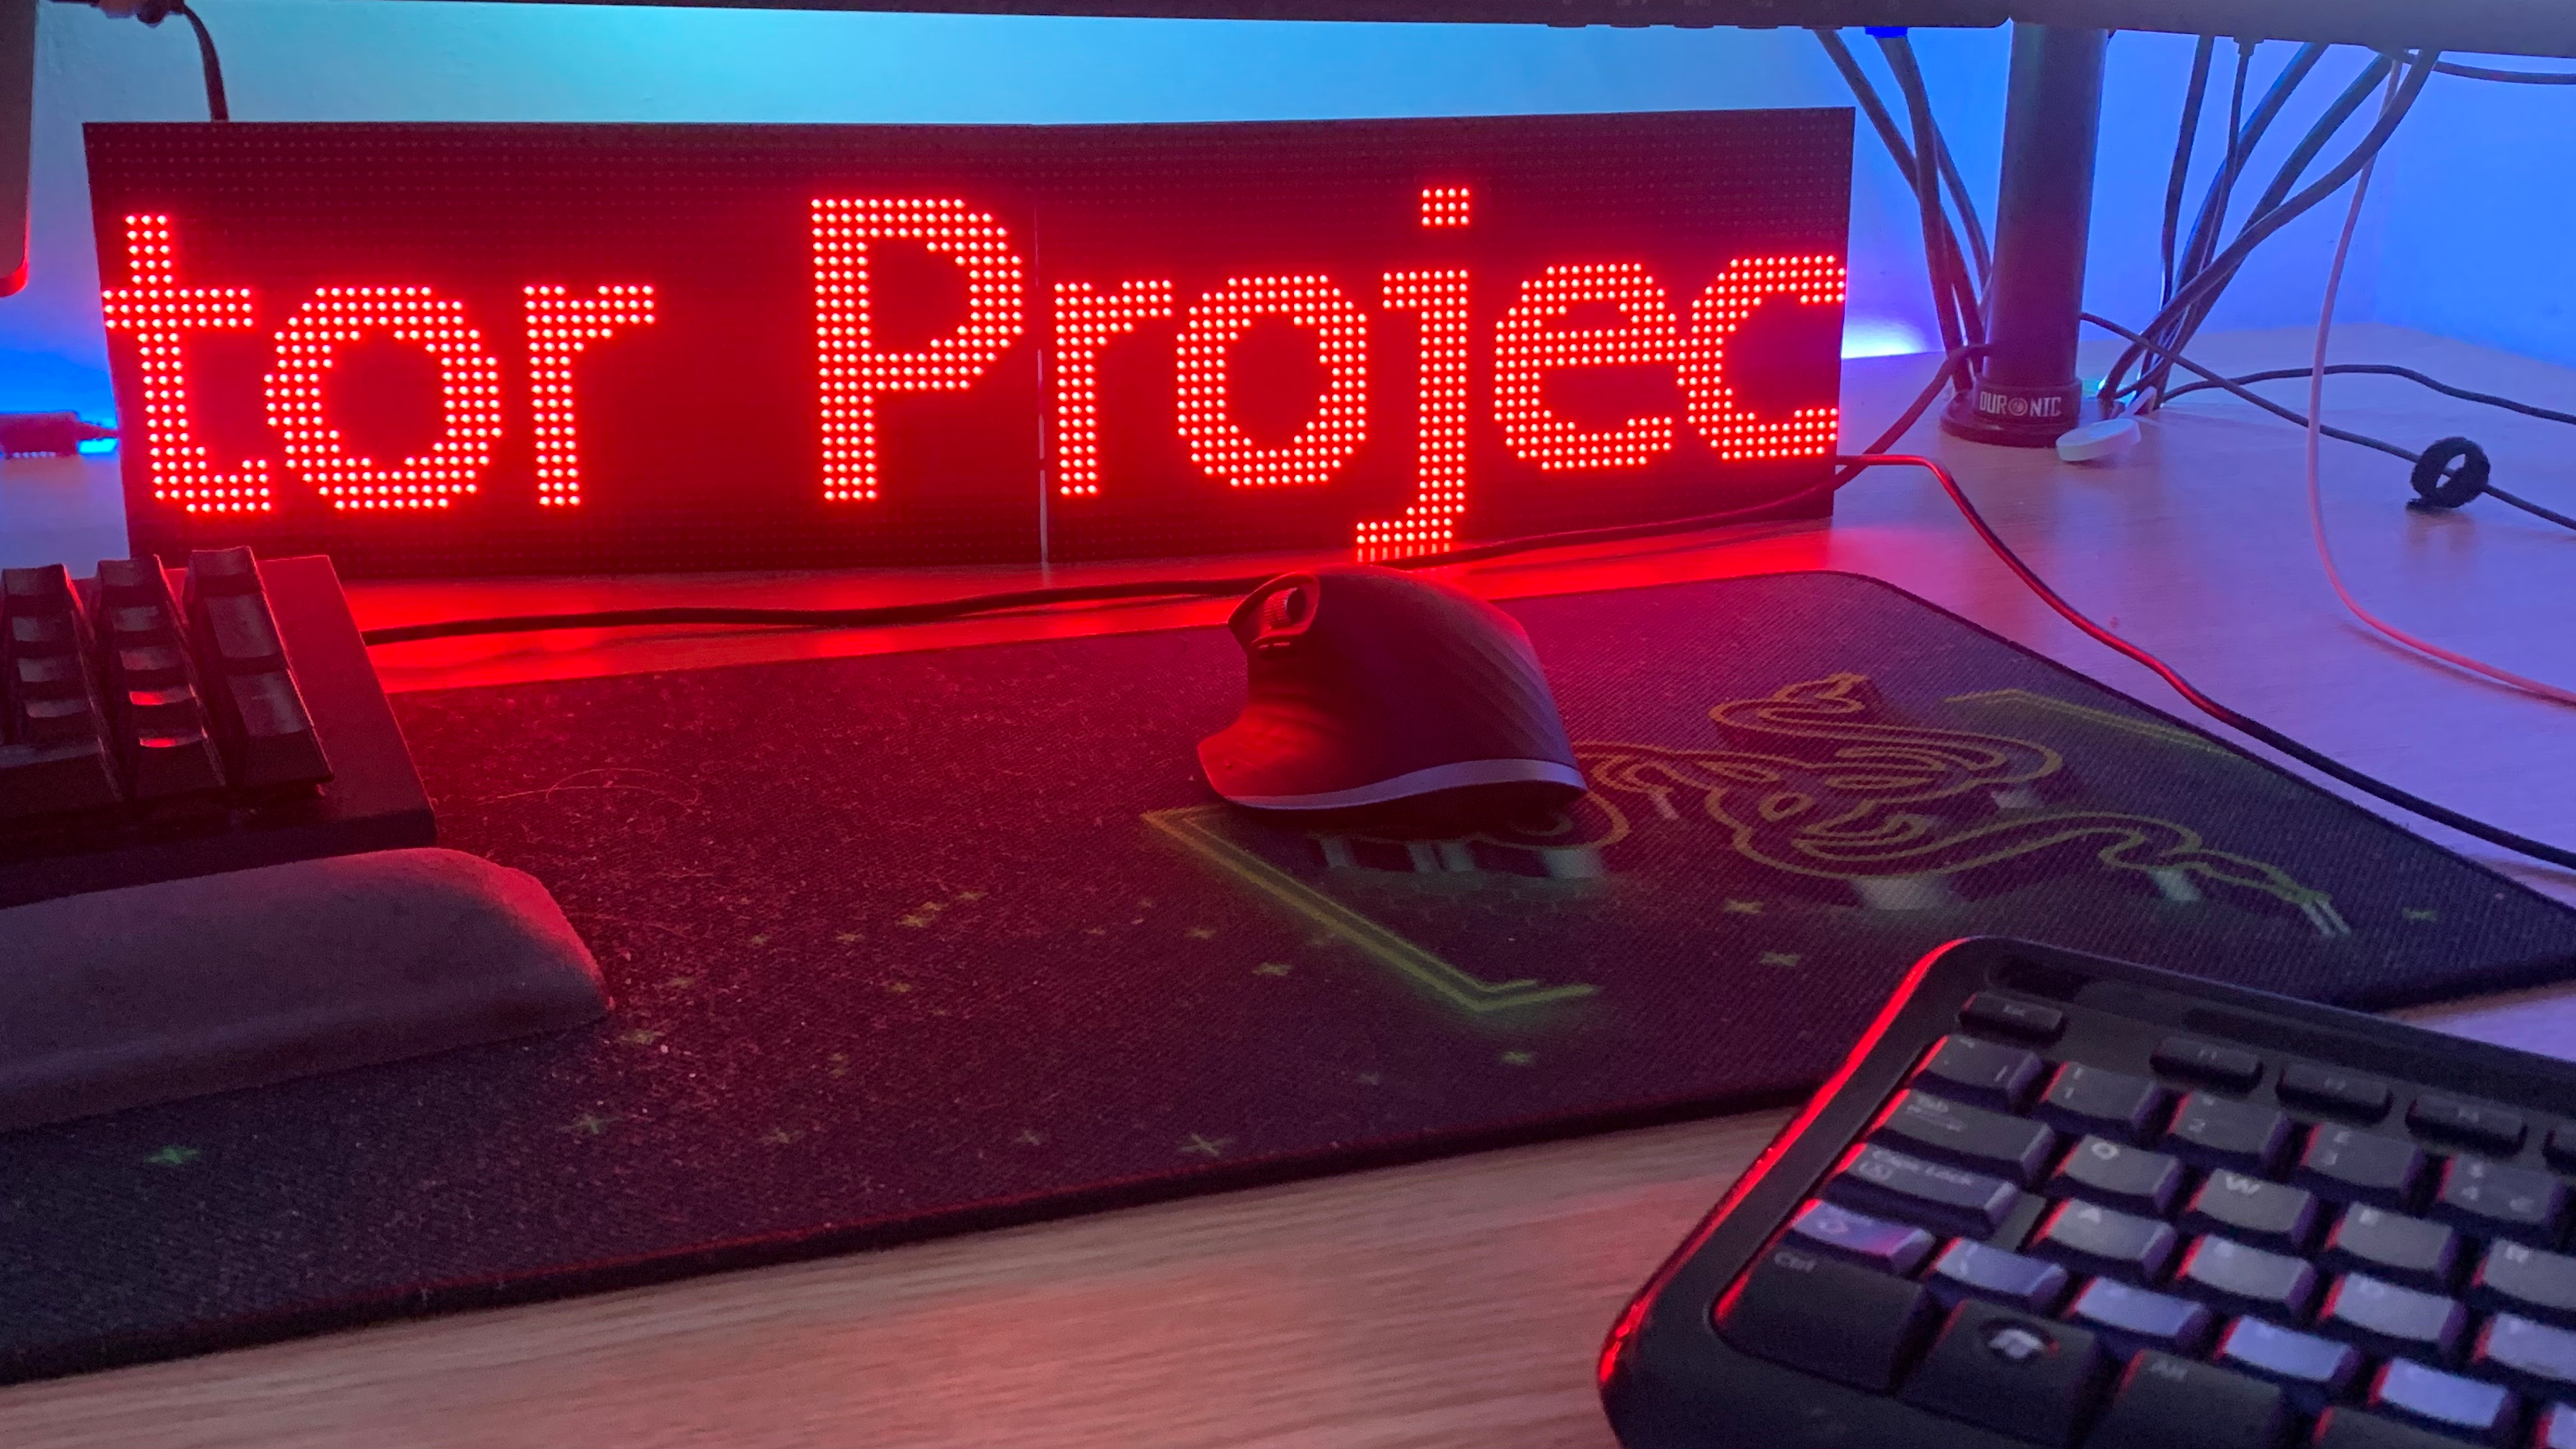
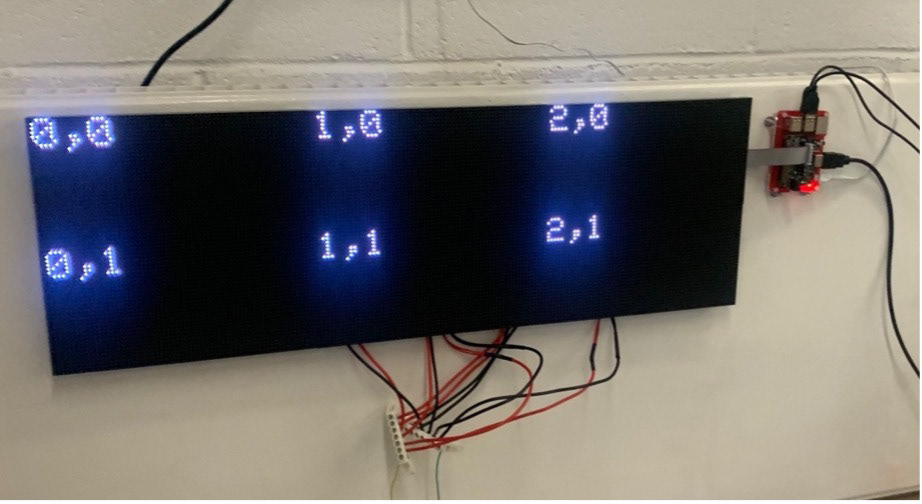
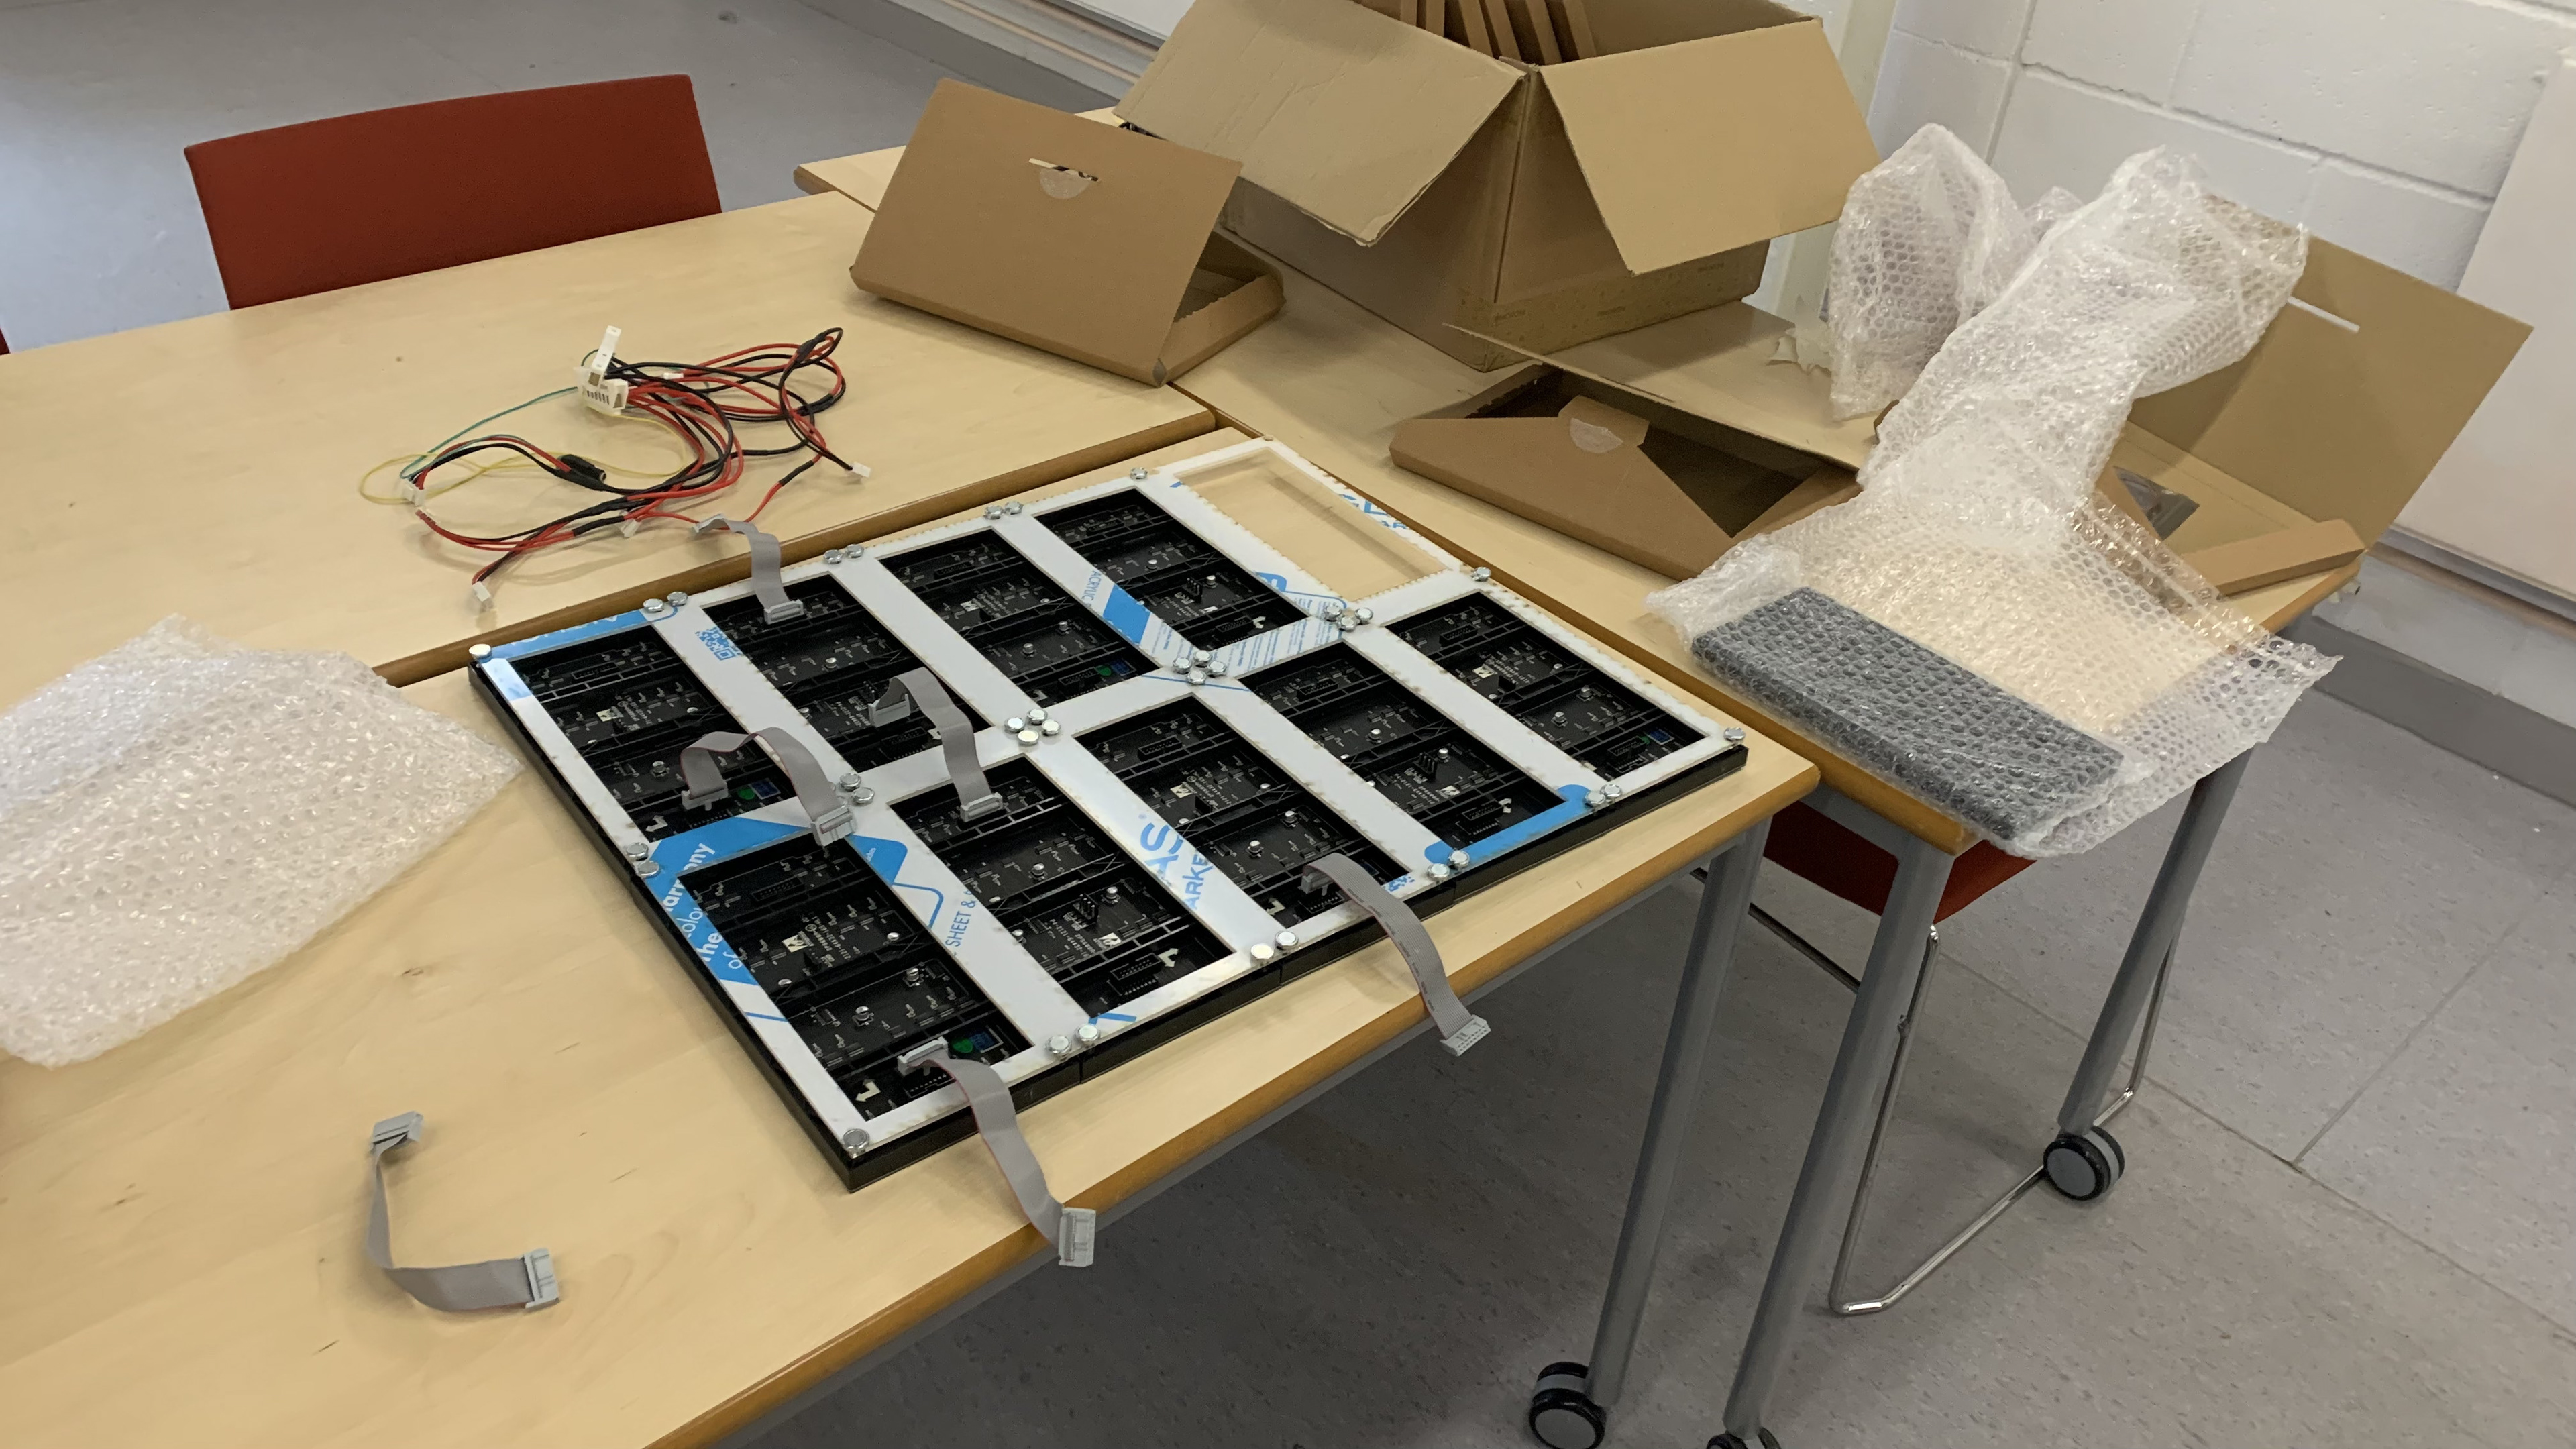
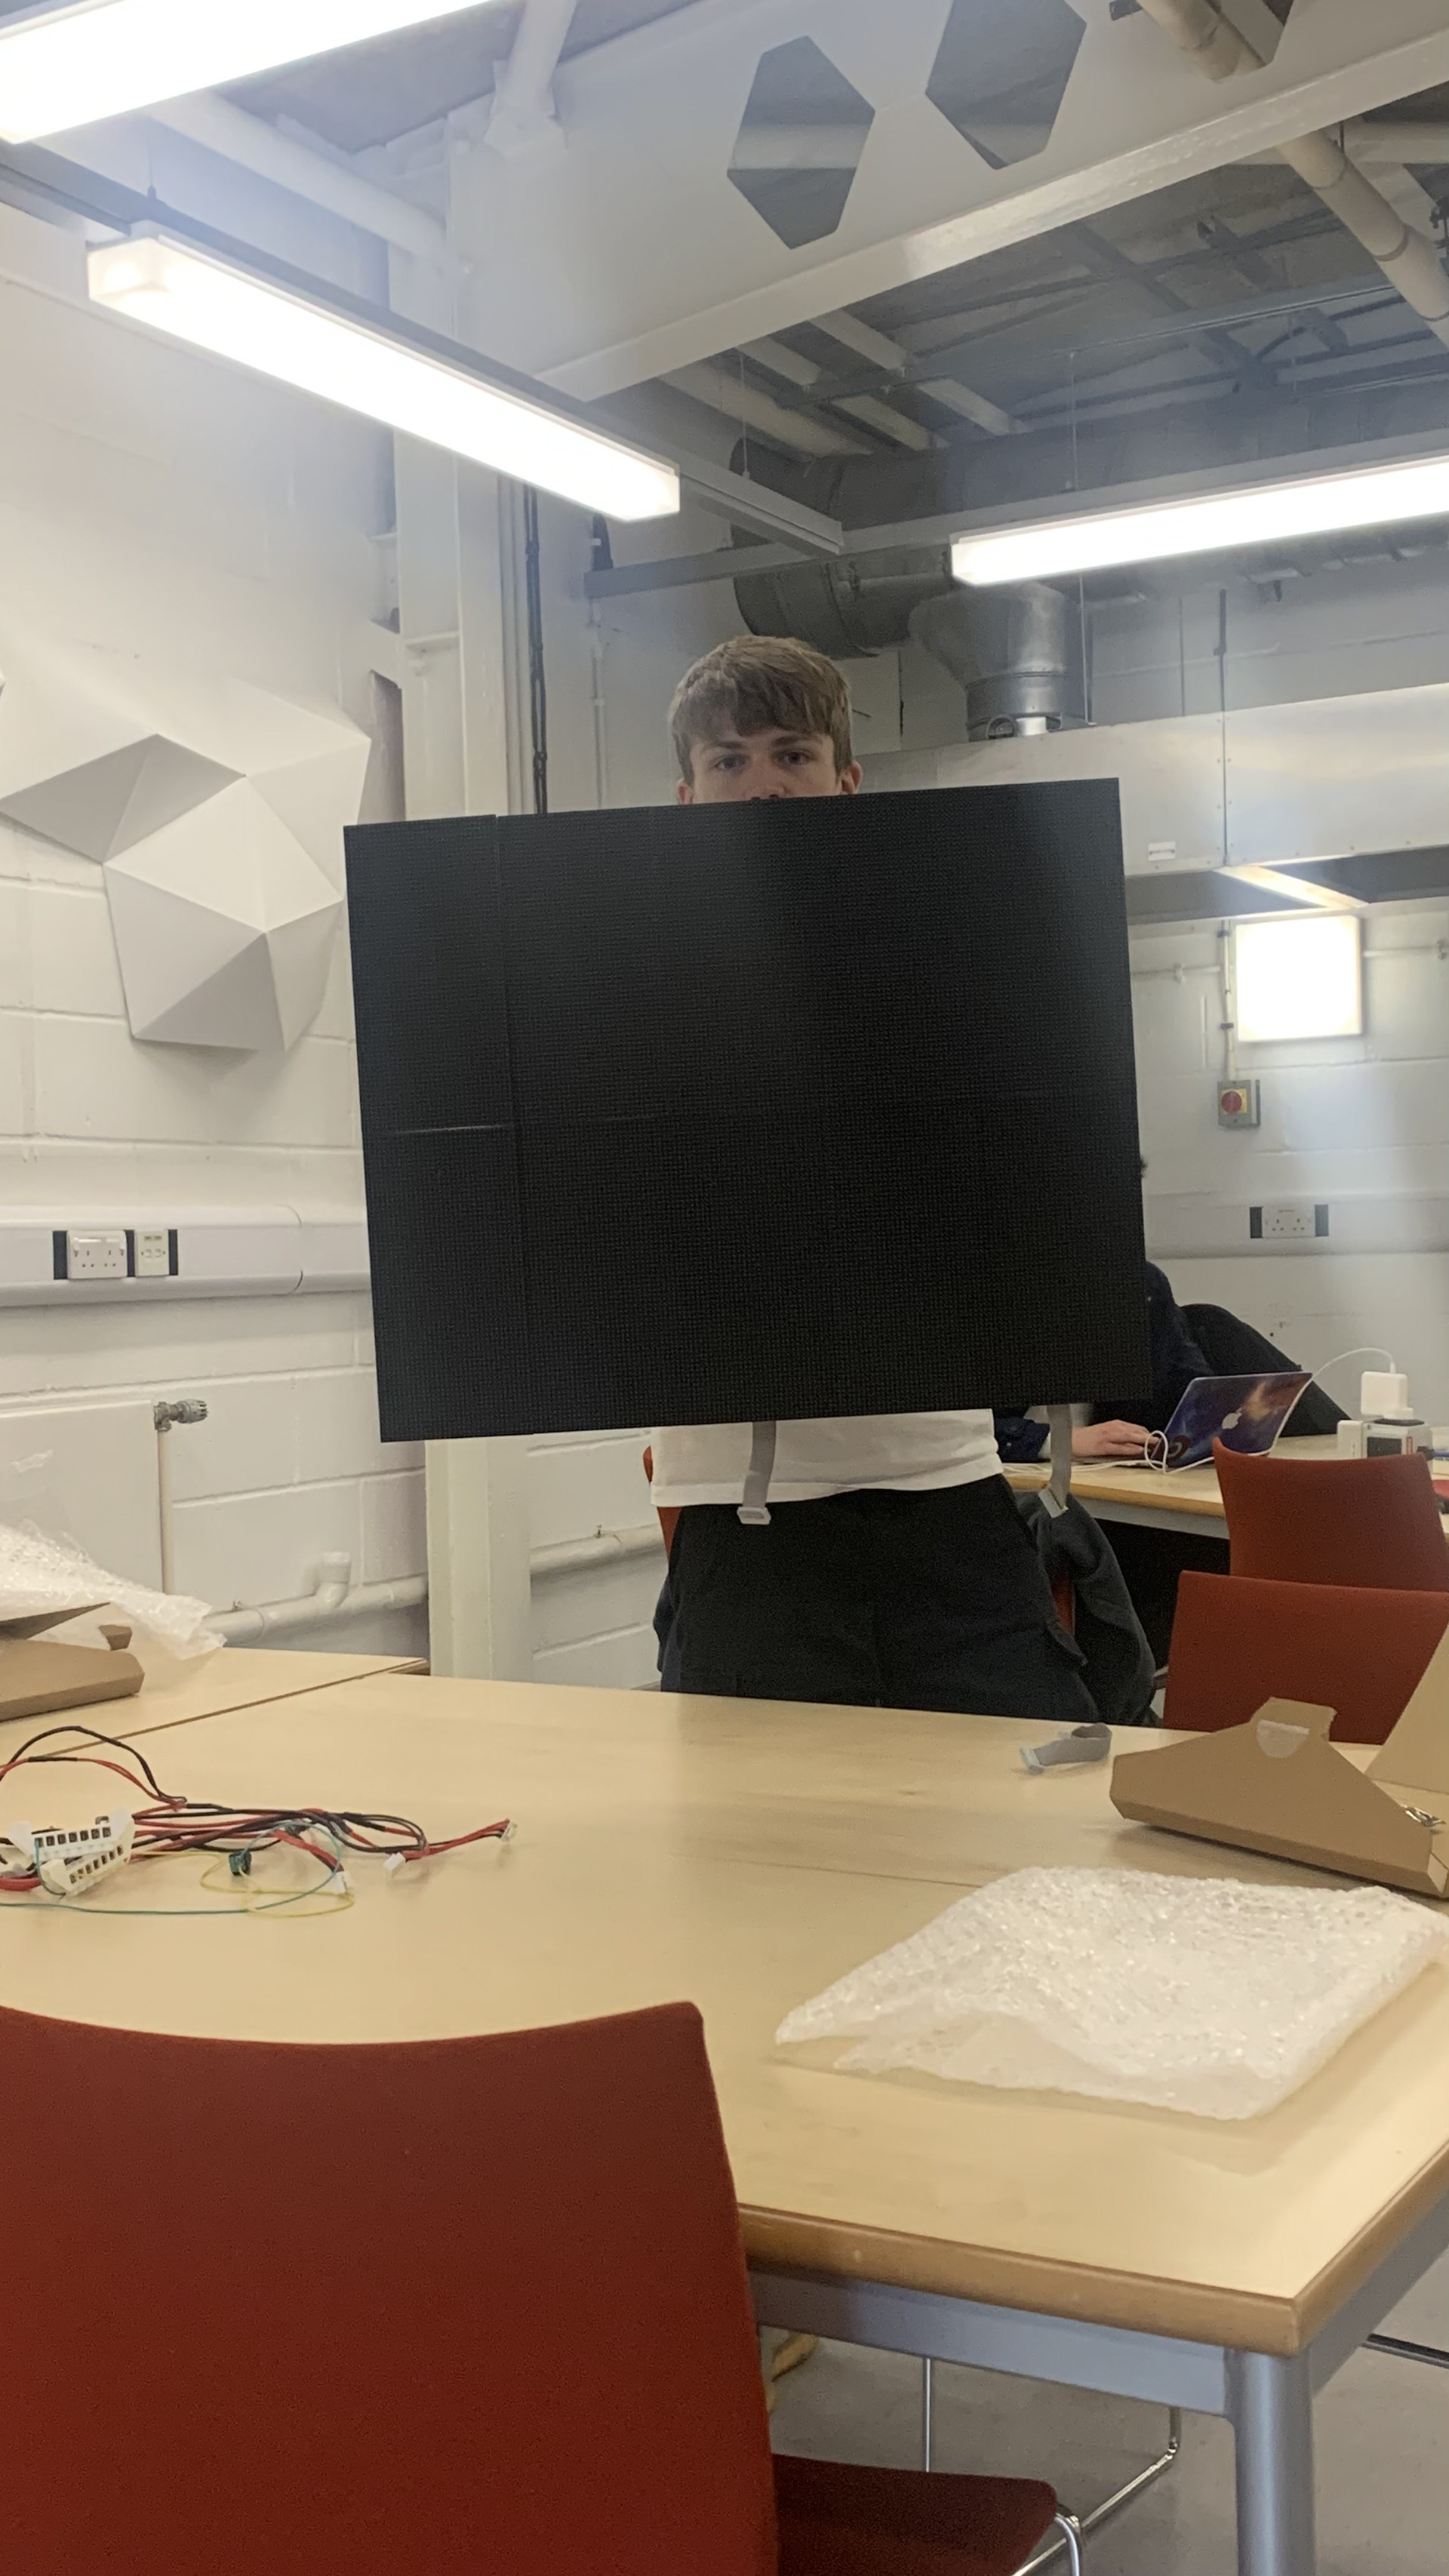
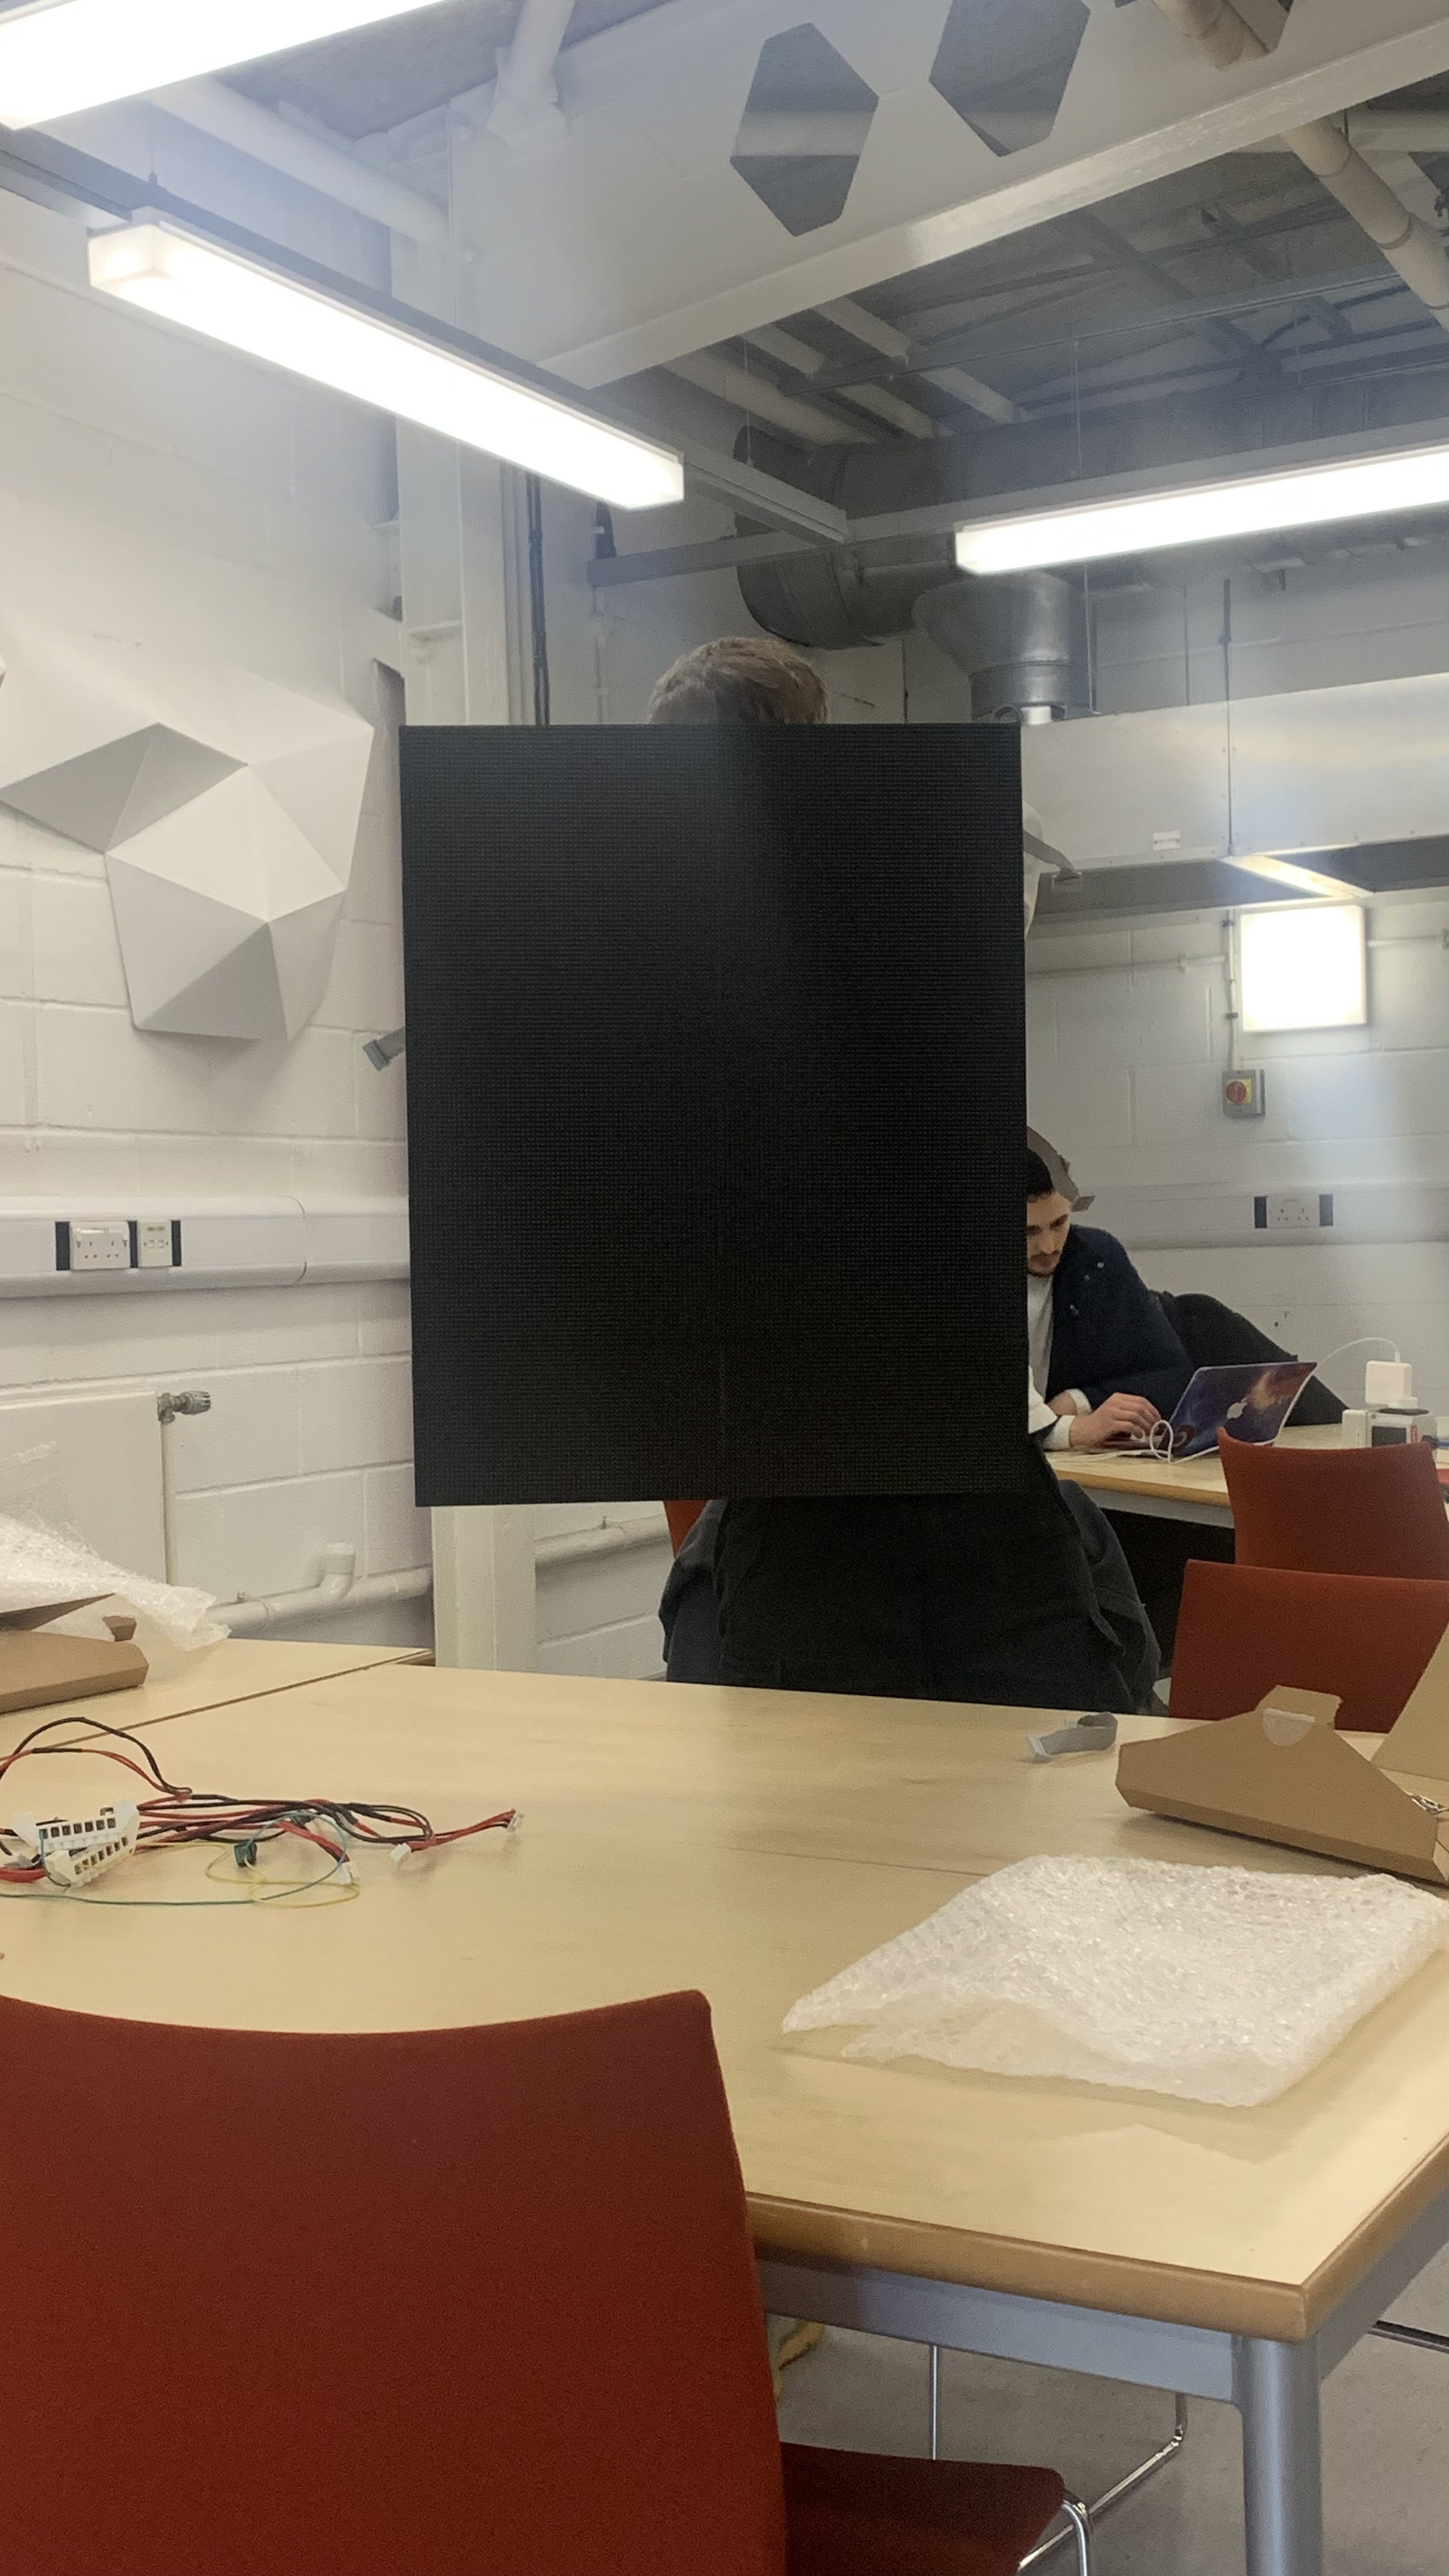
Photos of different stages within the project, Images © Josh Hart
Summary
For this project I worked with the Non-Profit Organisation Baggator, and the local community of Easton to work on visual and lighting elements for the Muslim community holiday, known as the Grand Iftar. This holiday takes place at the end of Ramadan, in which a large number of members from different communities come together, to share and give away food to any passersby. The Grand Iftar is about celebrating and promoting unity. This event is not biased by background including religion and welcomes people to partake in the activities. This also provides a great opportunity to learn about Ramadan and the Muslim culture.

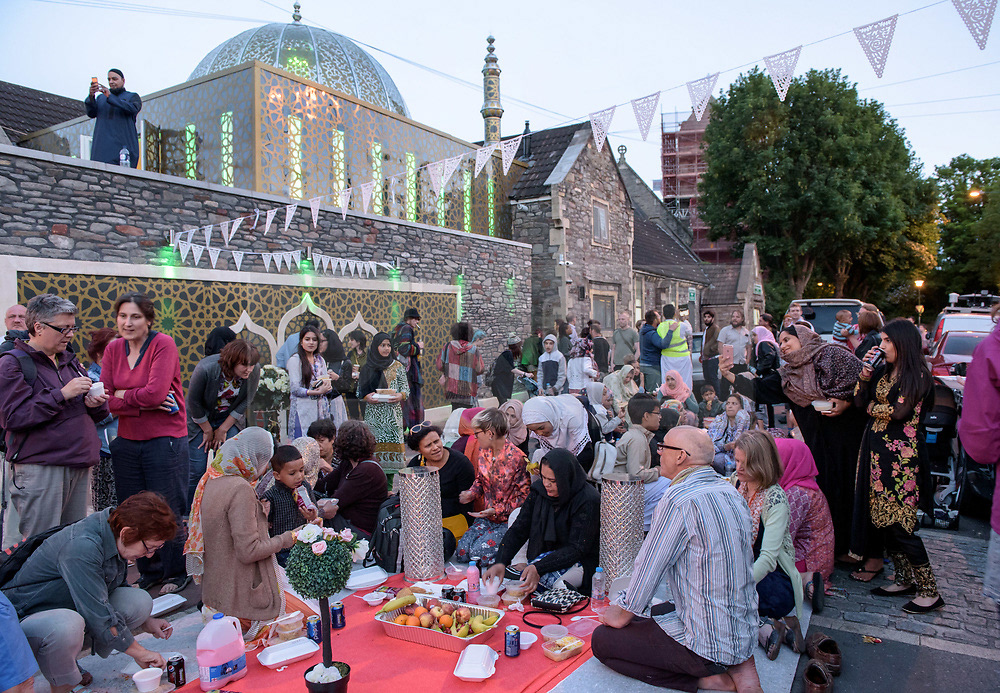
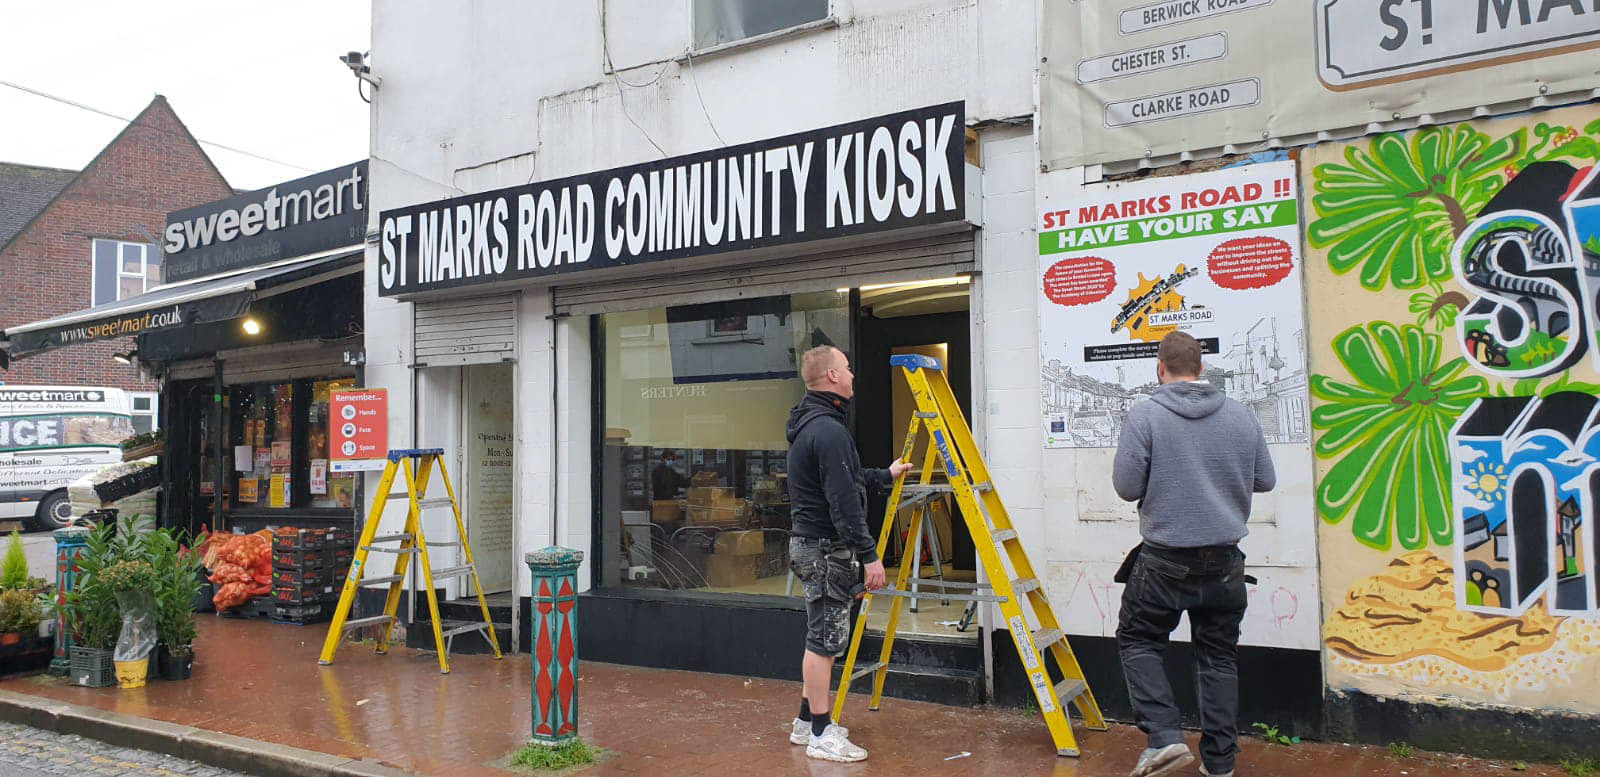
Image 1: Copyright reserved Linked Here
Image 2: Copyright reserved Linked Here
Image 3: Copyright reserved Linked Here
Intro
My role within the project is lead technical advisor. This required a lot of project management skills to keep the project on a schedule, as-well as provide the necessary documents to move the project forward. This includes a design brief, user role maps, mockups, presentation demo of a prototype, and finally continued detailed photo and text documentation of all work done.
I am really excited to share with you in detail the processes and hurdles I have faced during the project.
If you would like to explore yourself here are some notable sections coming up:
- Starting the development
- Power Struggles
- Sketches
- Scaling up (This includes a great video of the initial development and the progress made)
- Frame V1
- Frame V2
- Examples of RGB/LED panels
- Project gallery
Starting the development
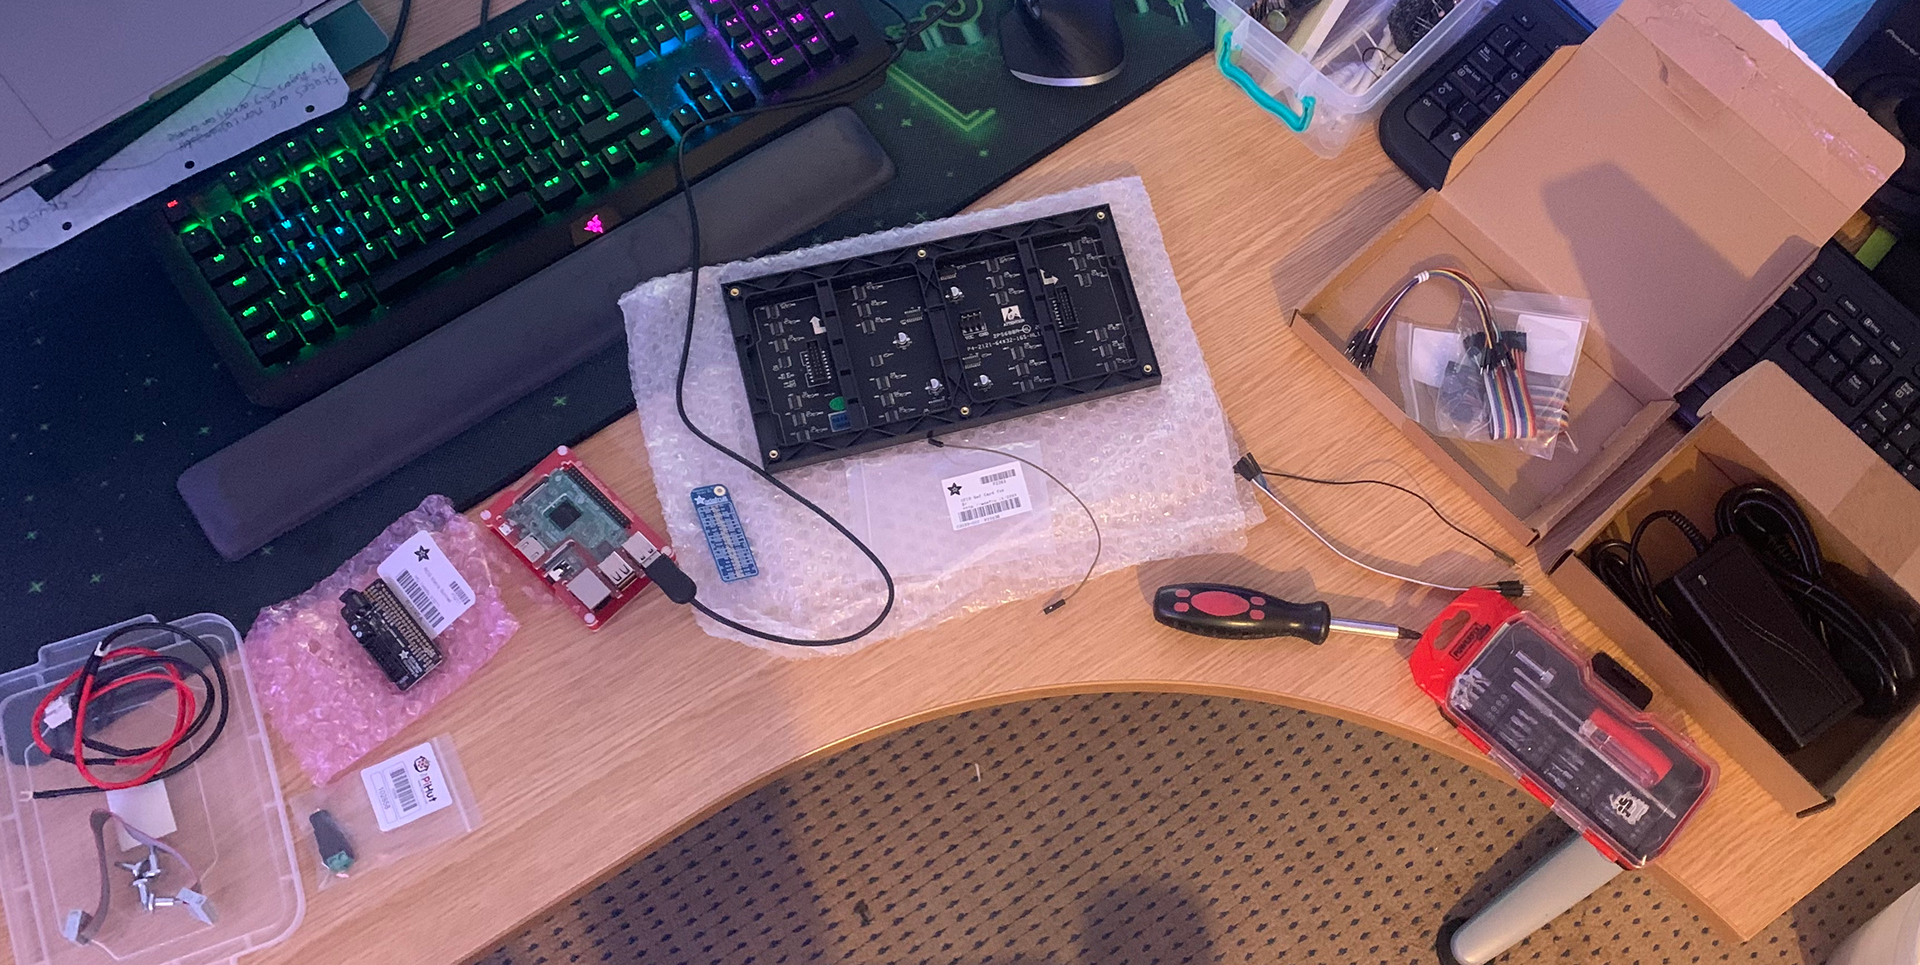
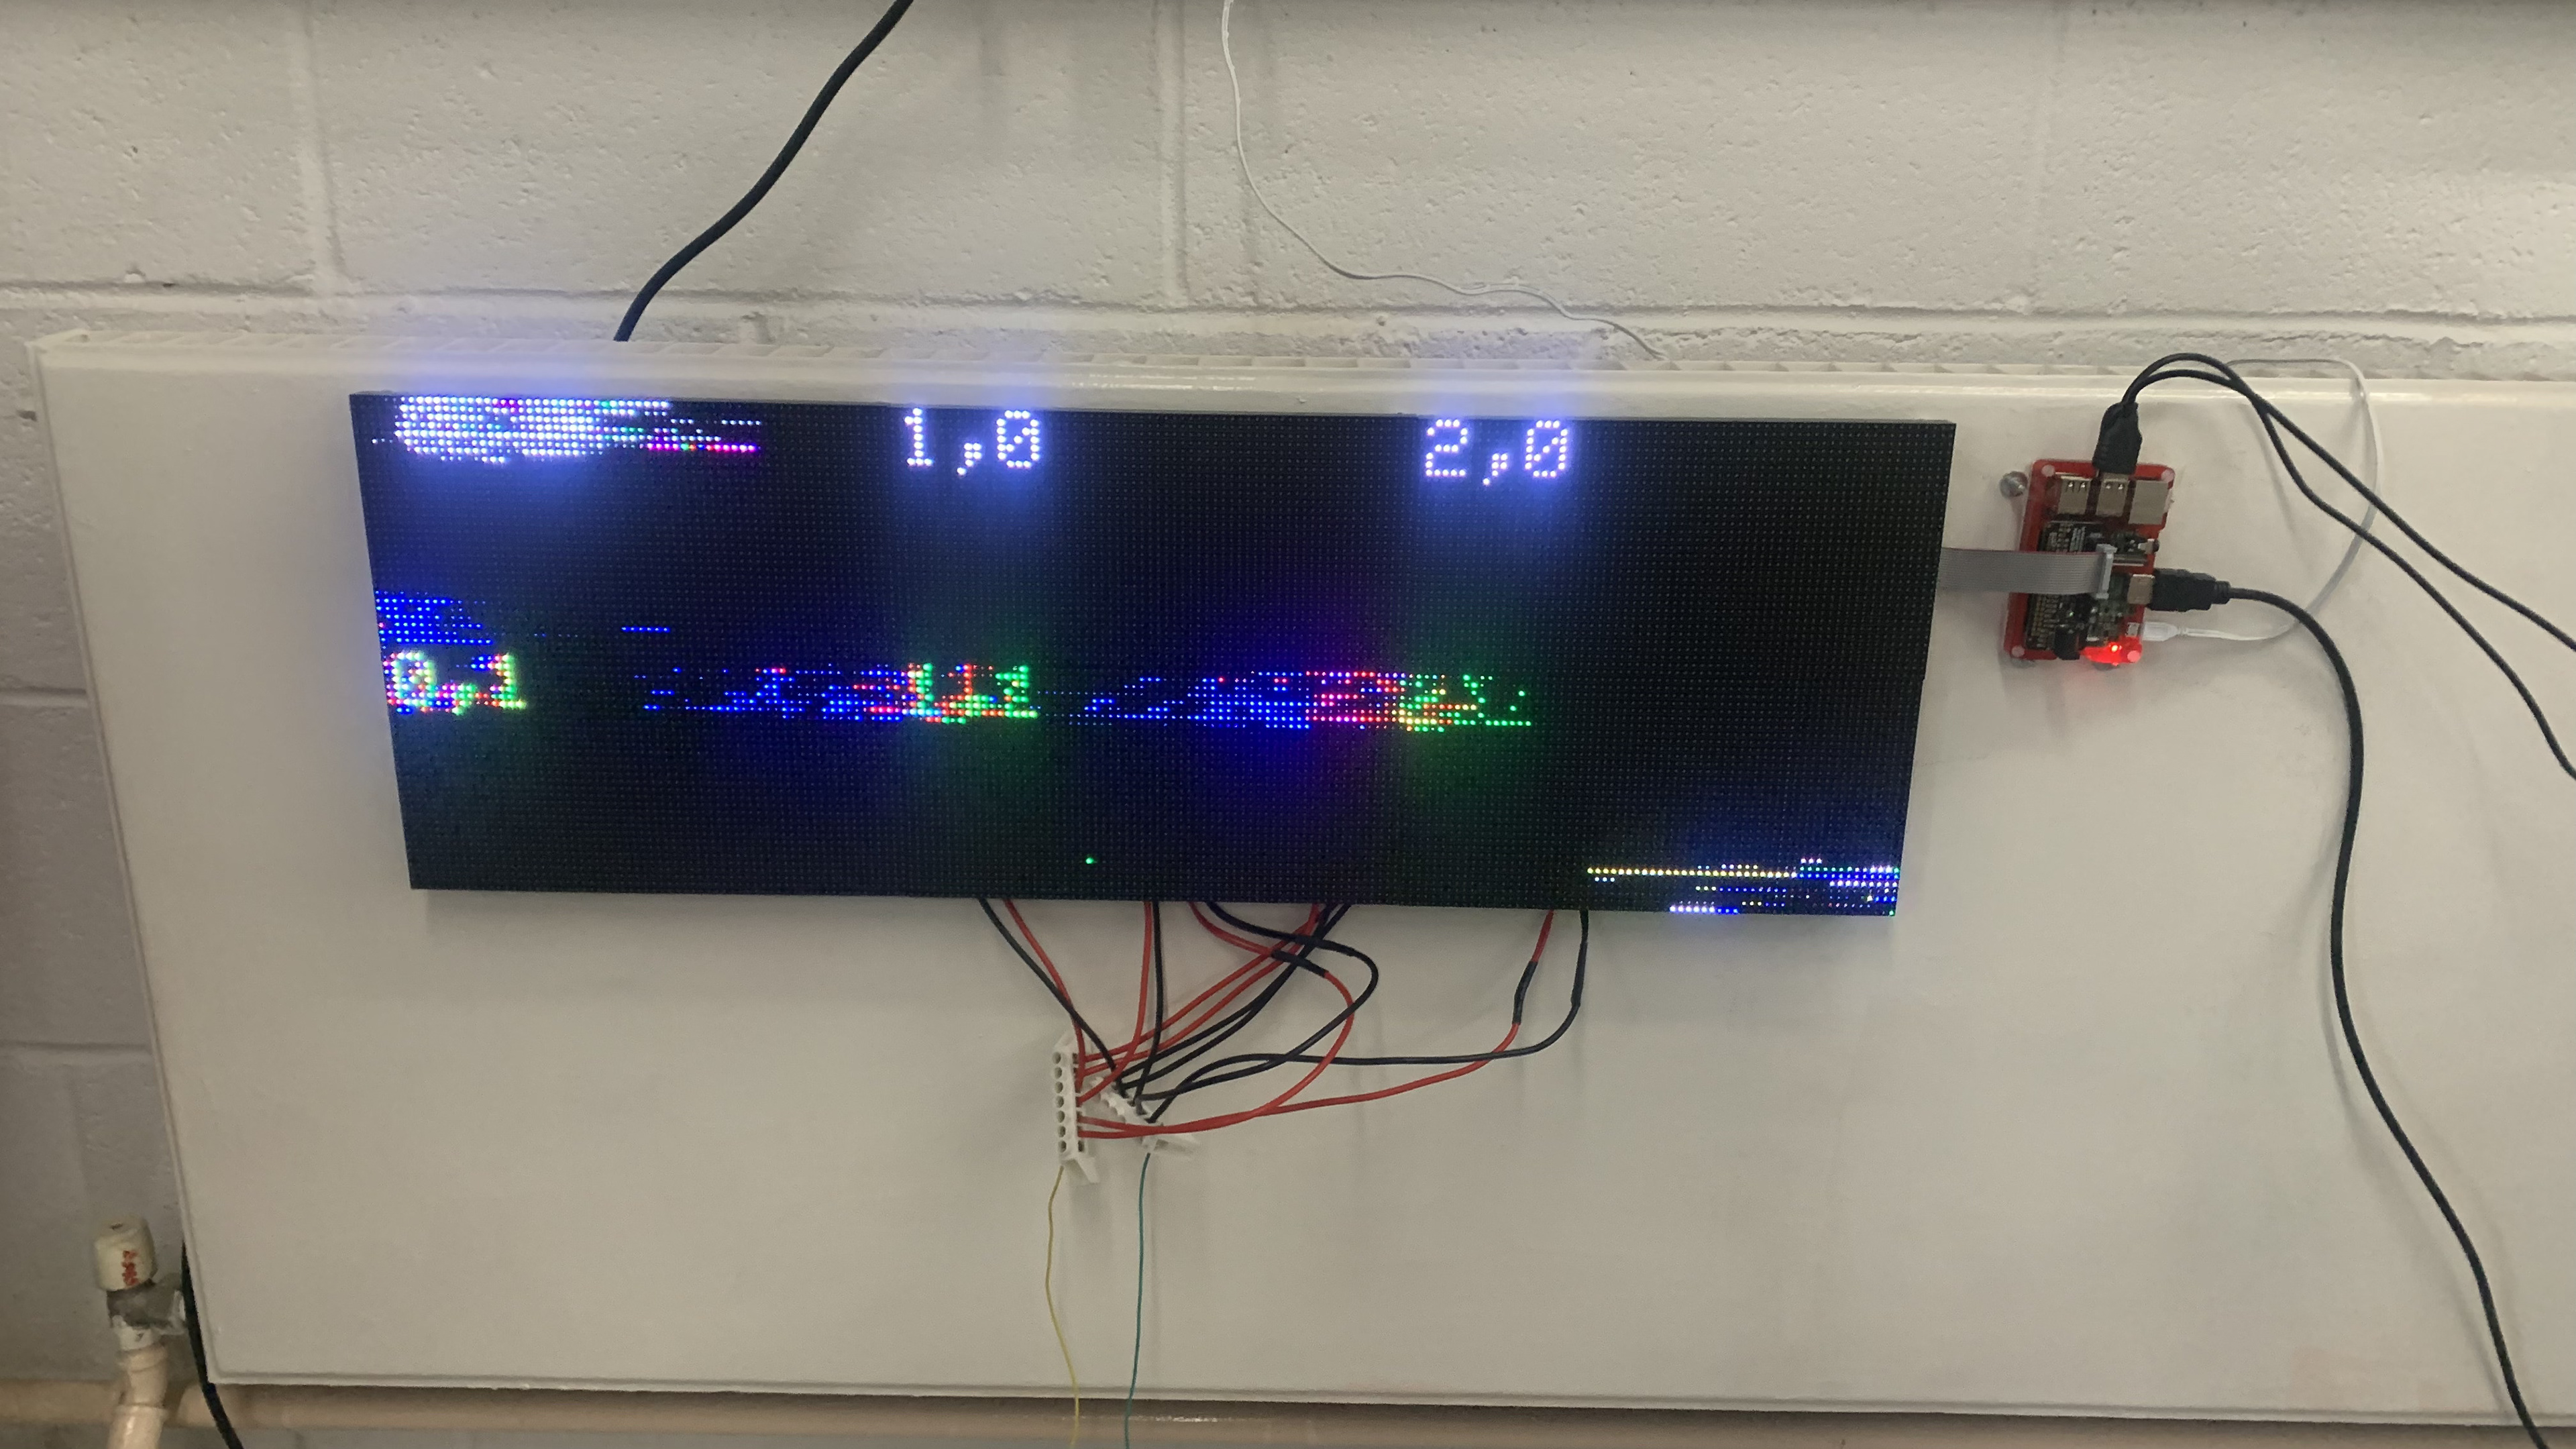
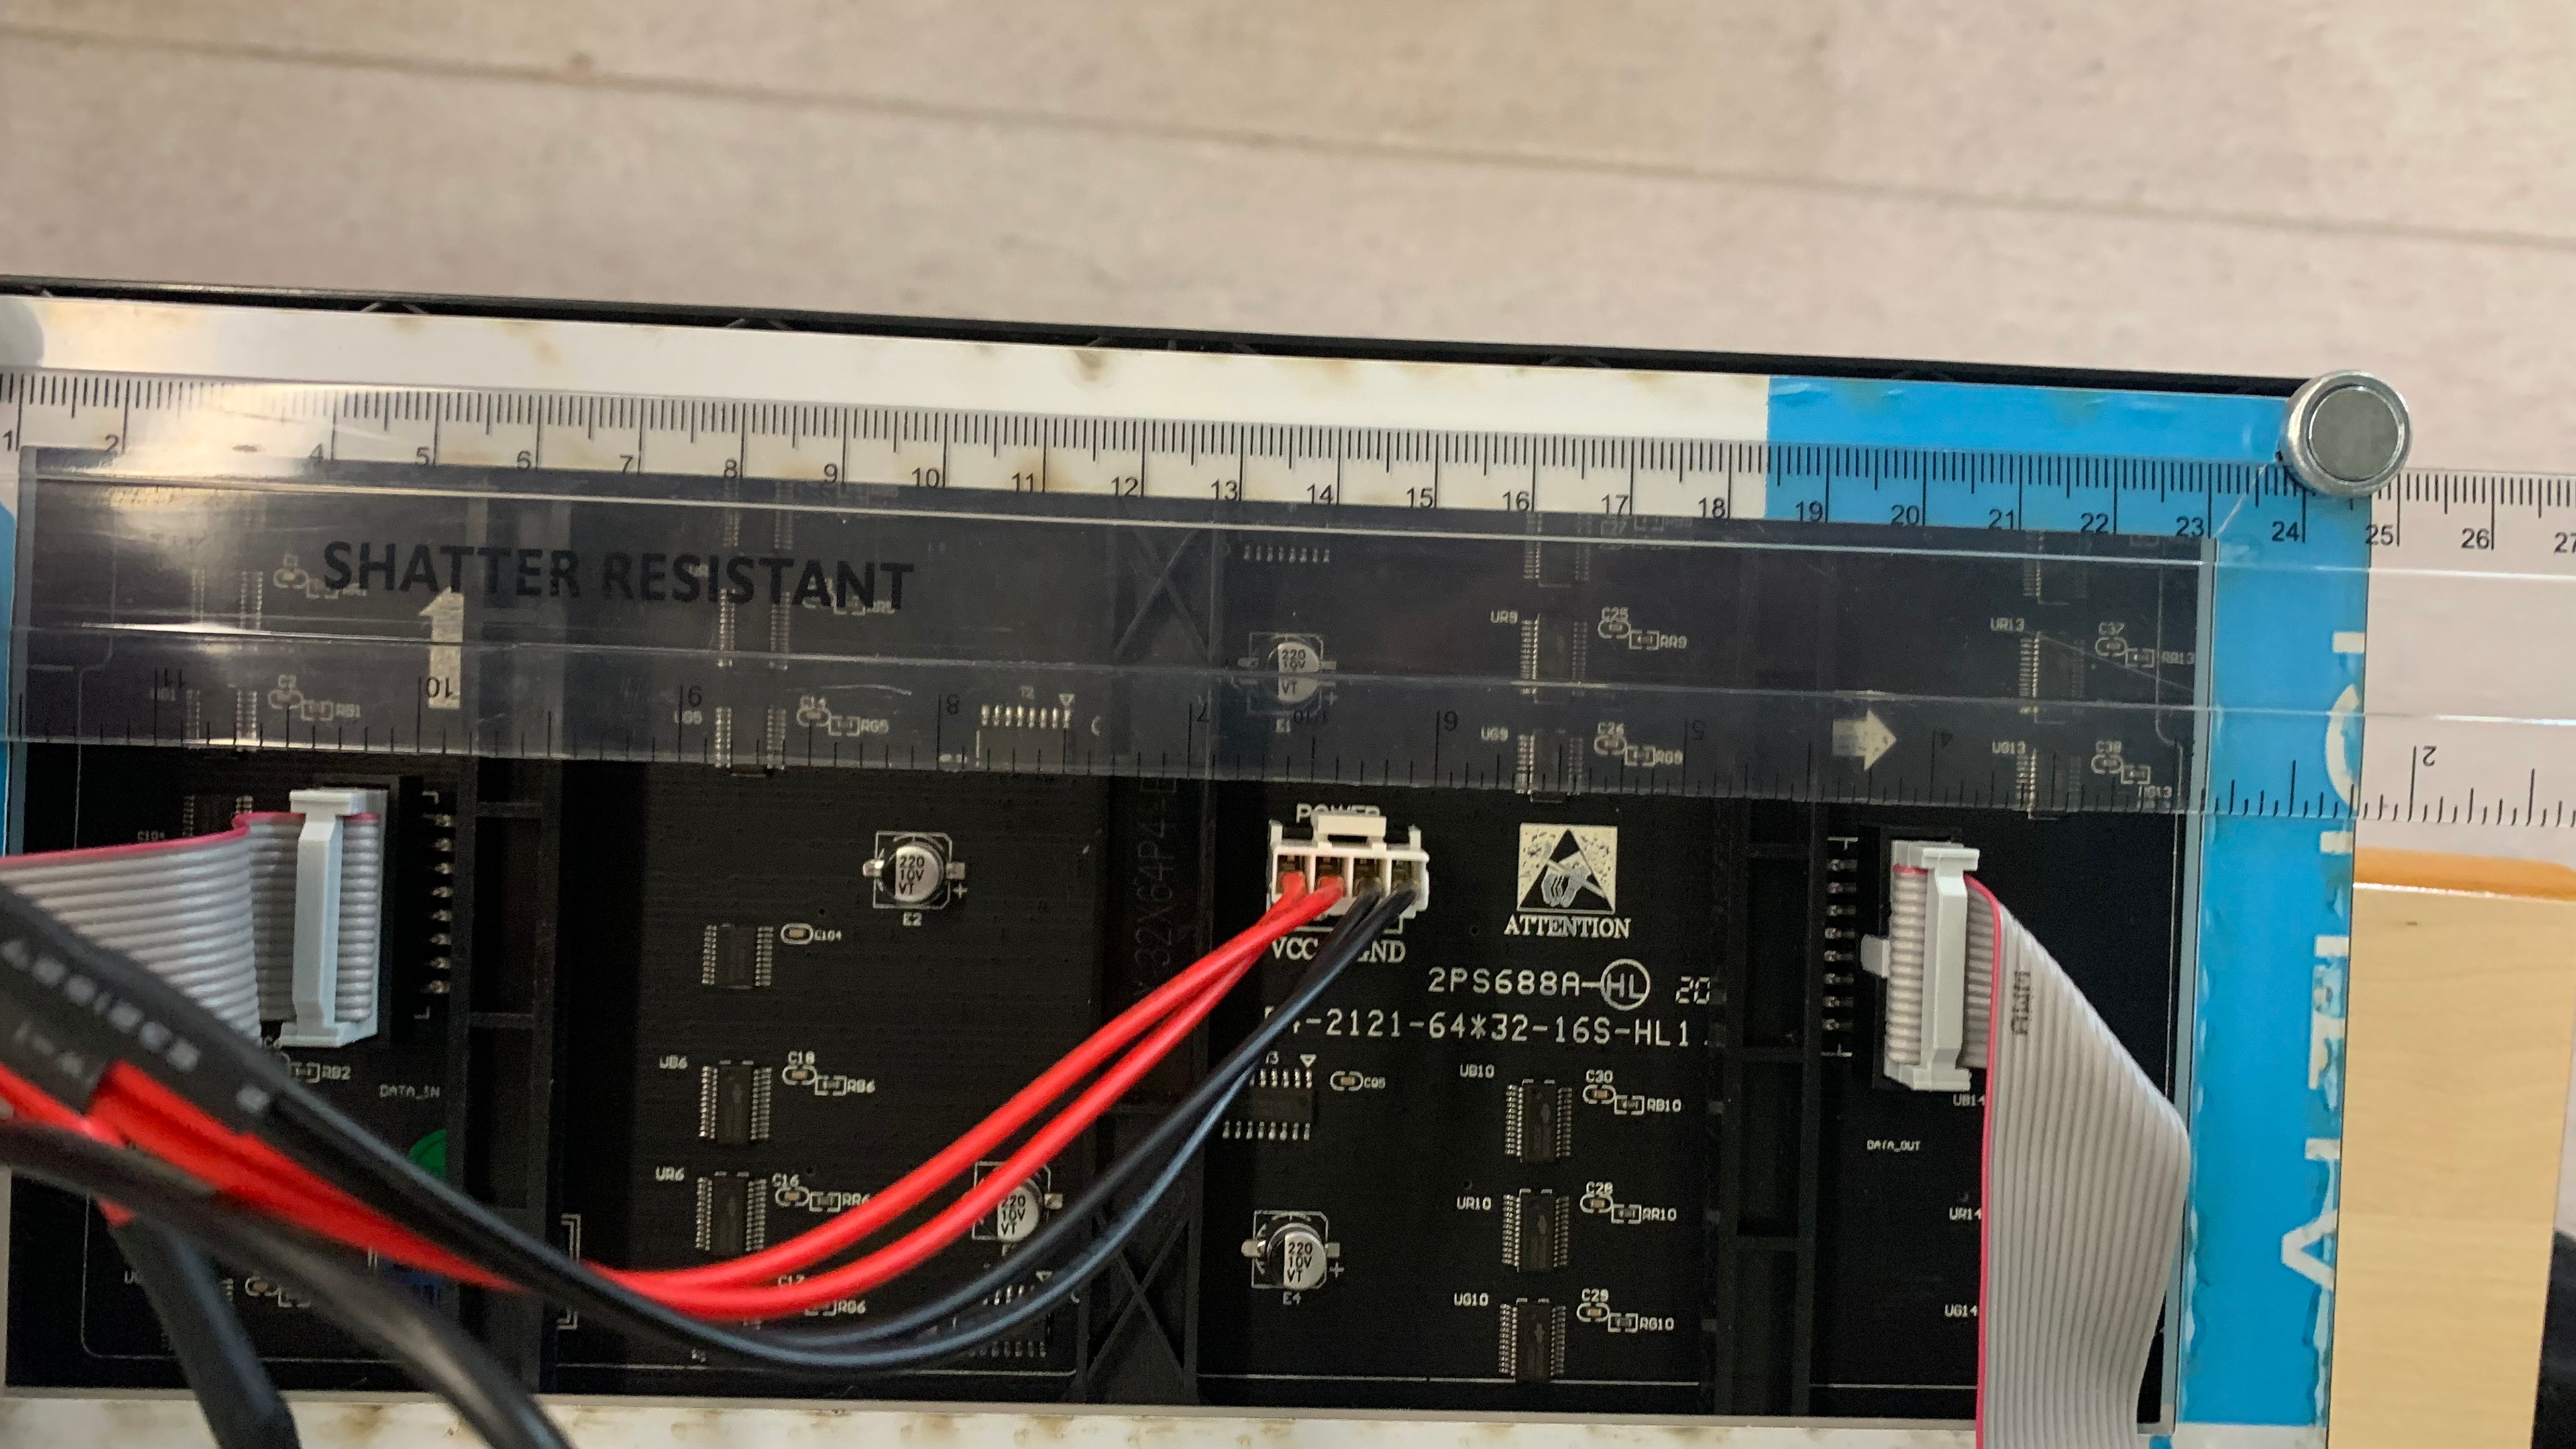
Before I had even started development, I made sure to research into relevant technology, to get an understanding of how it would work. This would later help me tackle issues. After having a small hiccup with some outdated documentation, I began assembling the first panel. For this task I was required to have an understanding of Raspberry Pi’s, Linux, interfacing in a CLI, and hardware skills such as using a cable cutter, mindfulness of ESD and having good practice around live and ground cables.

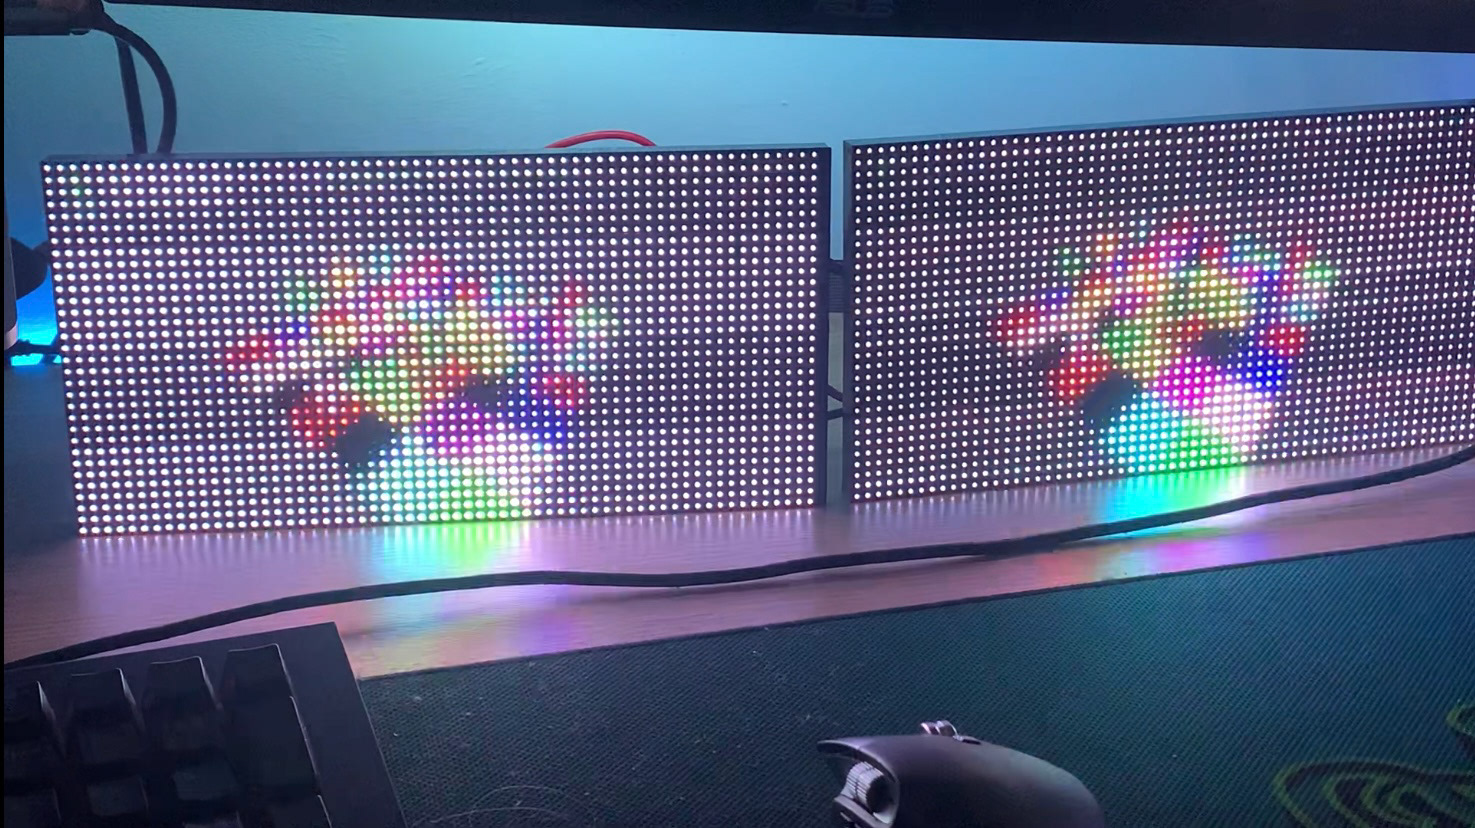
After getting the single display working, it became important to start development of adding a second screen. Though-out this process it was important to take note of how adding this additional screen would scale up, for making a display 5x its size later down the line.
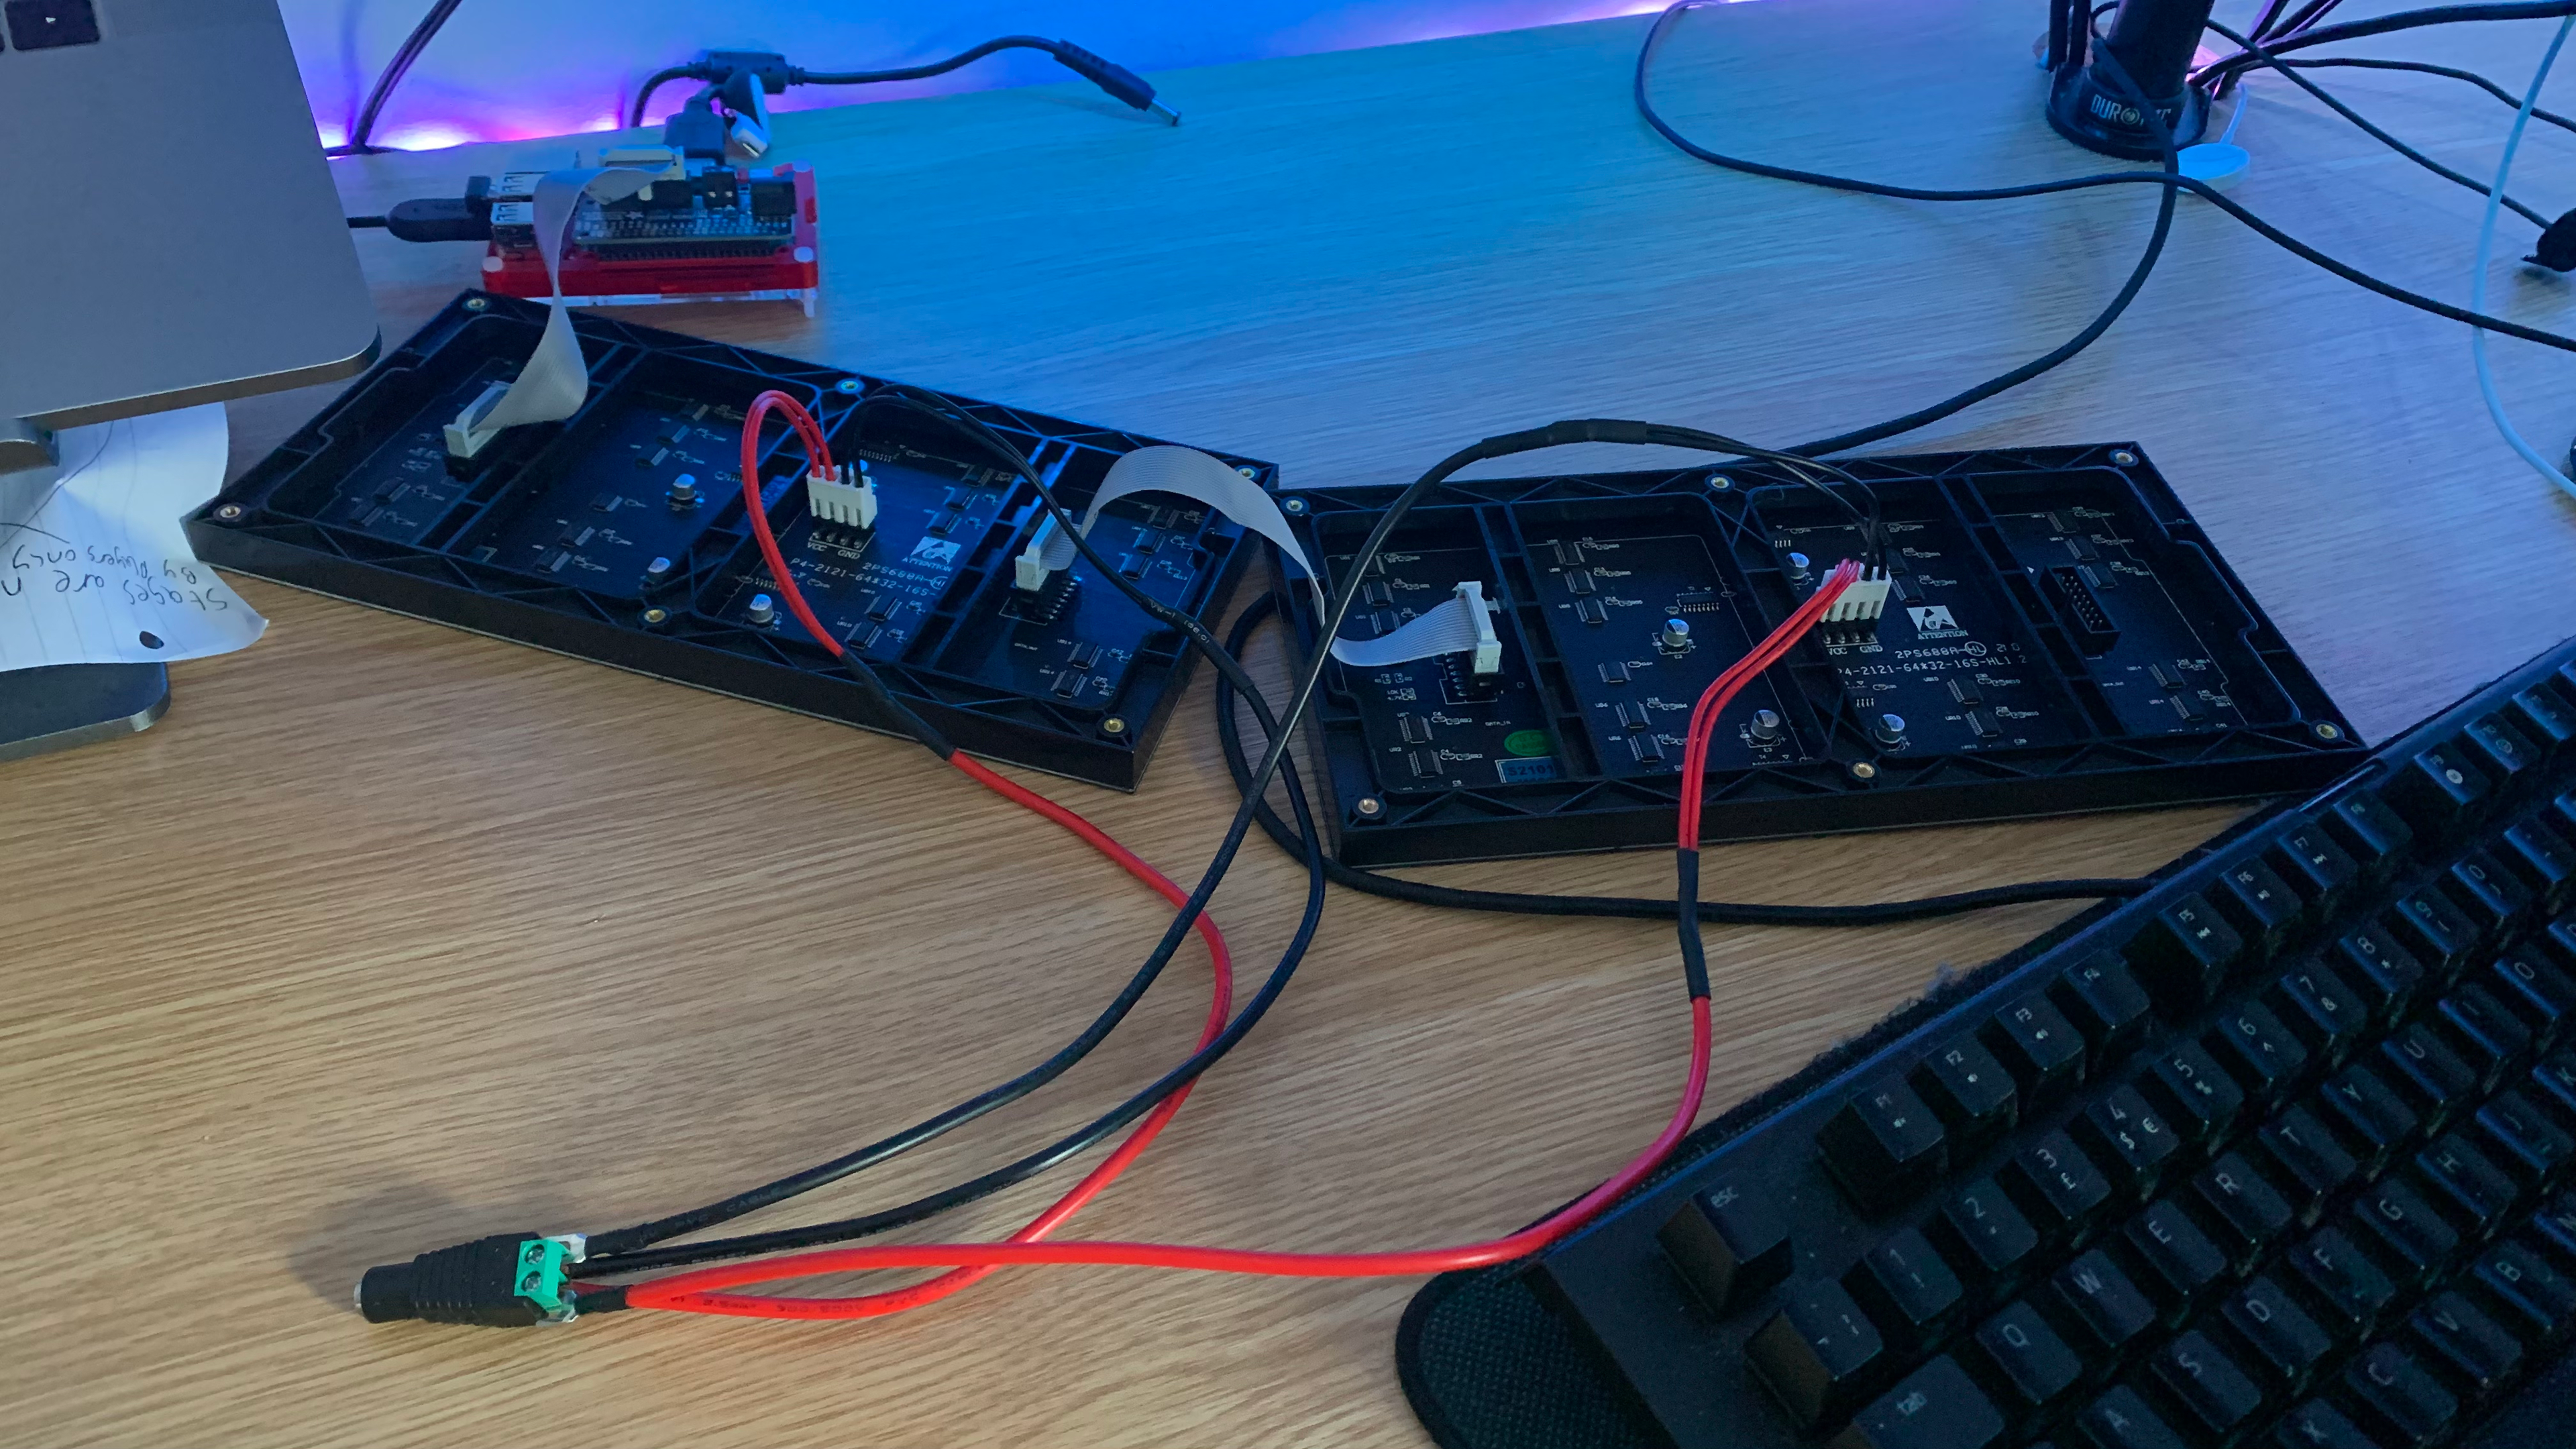
Power Struggles
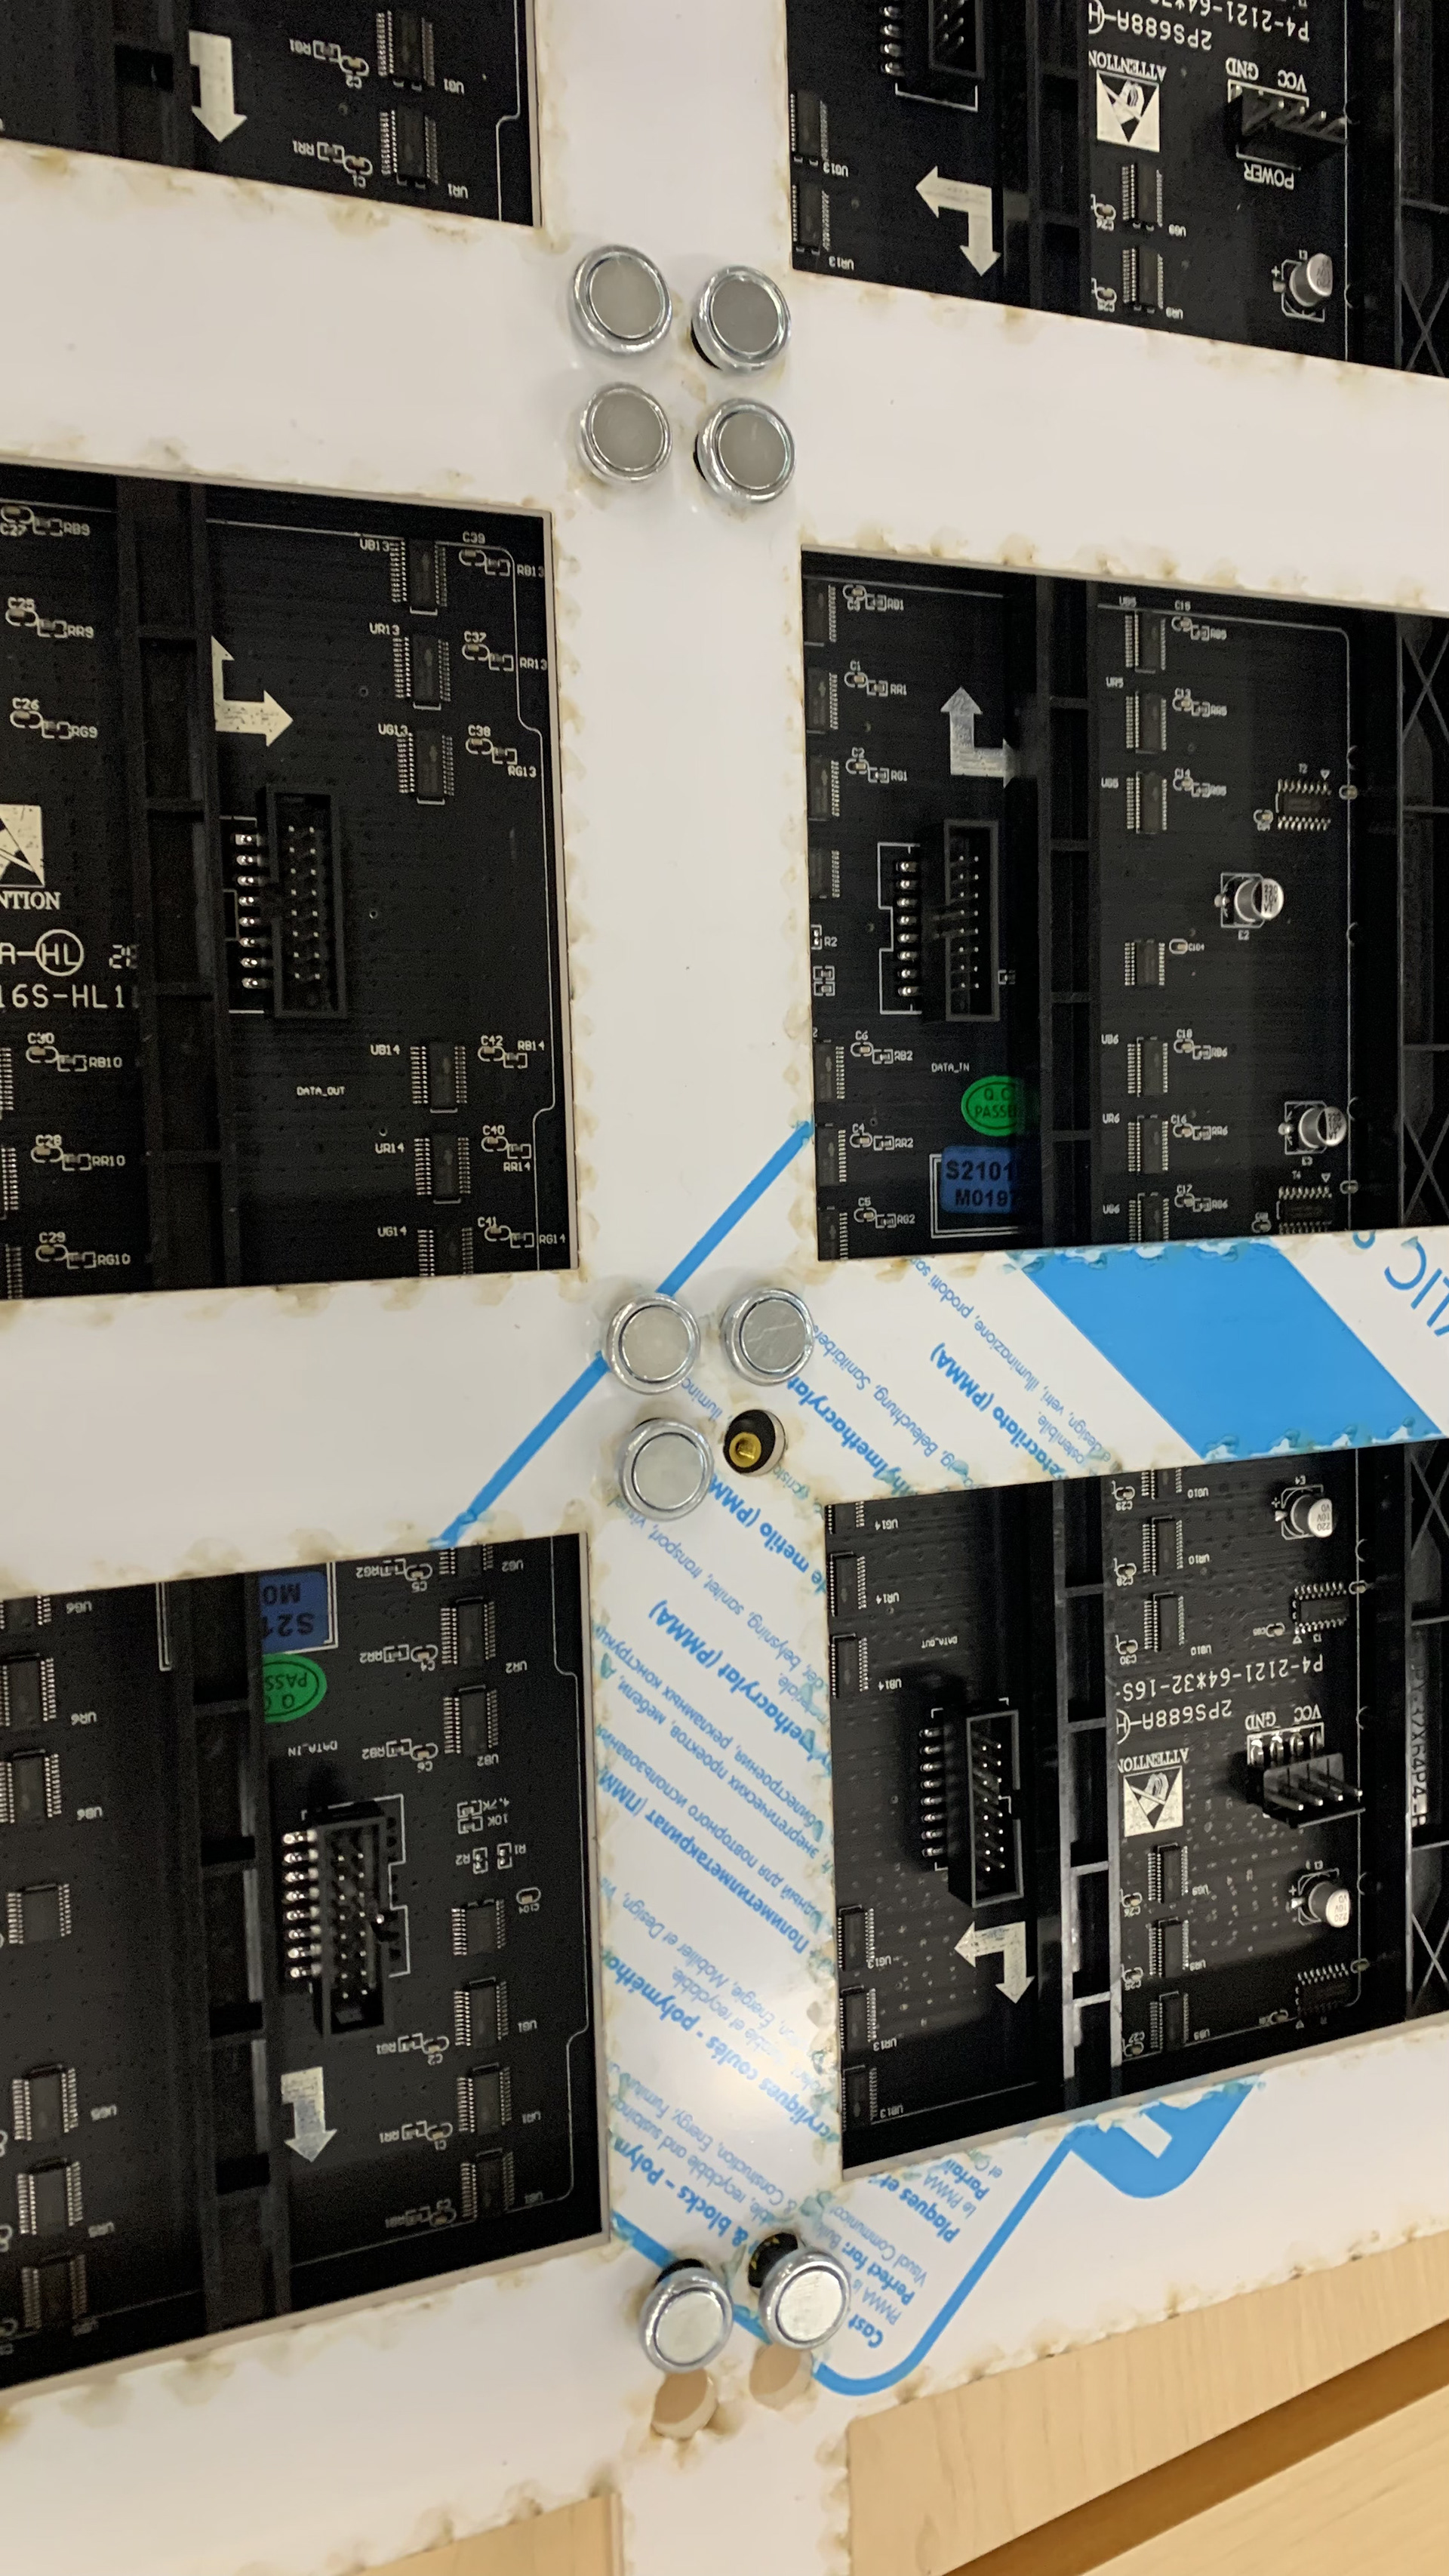
When scaling up to a second panel successfully, issues with powering a 3rd display began. When trying to add this third panel it became clear that wiring each panels live and ground cables into the small 2.1mm terminal plug would simply not fit. A solution would quickly be found, but not without a delay on the project as power distribution buses would need to be ordered. We would also need to remember we would need separate distributors for both the live and ground cables.
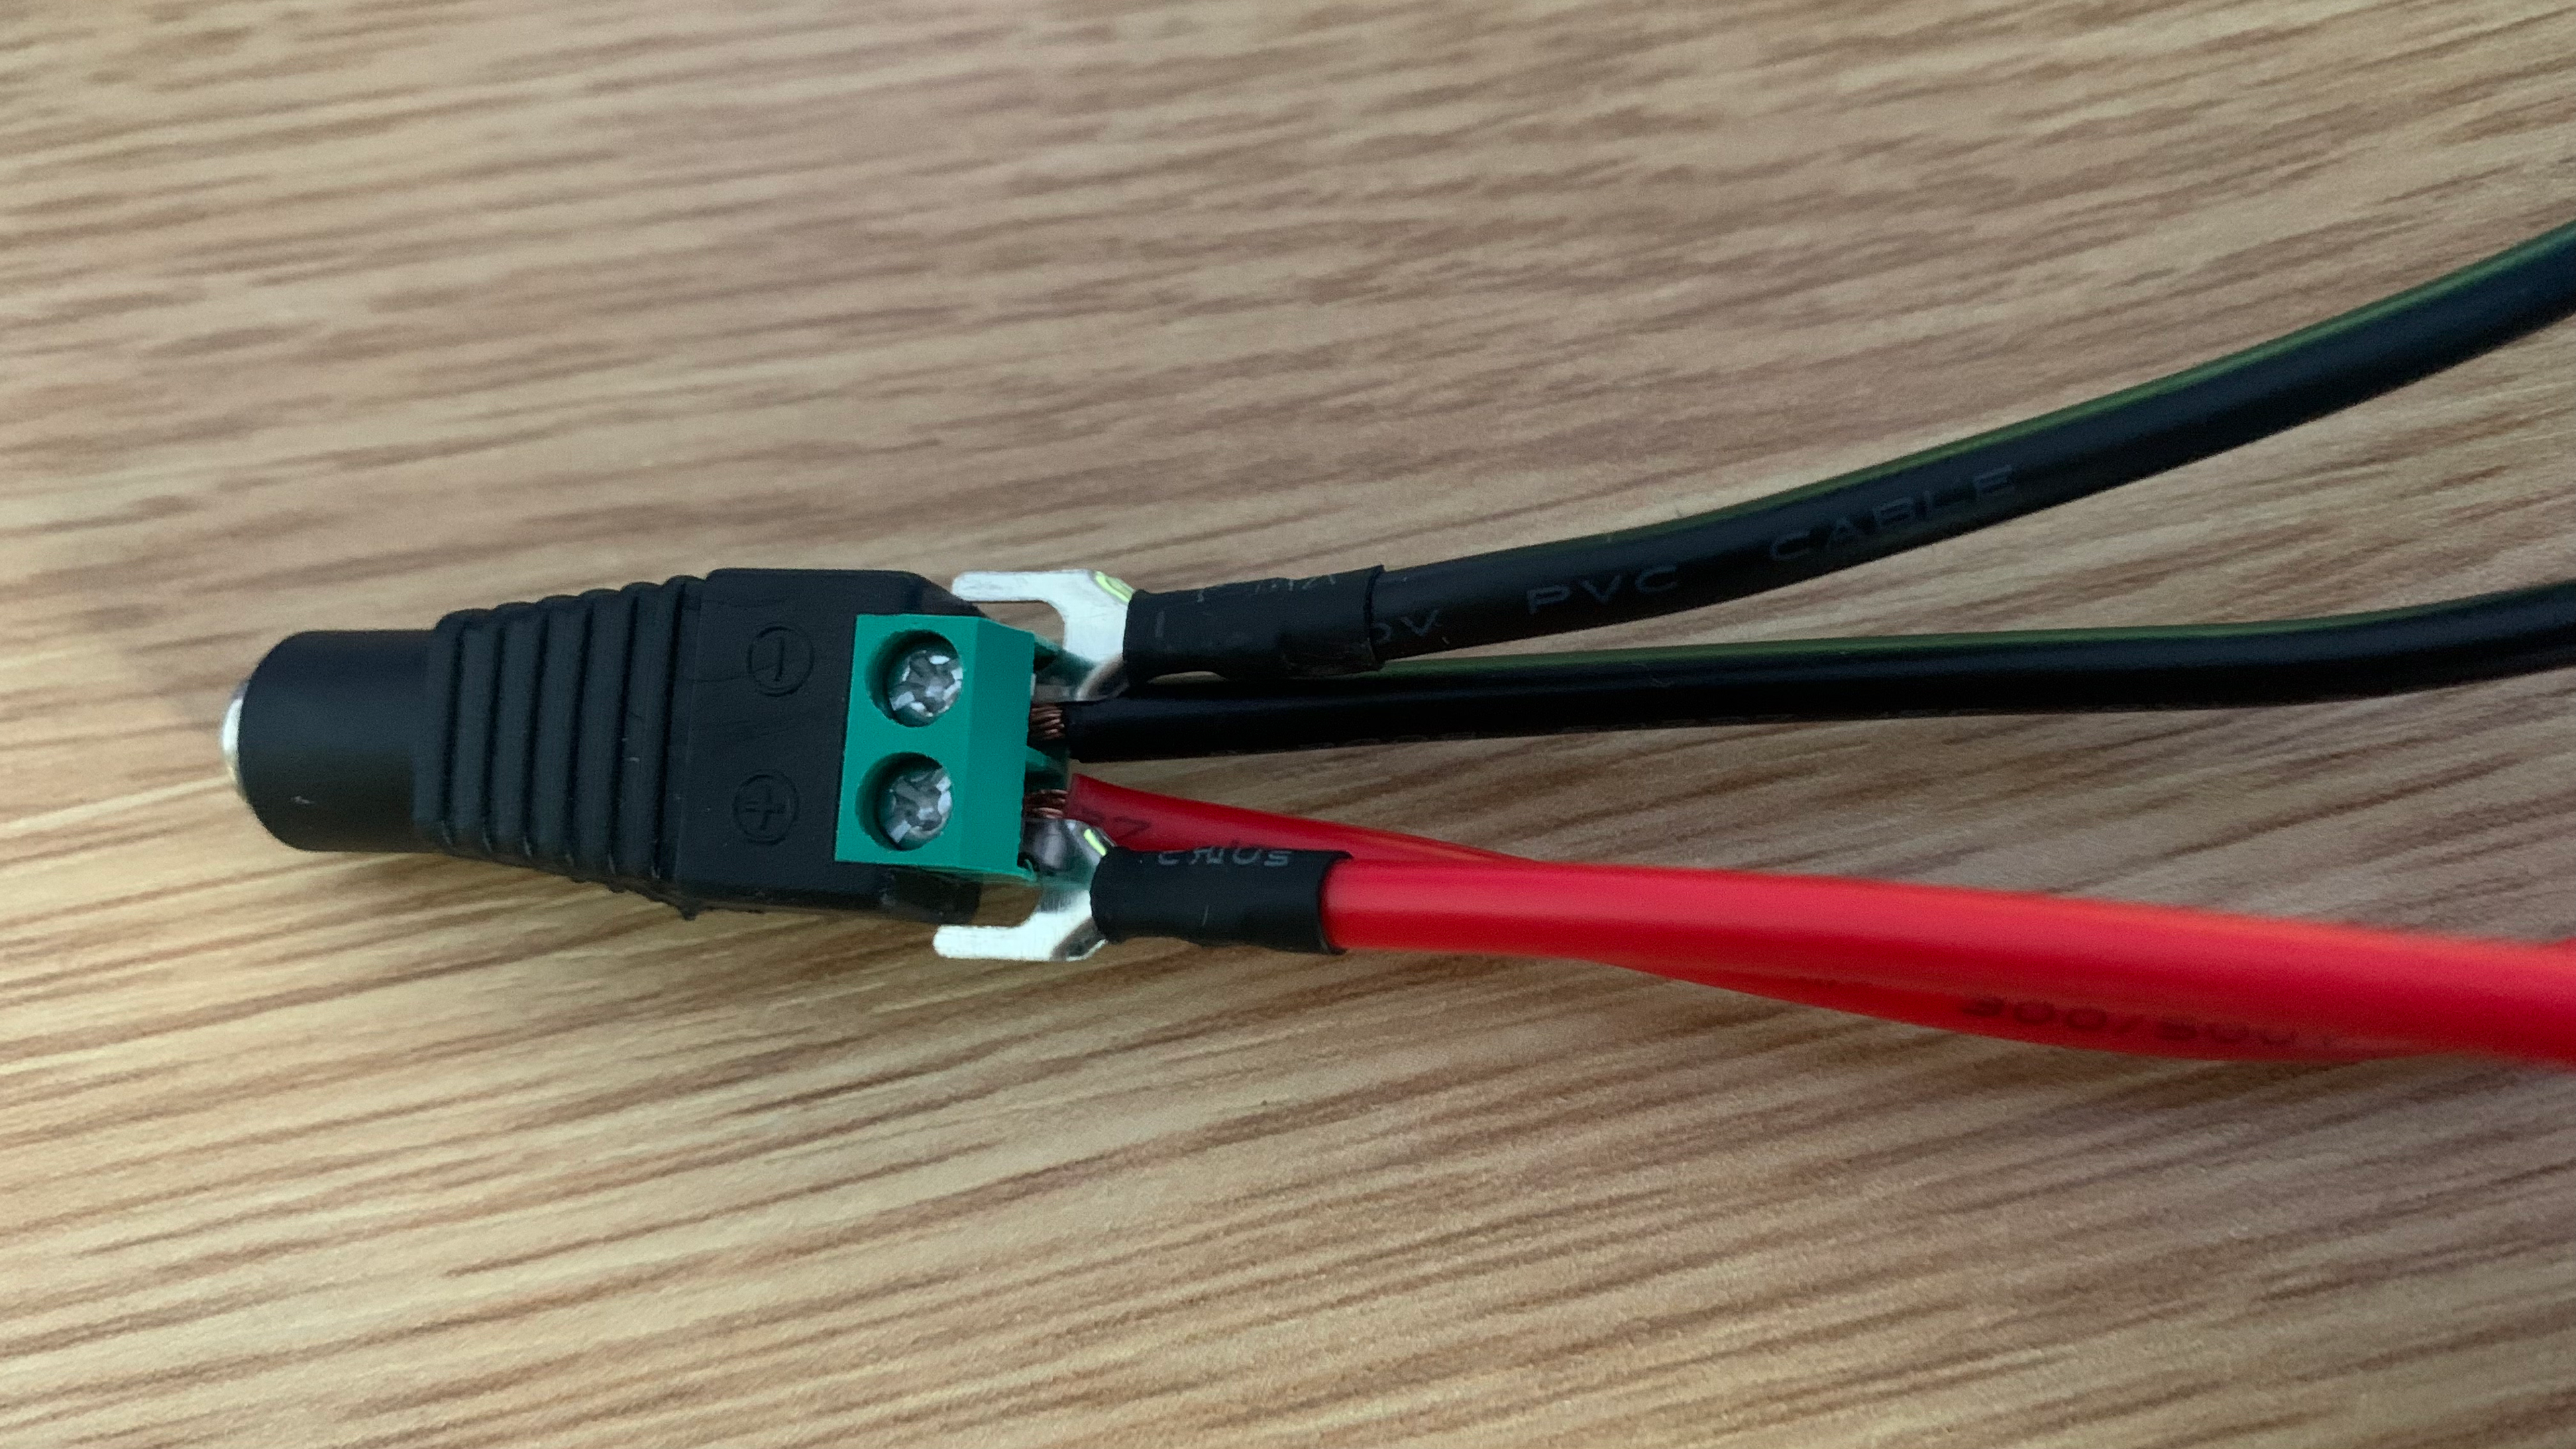

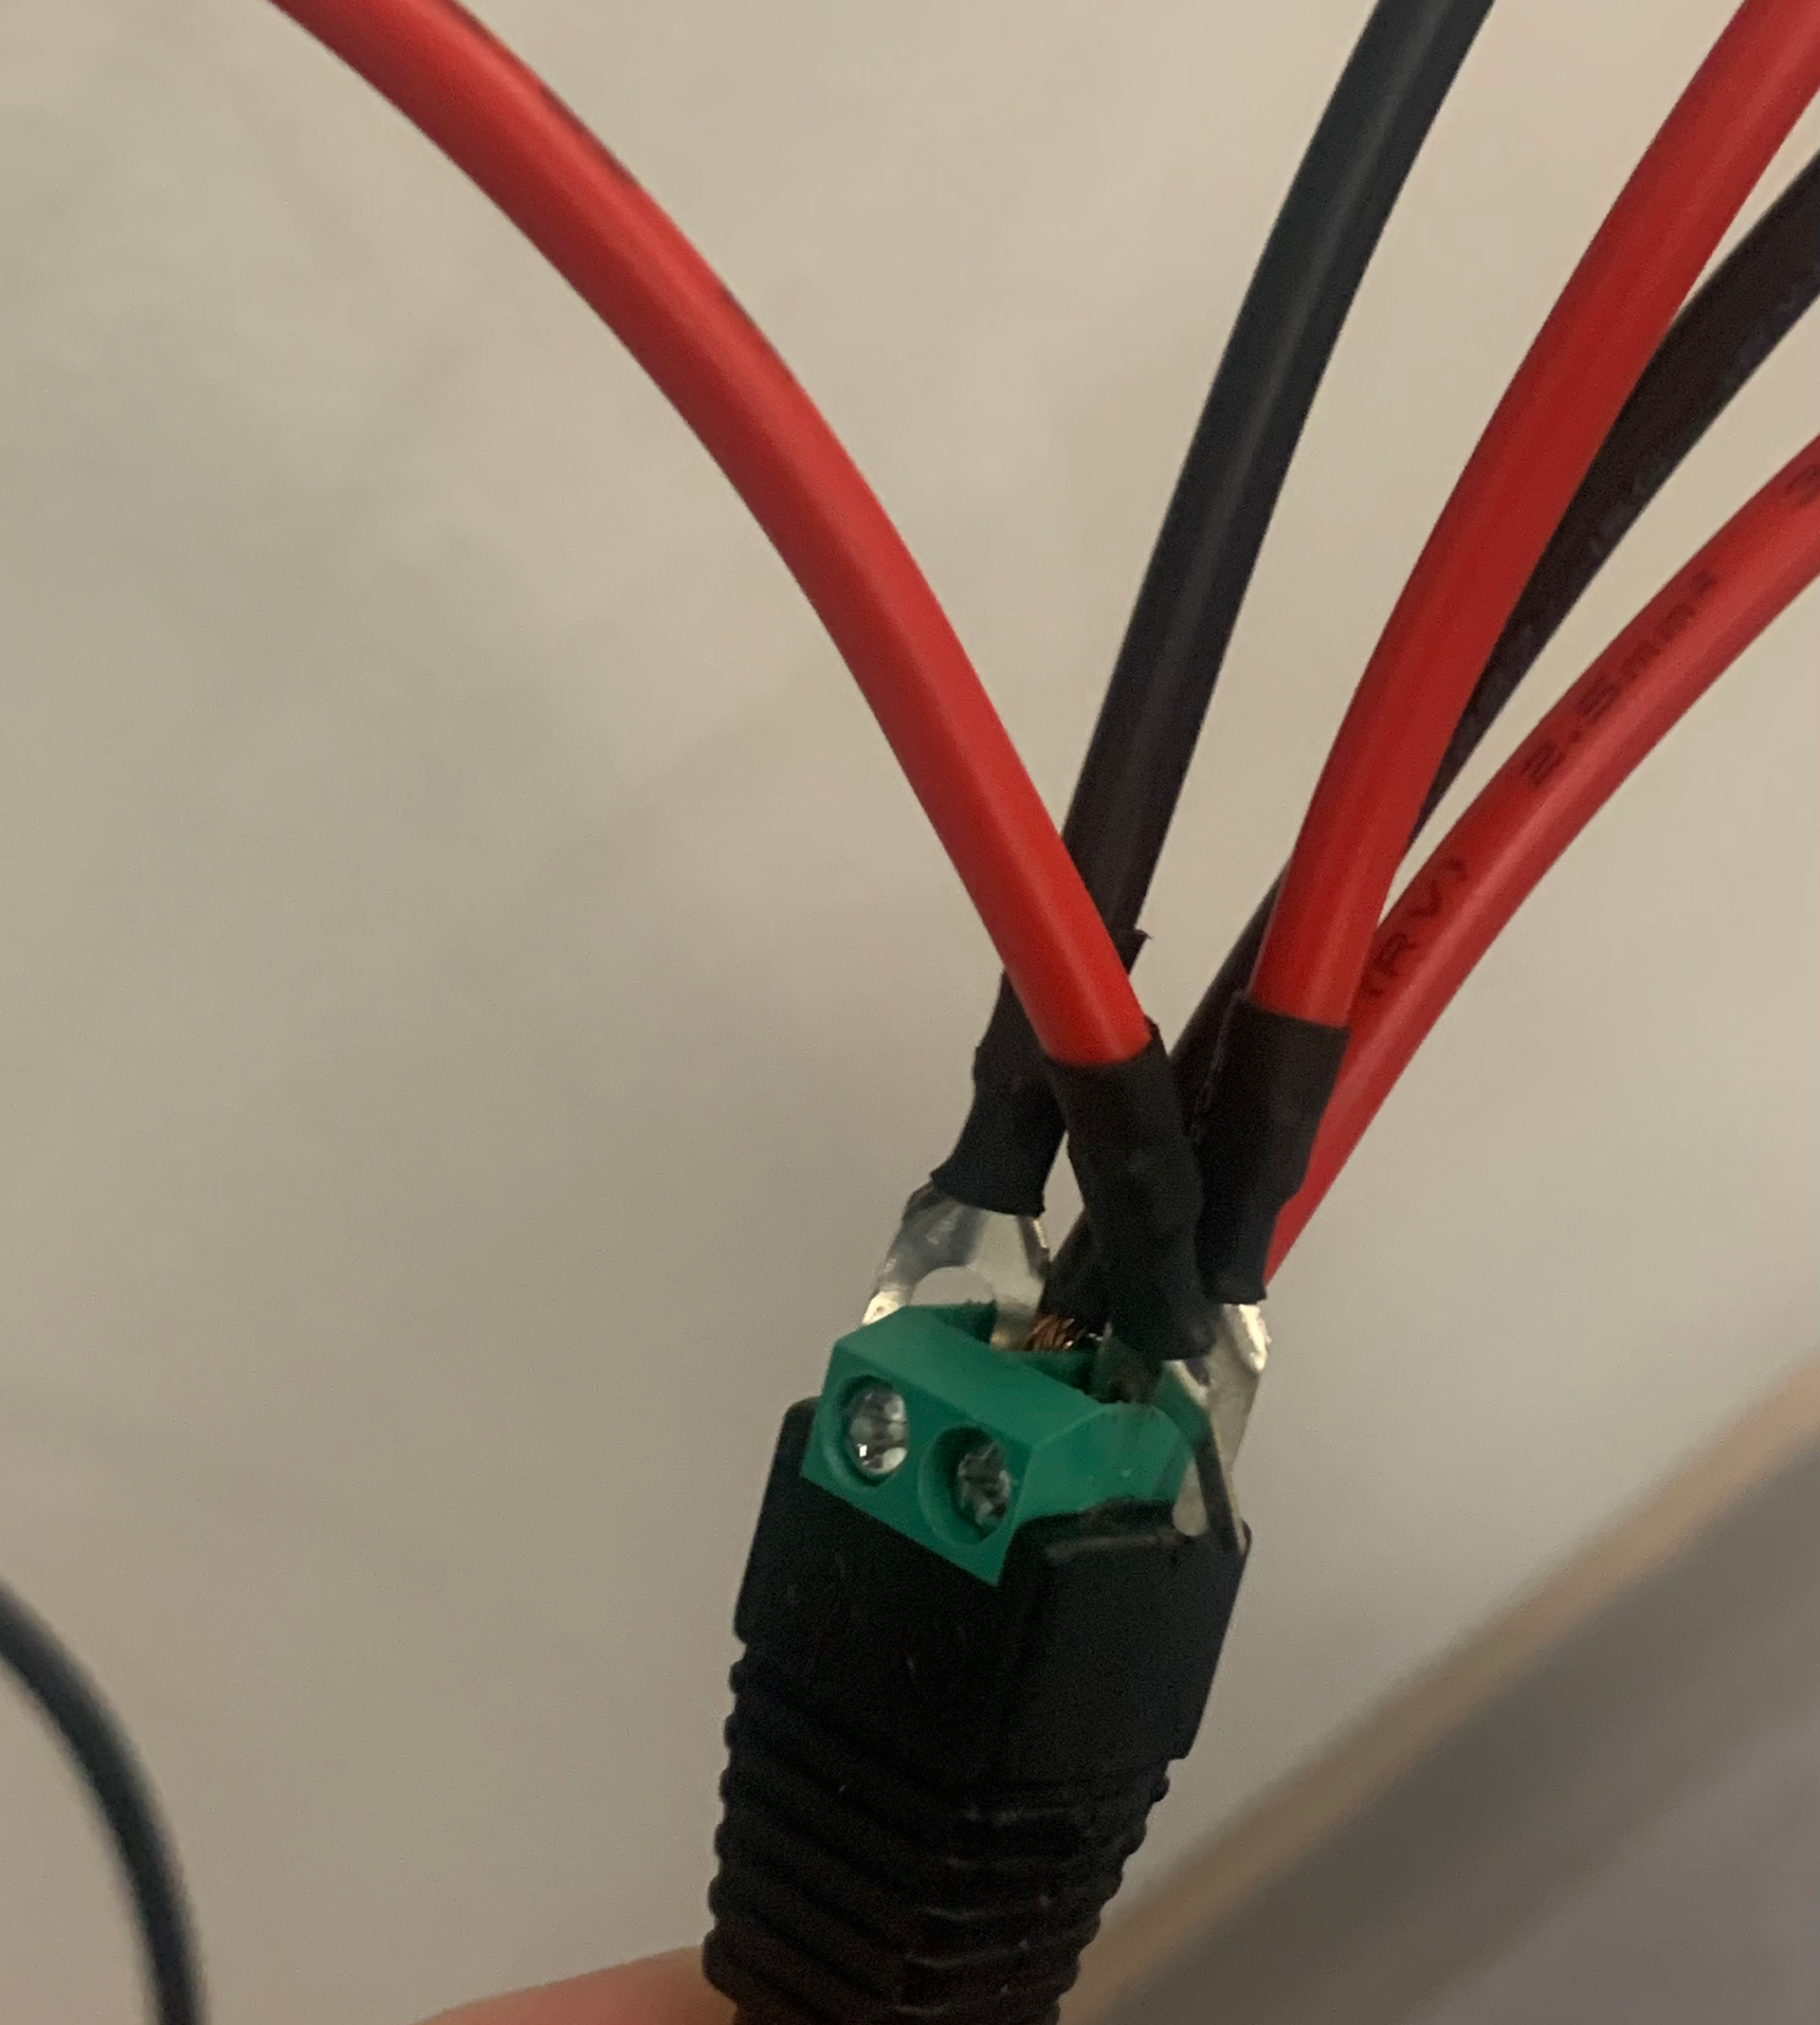
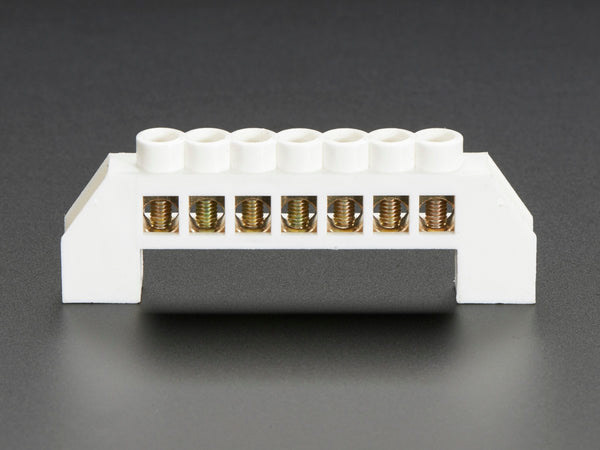
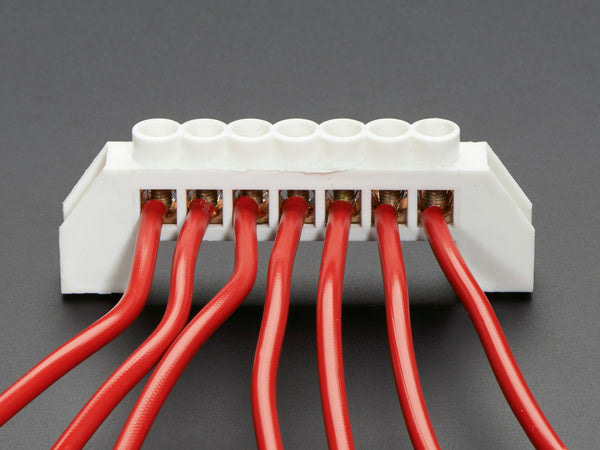
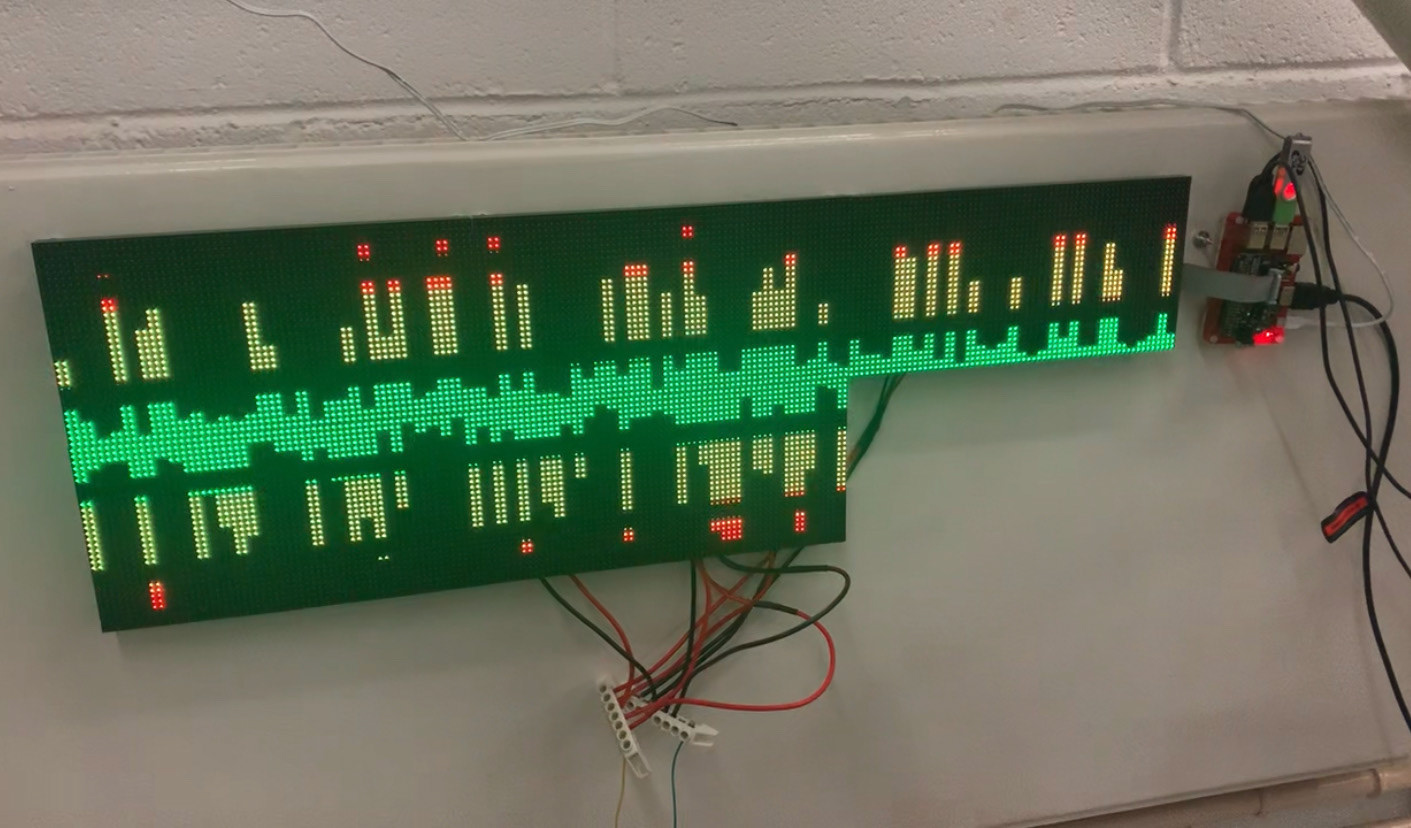
Image 4-5: https://thepihut.com/products/power-distribution-bus-7-x-6mm-diameter-solid-brass
Sketches
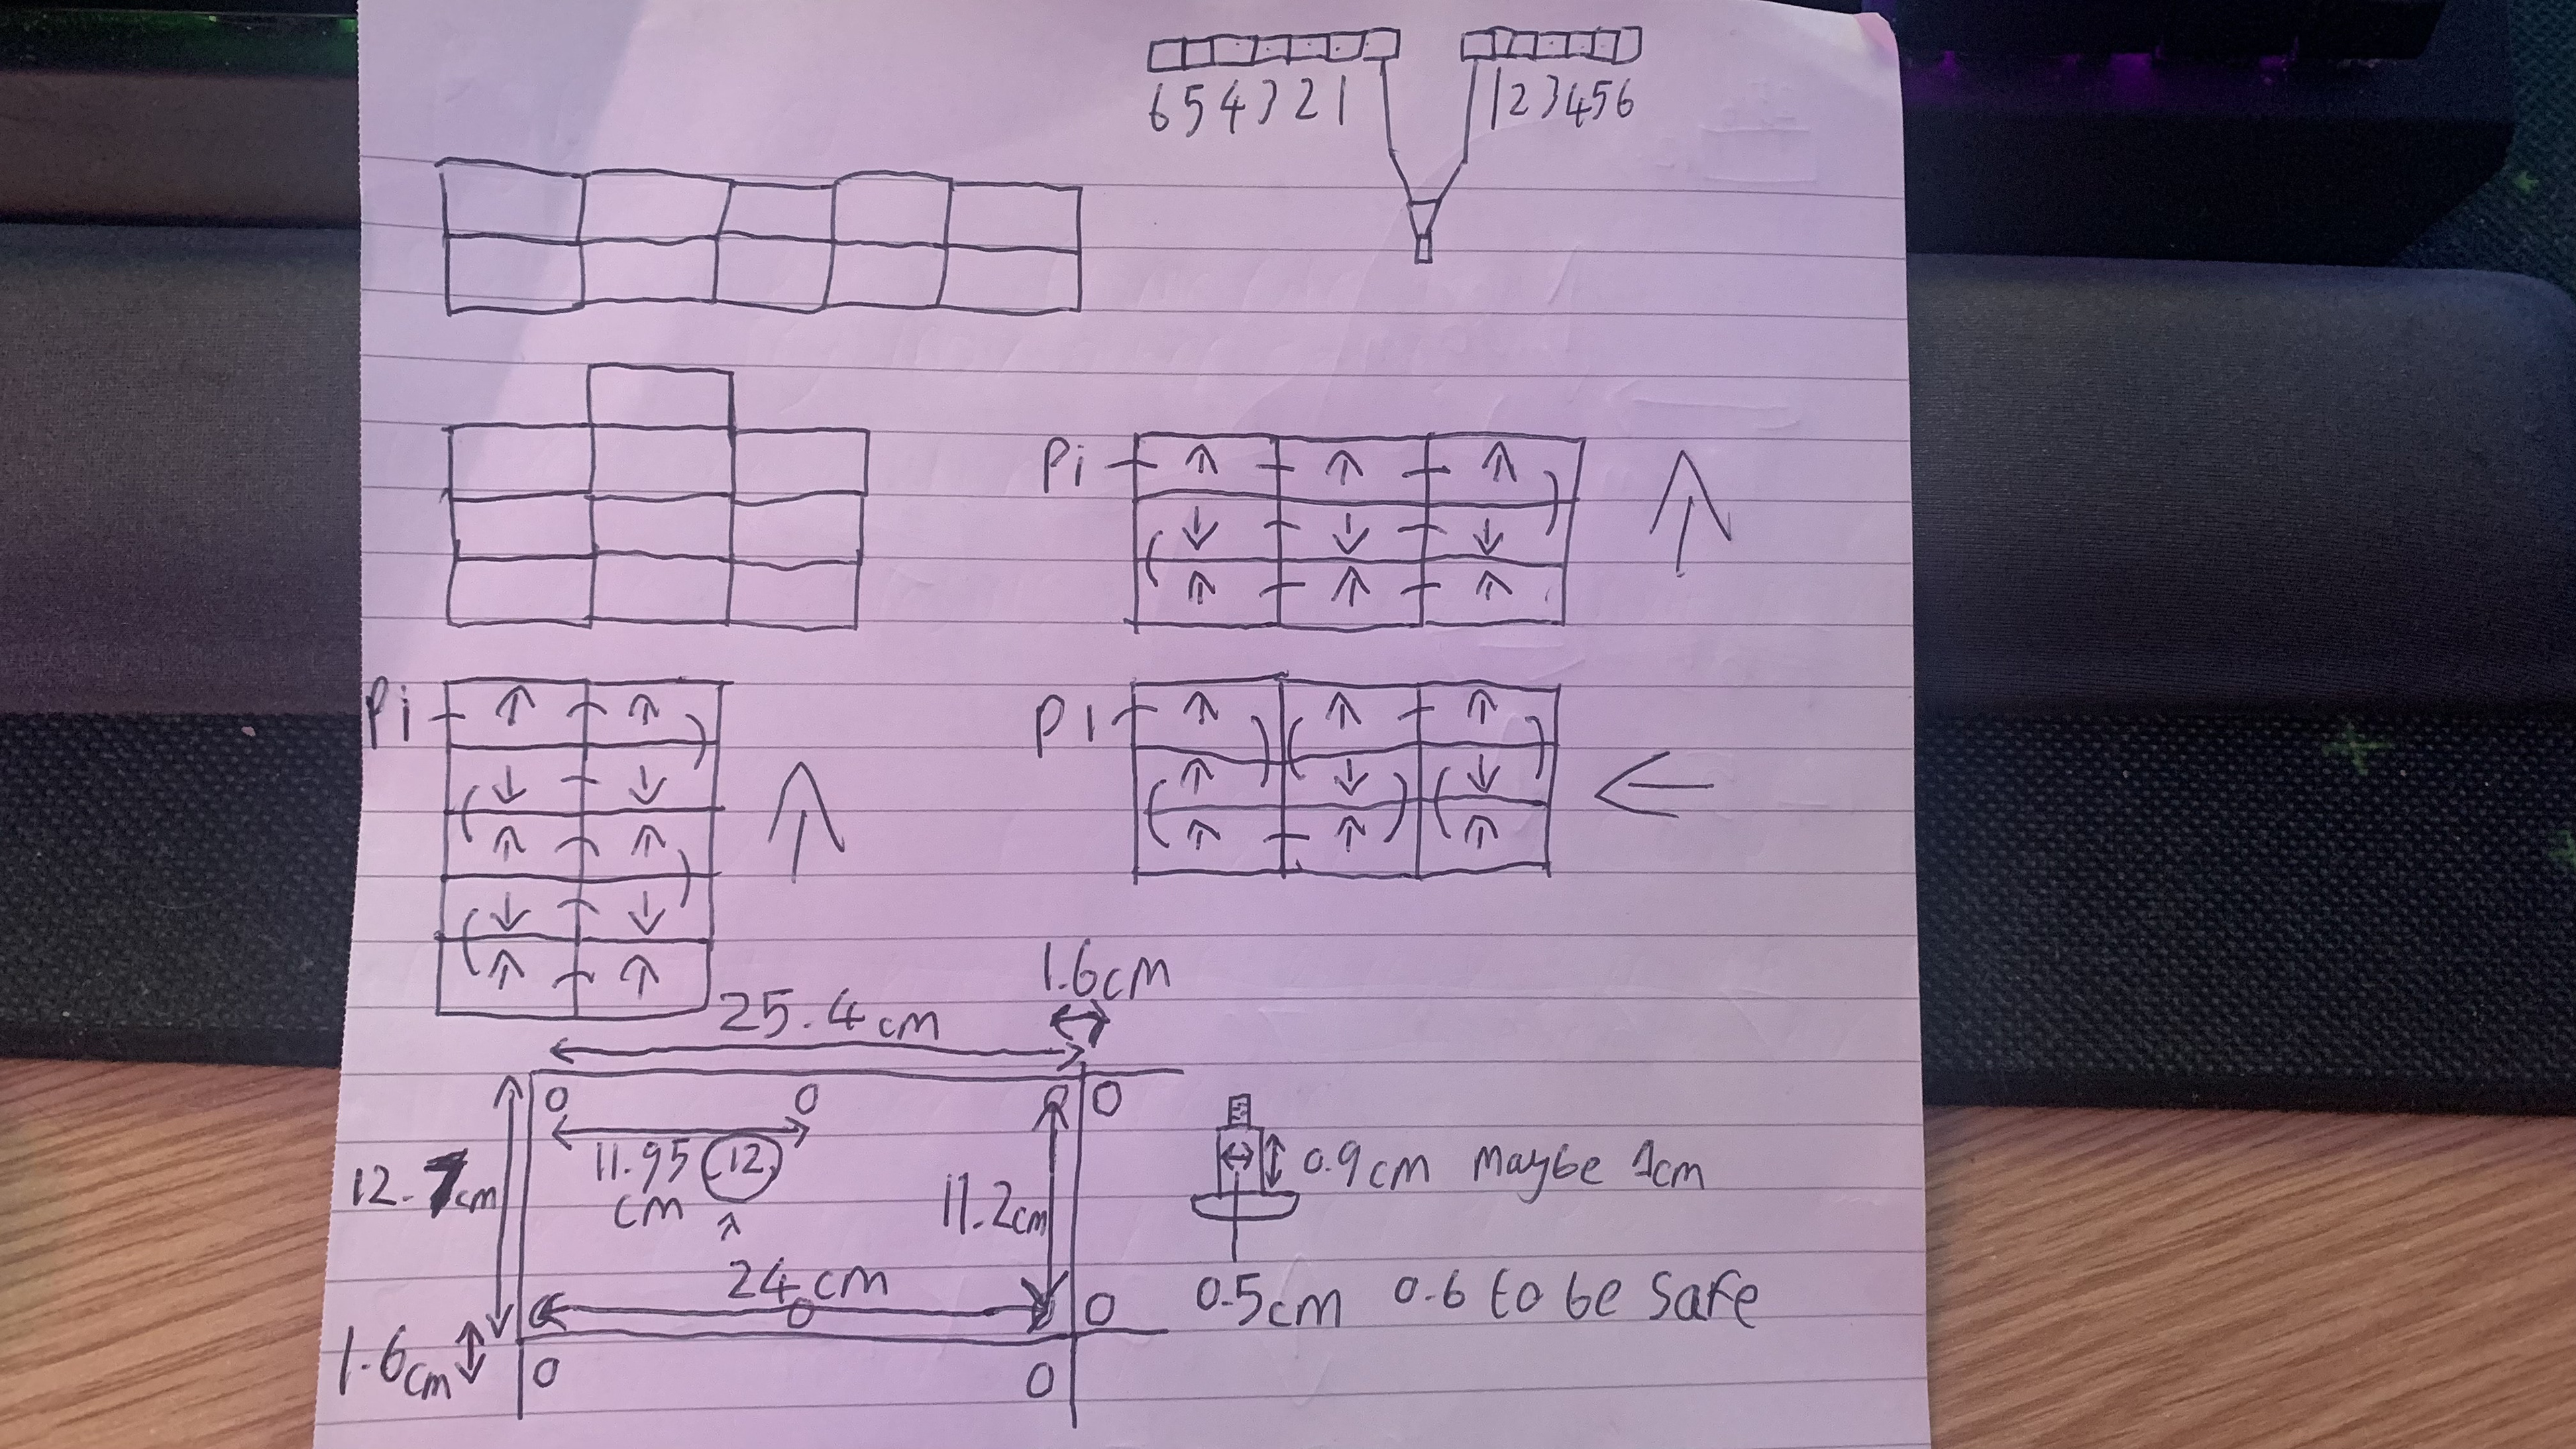
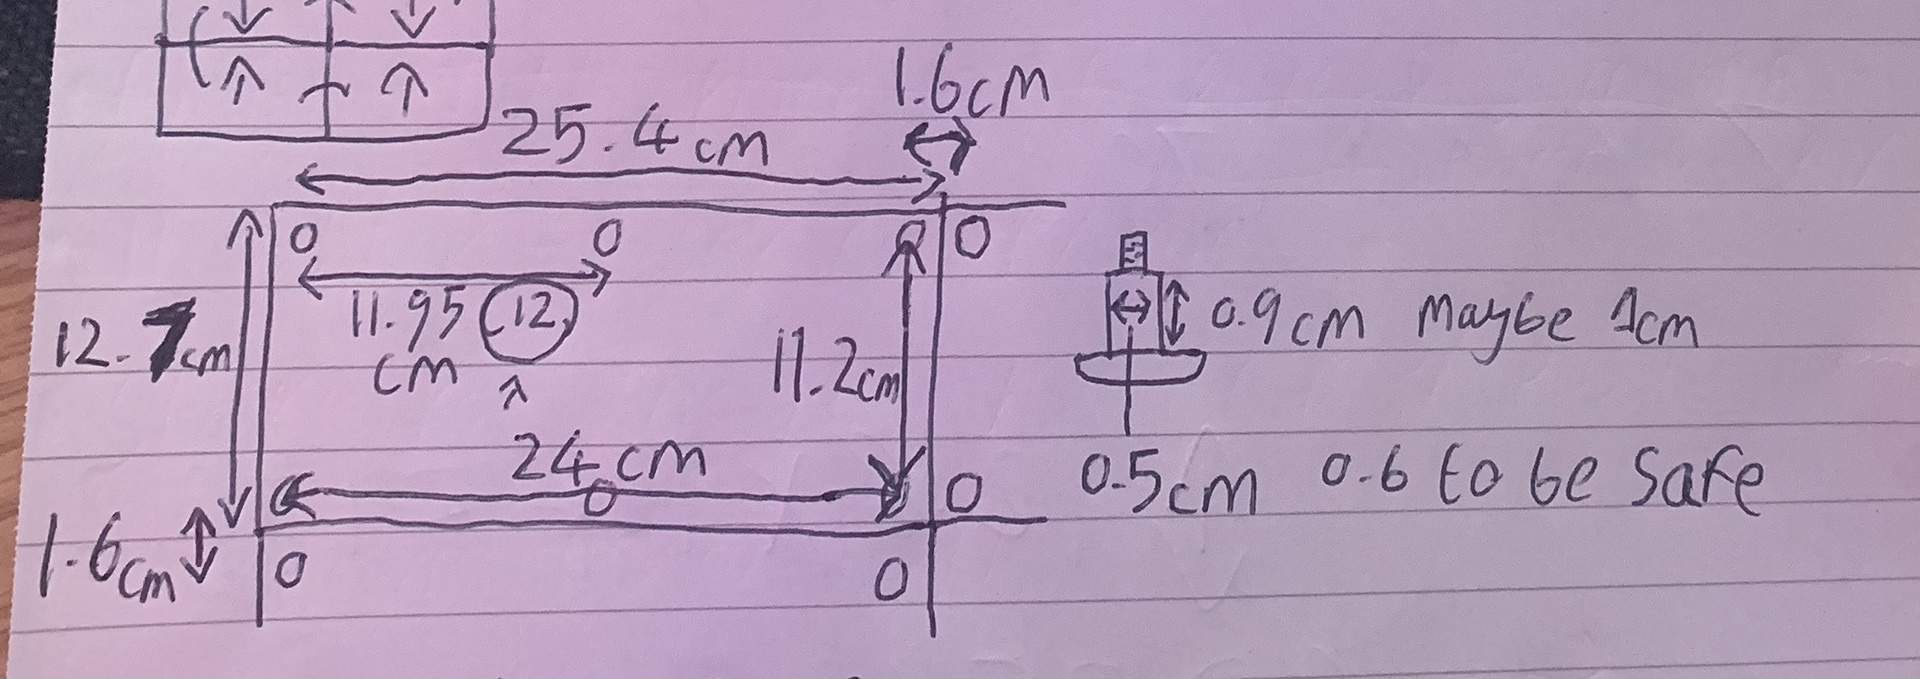
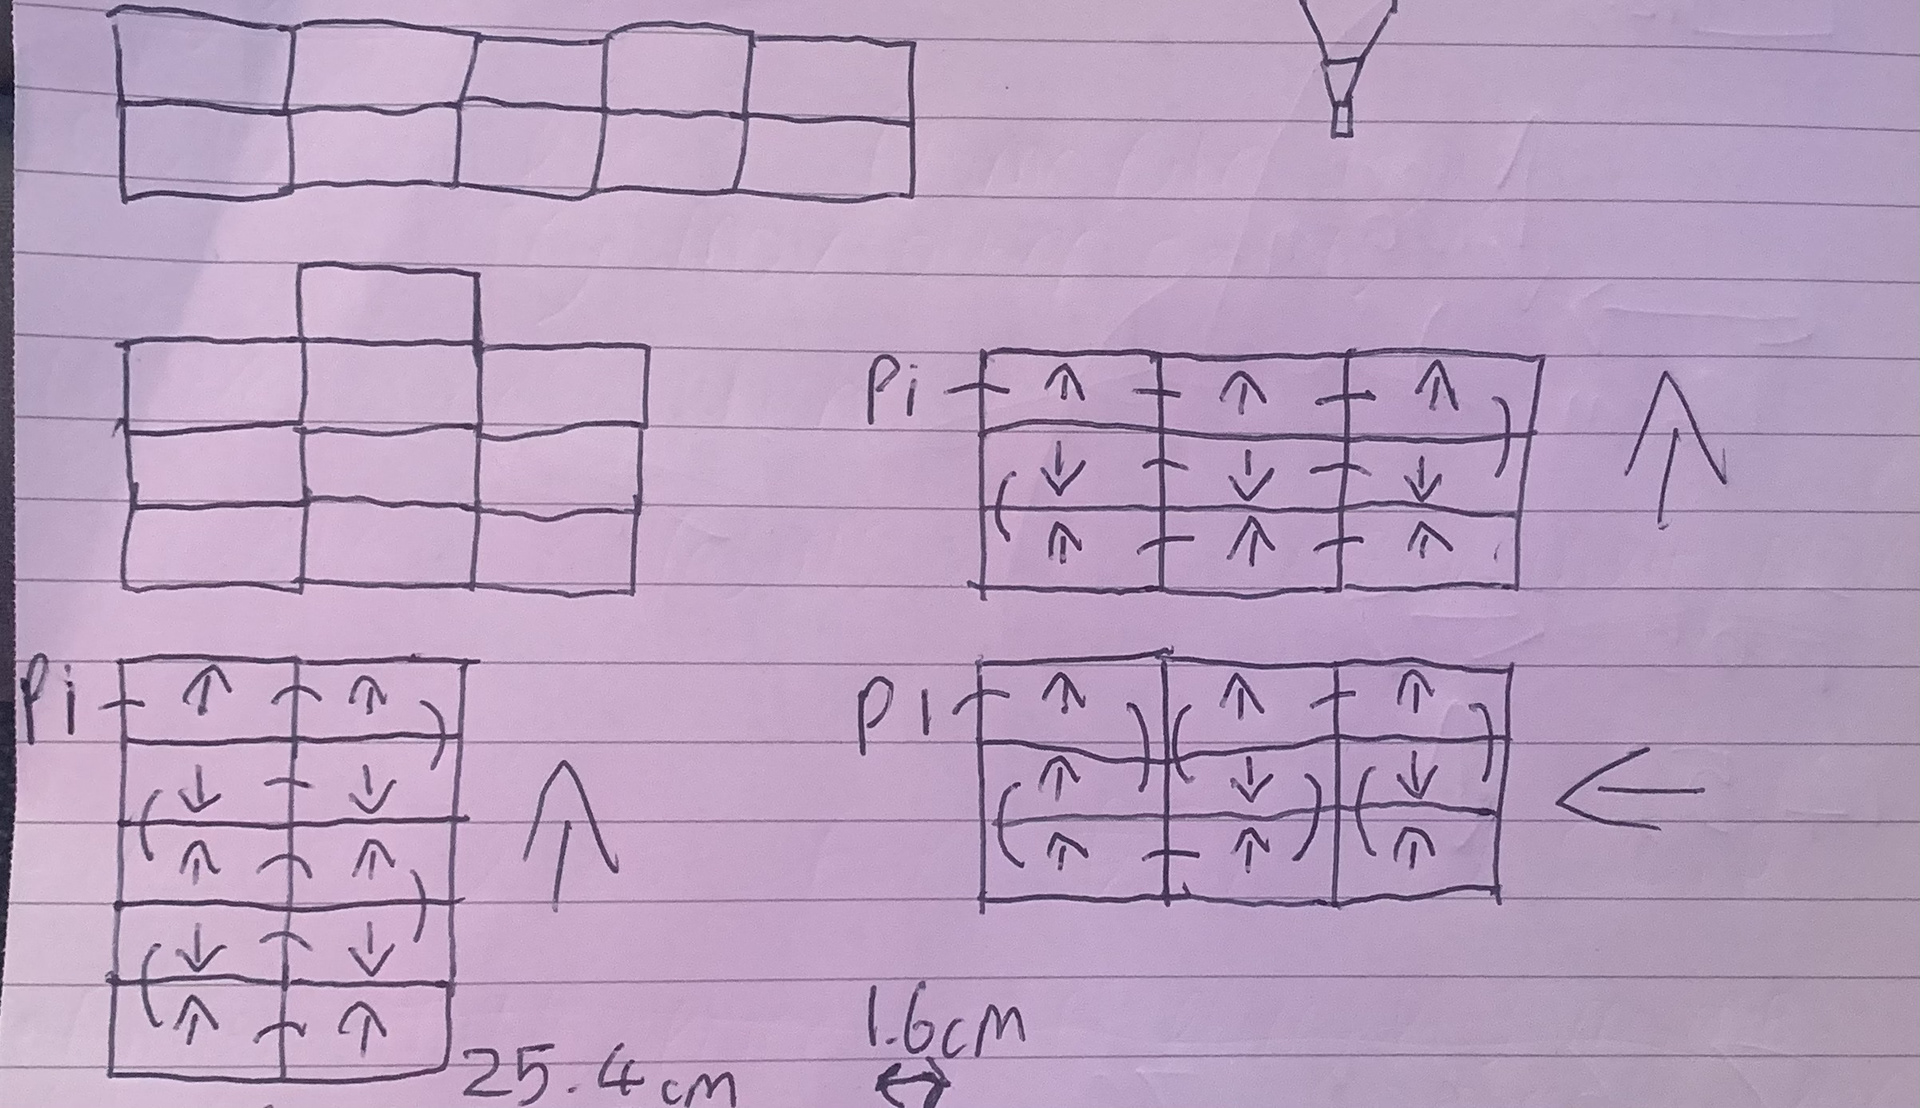
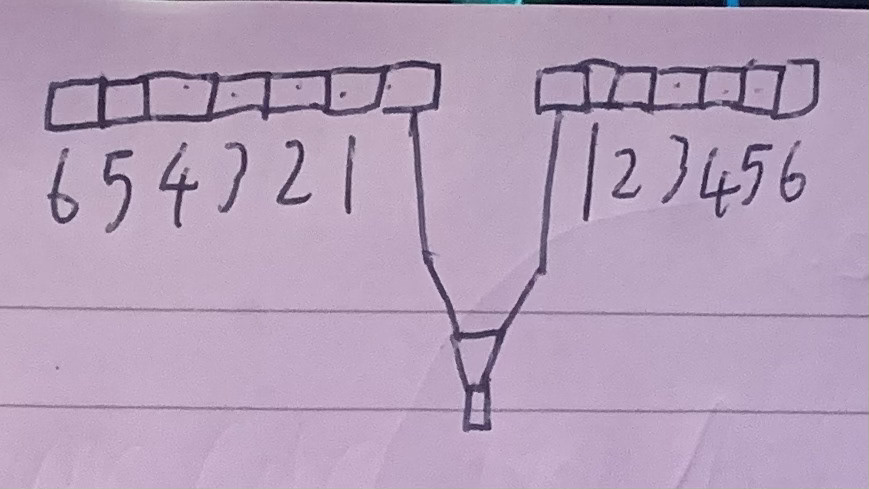
Below shows some of many different sketches done though out the project. The sketches below have been drawn to get a better understanding of 3 separate topics.
1. How can 10 panels can be best utilised together? Layout?
2. Measurements of each panel for creating a frame.
3. How many panels can two power distribution buses take? While still being connected to the plug terminal.
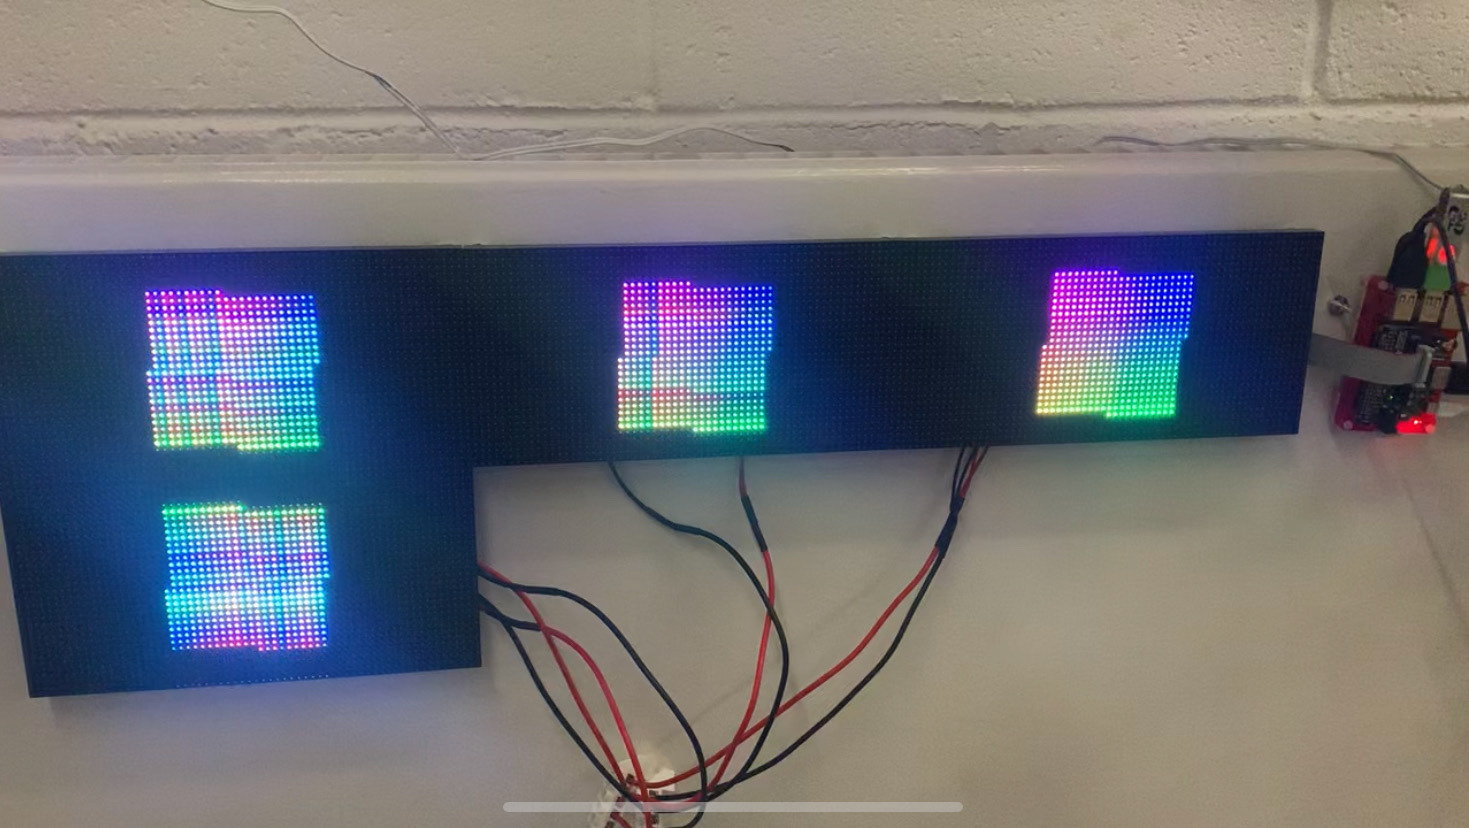
Scaling Up
This is the start of me pushing the project further and scaling up to 4-10 panels. This came with a range of new problems that had to be solved, including the above mentioned power distribution solution. Besides from this there were numerous other issues that arose as I added more panels.
- The first and most easy to spot issue came with the rows not syncing together.
- Making a frame now became necessary, for faster setting up, packing way and easier transportation.
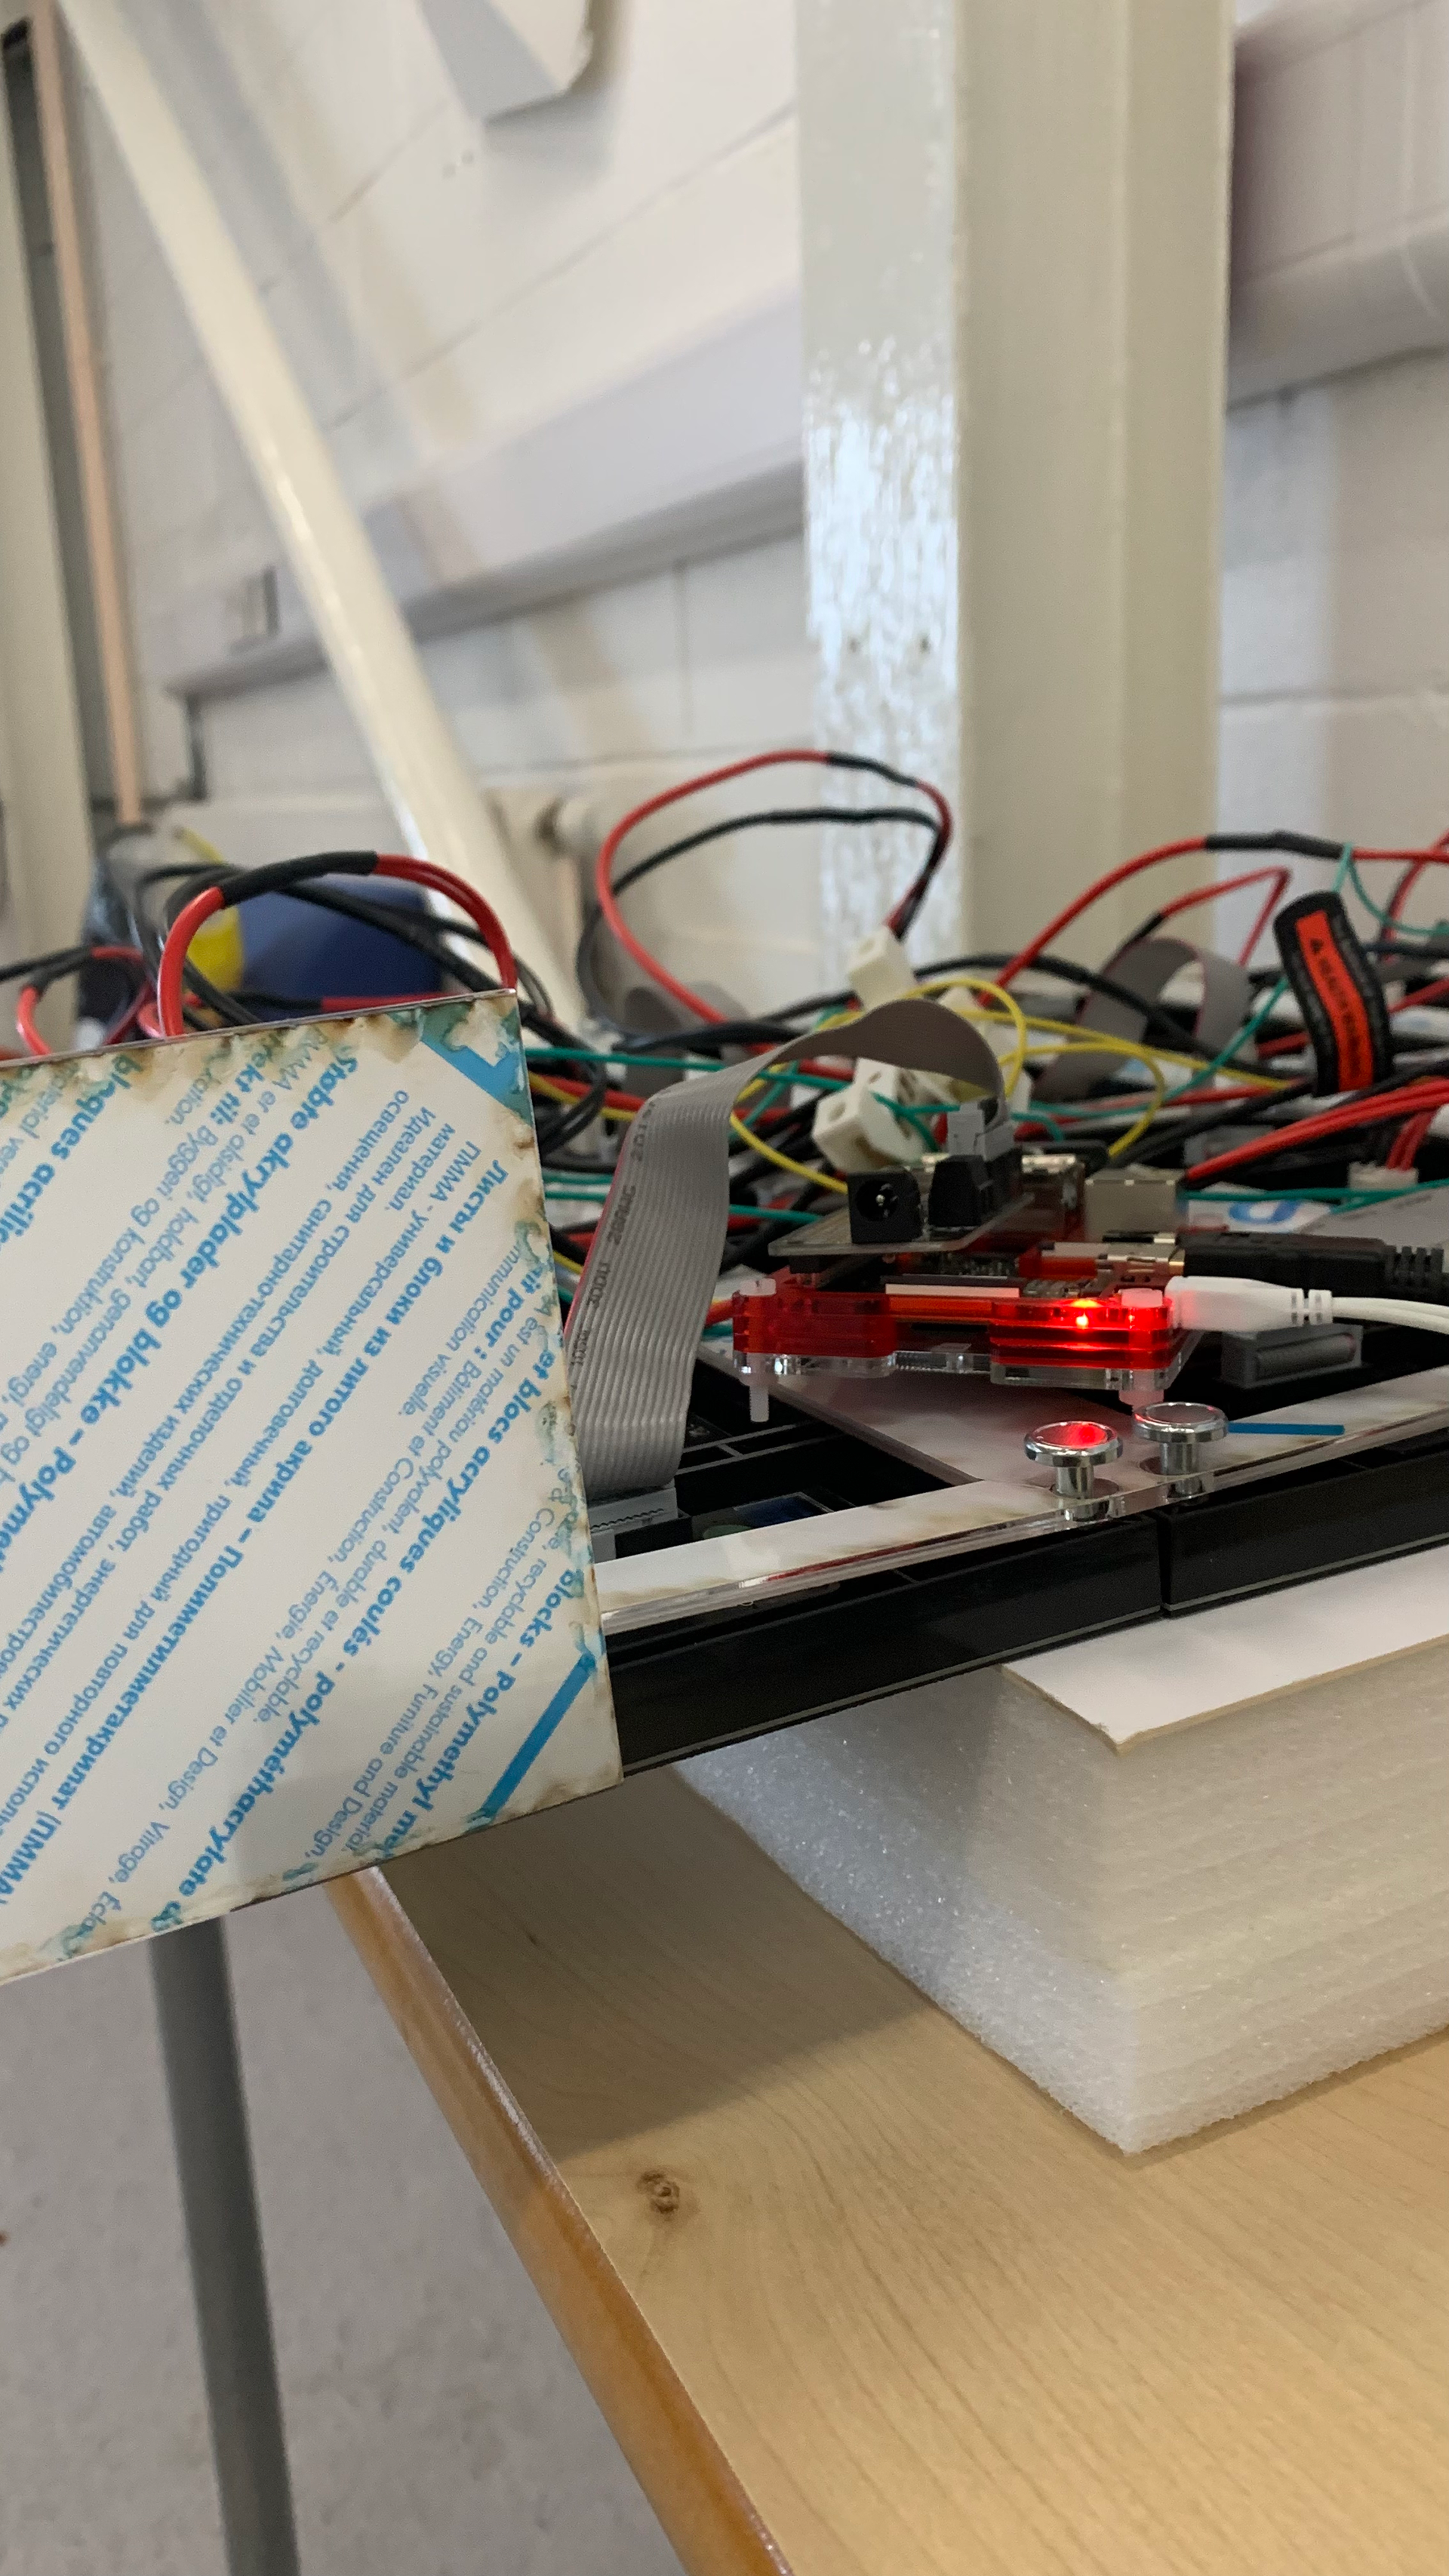
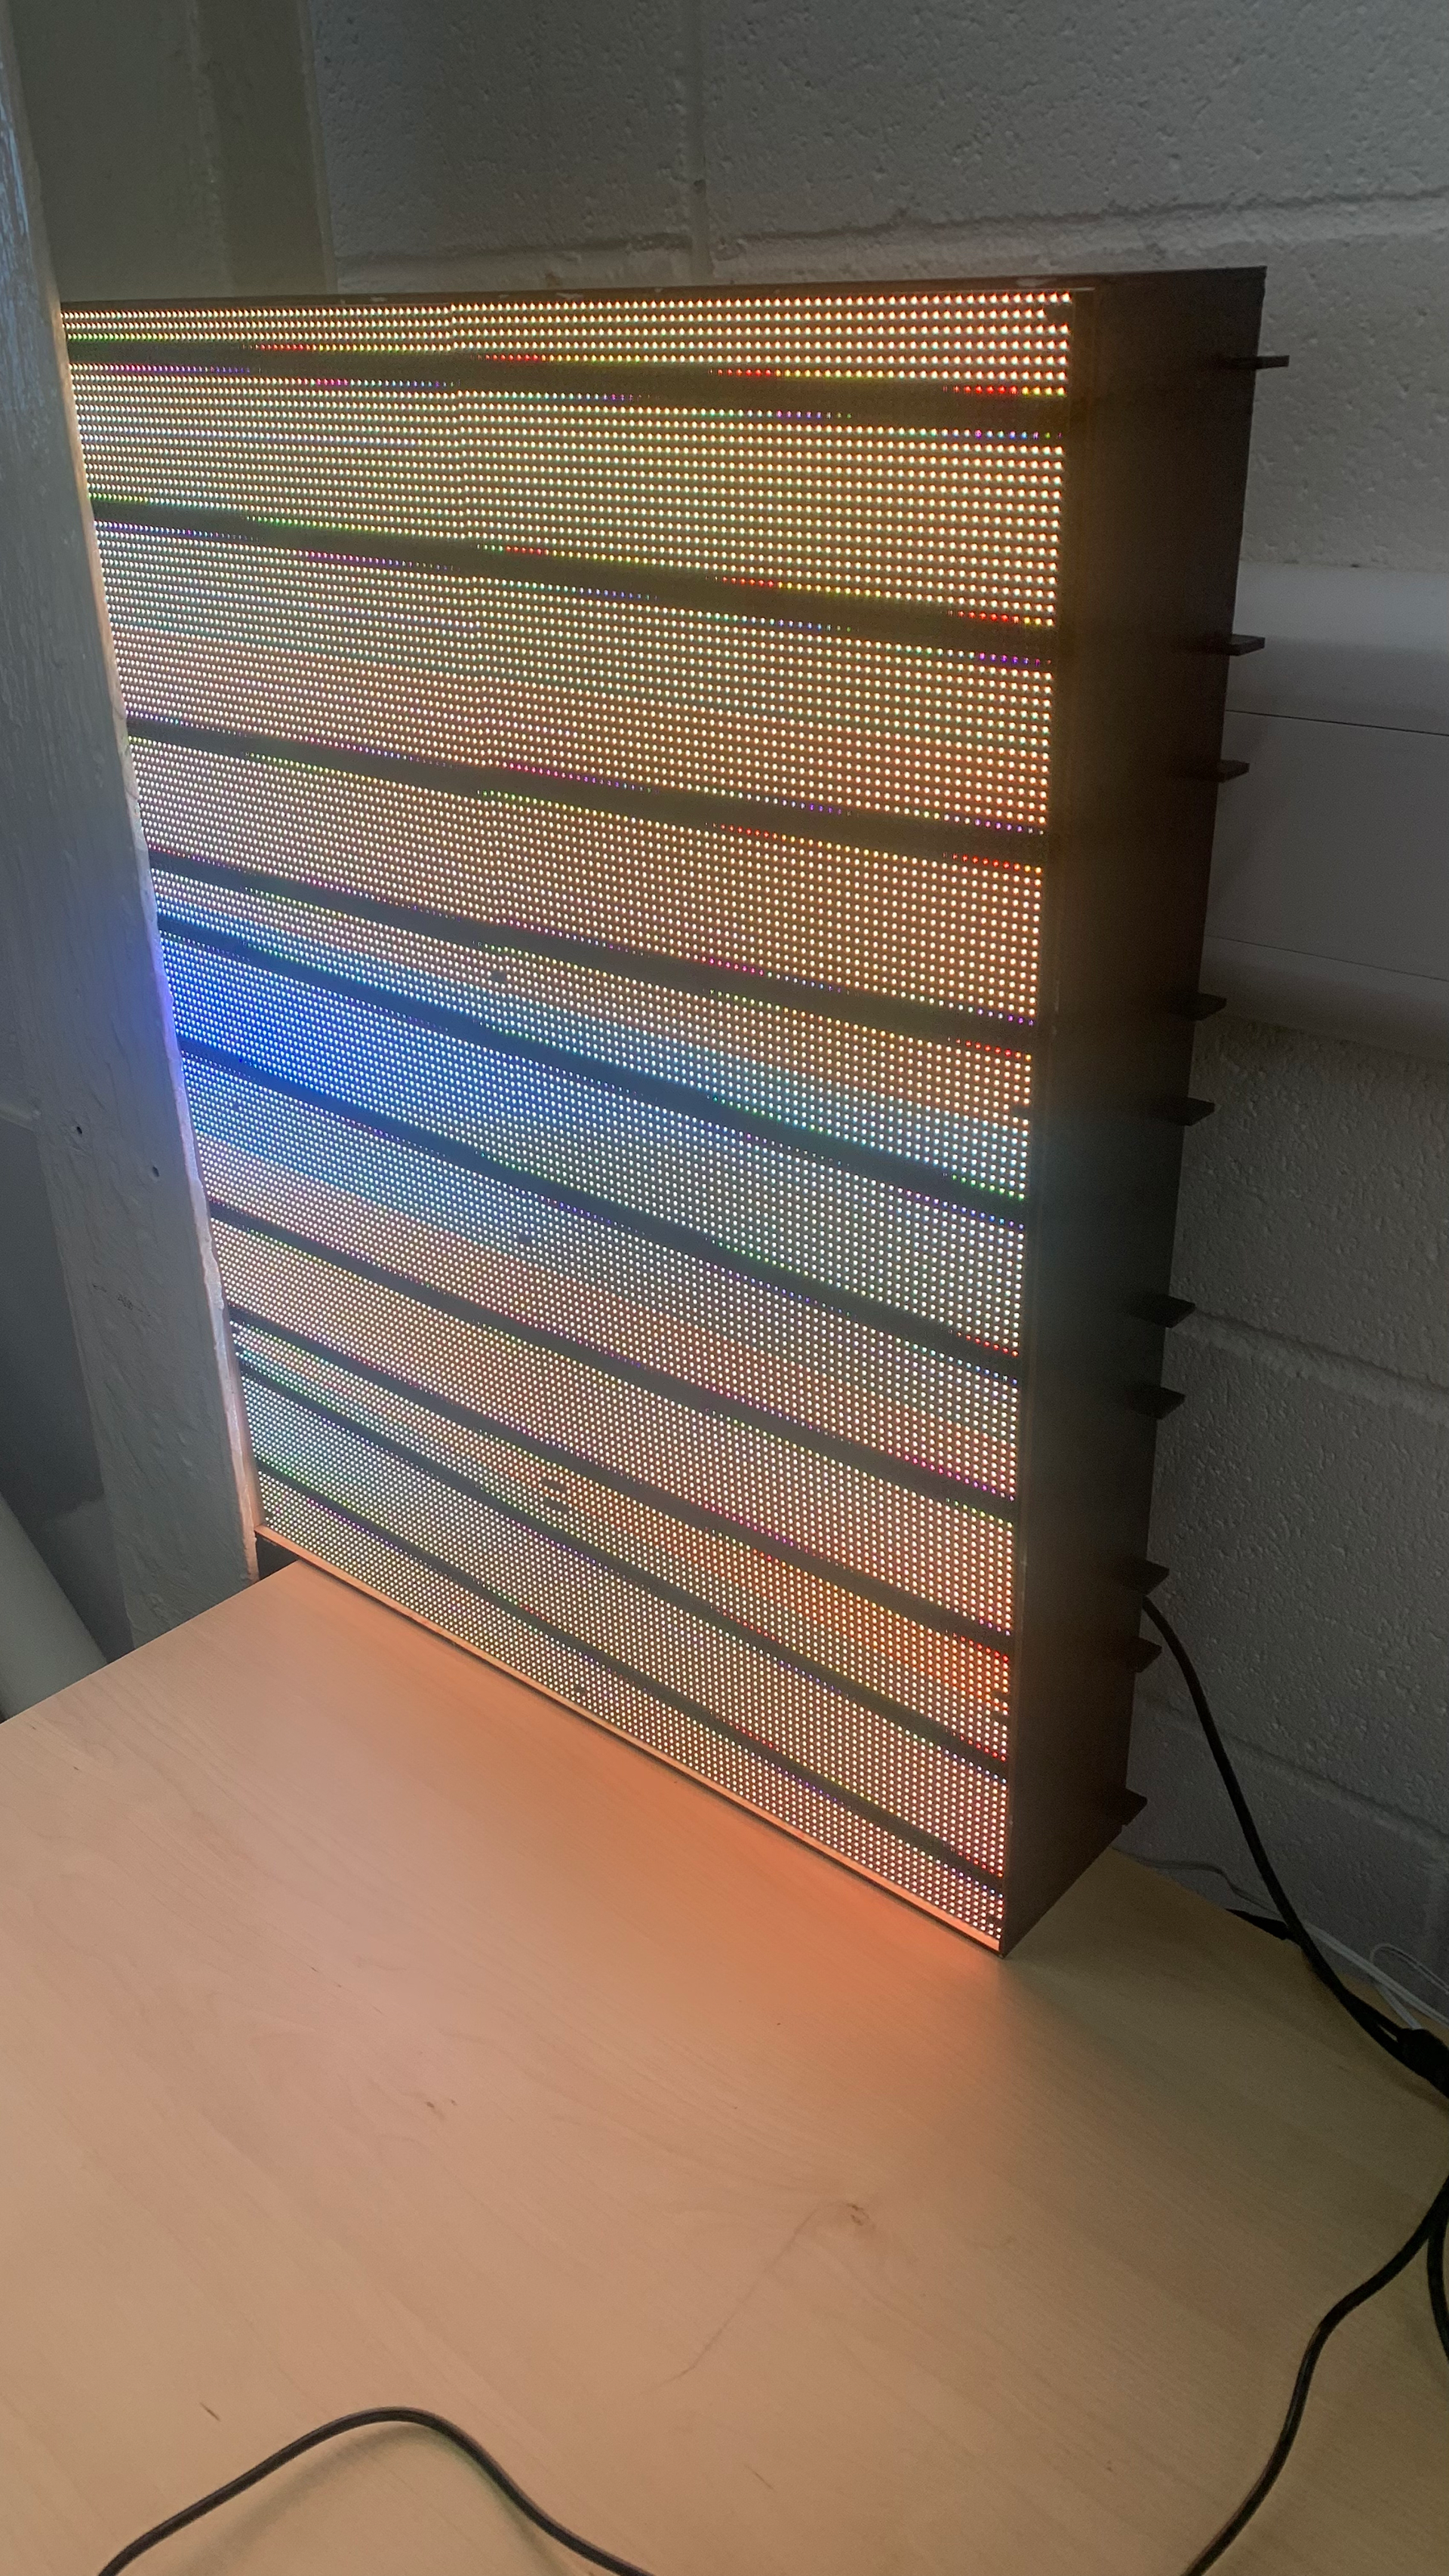
- Finally as panels were added it was clear, they were slowly putting more strain onto the Raspberry Pi 3 Model B+, making it flicker more and lose colour as the panels daisy chained away from its first connection.
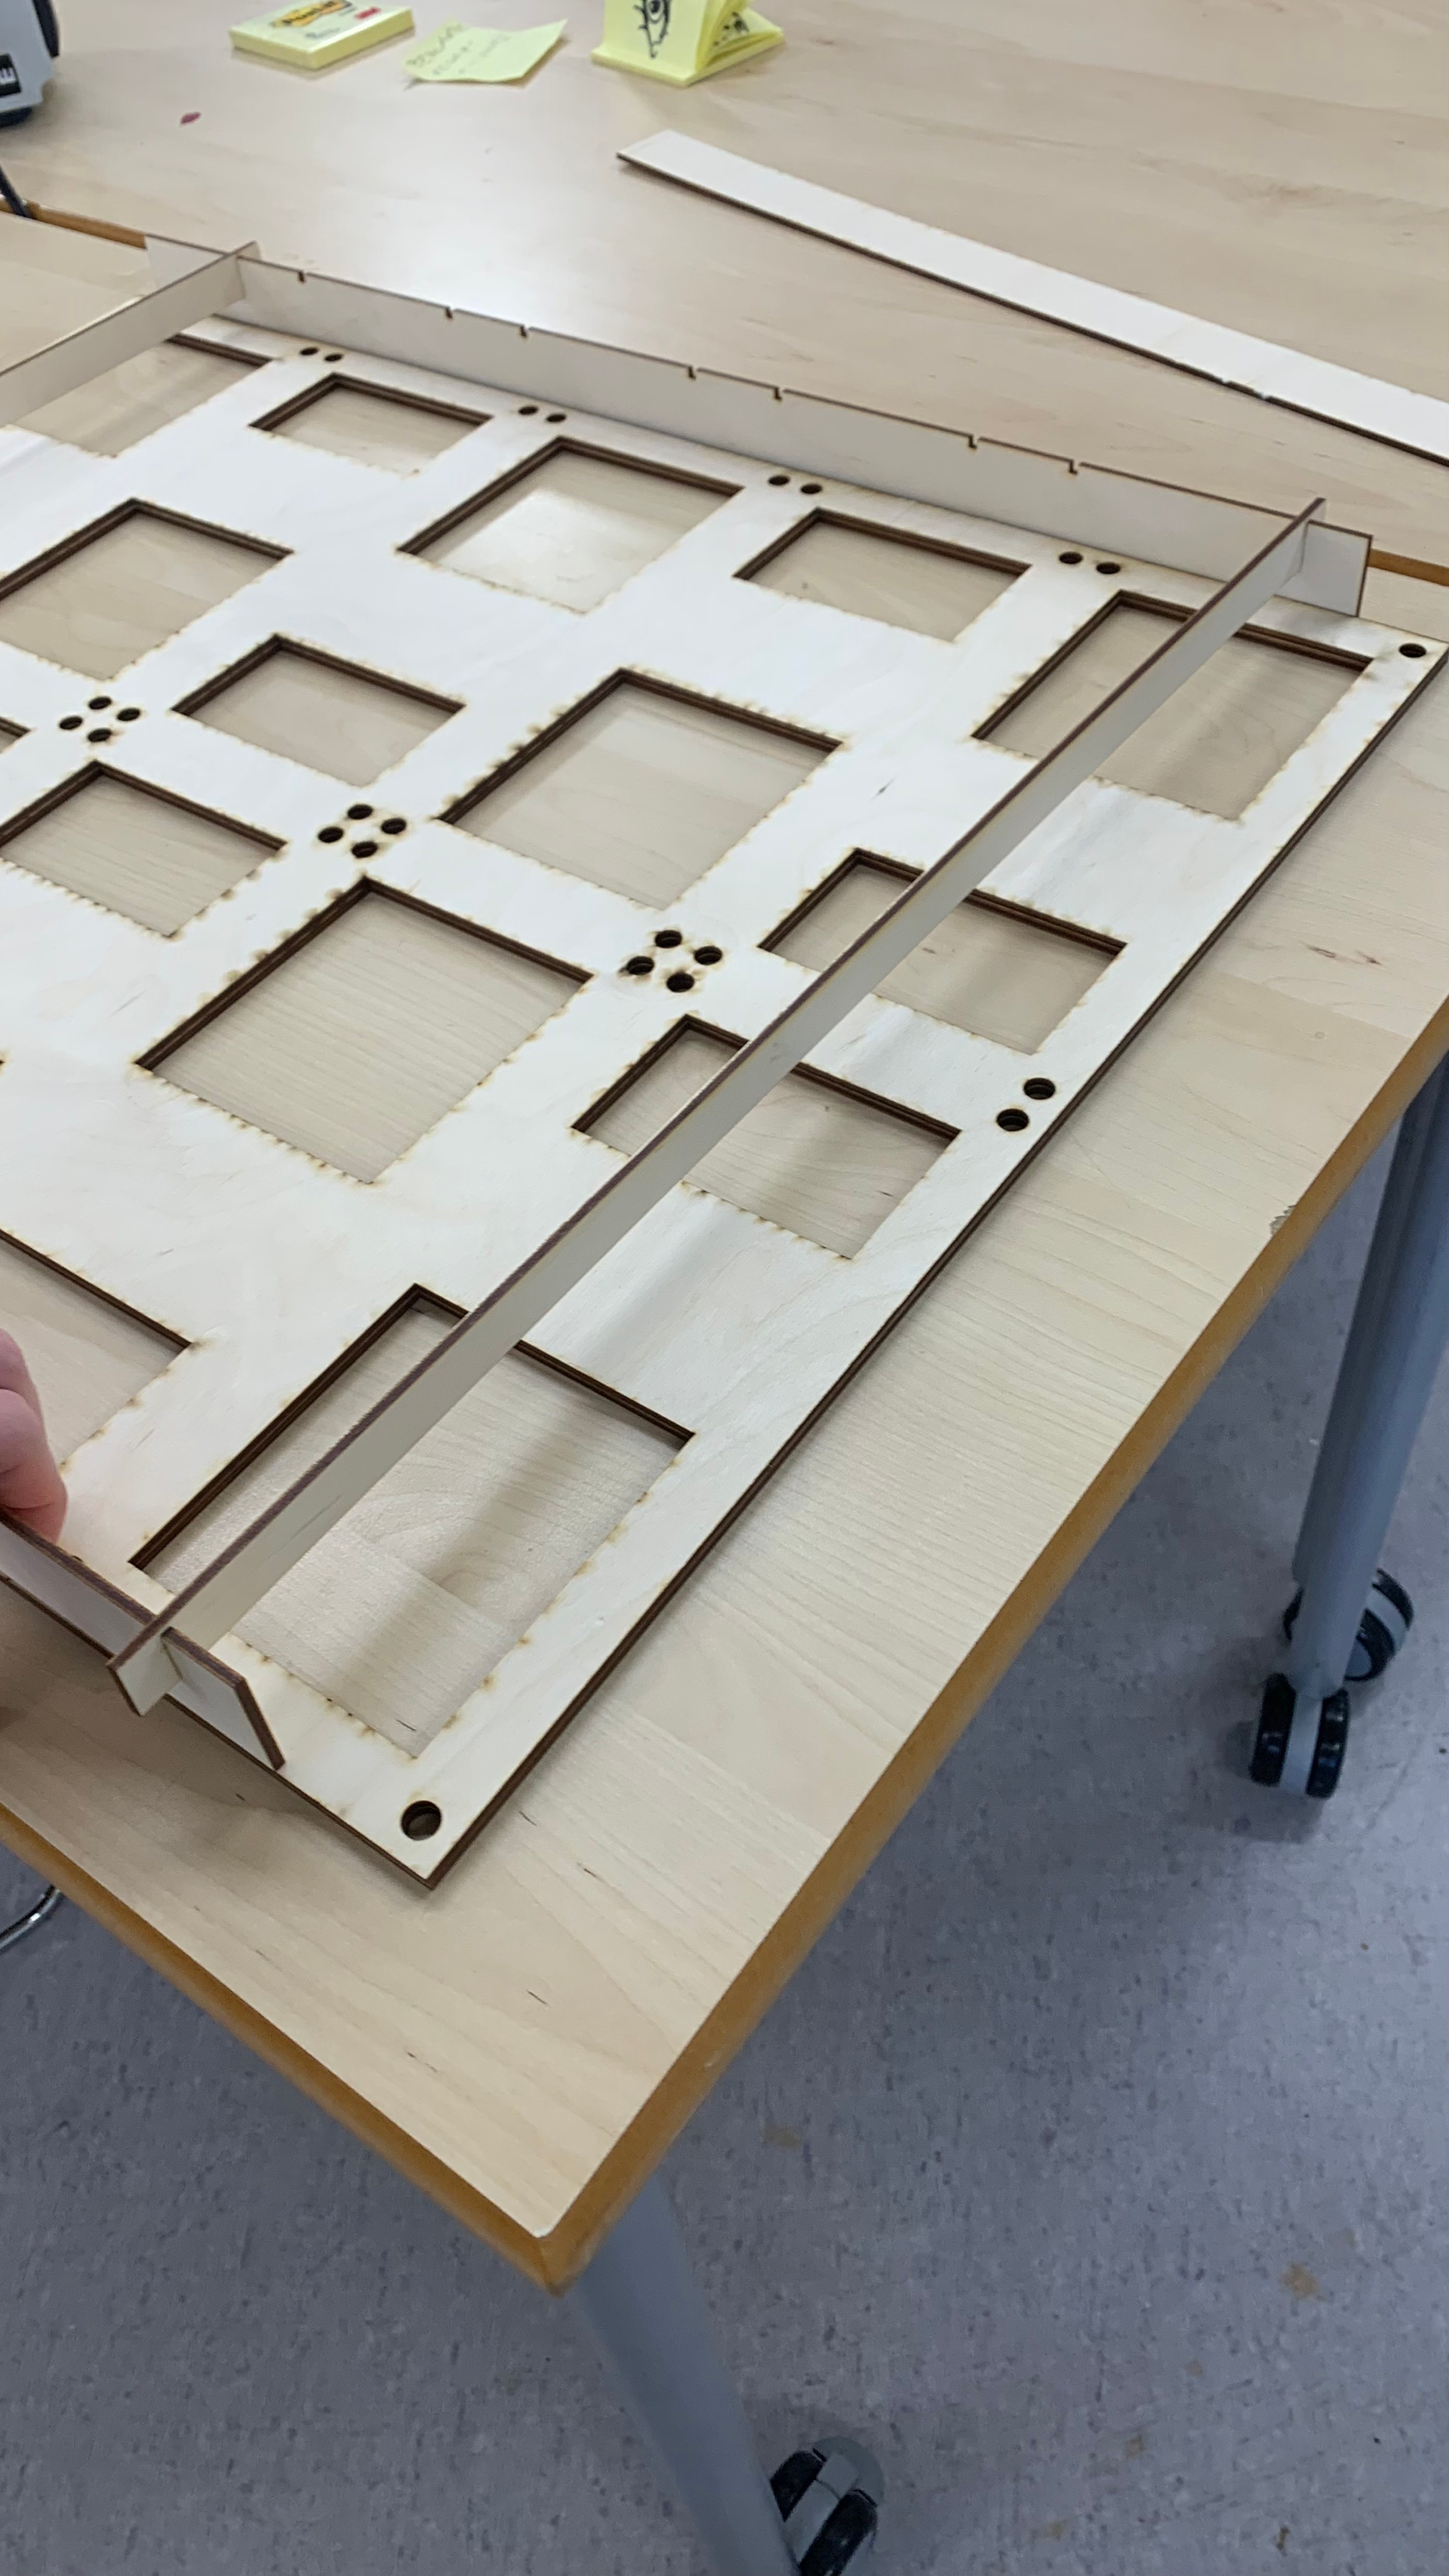
Frame v1
After taking a range of measurements from the panels and its existing screws, I went to illustrator to create a frame that would be laser cut. With hindsight this frame had a range of issues but these issues was not spotted until I had the physical frame and panels together. The first of my errors came with opting to use 3mm acrylic as the material it would be cut from. Acrylic was simply to flimsy, and could not hold the weight of the panels whilst keeping them all straight. This made transporting and propping up the panels troublesome. This frame also lacked both a back and a way of standing up.
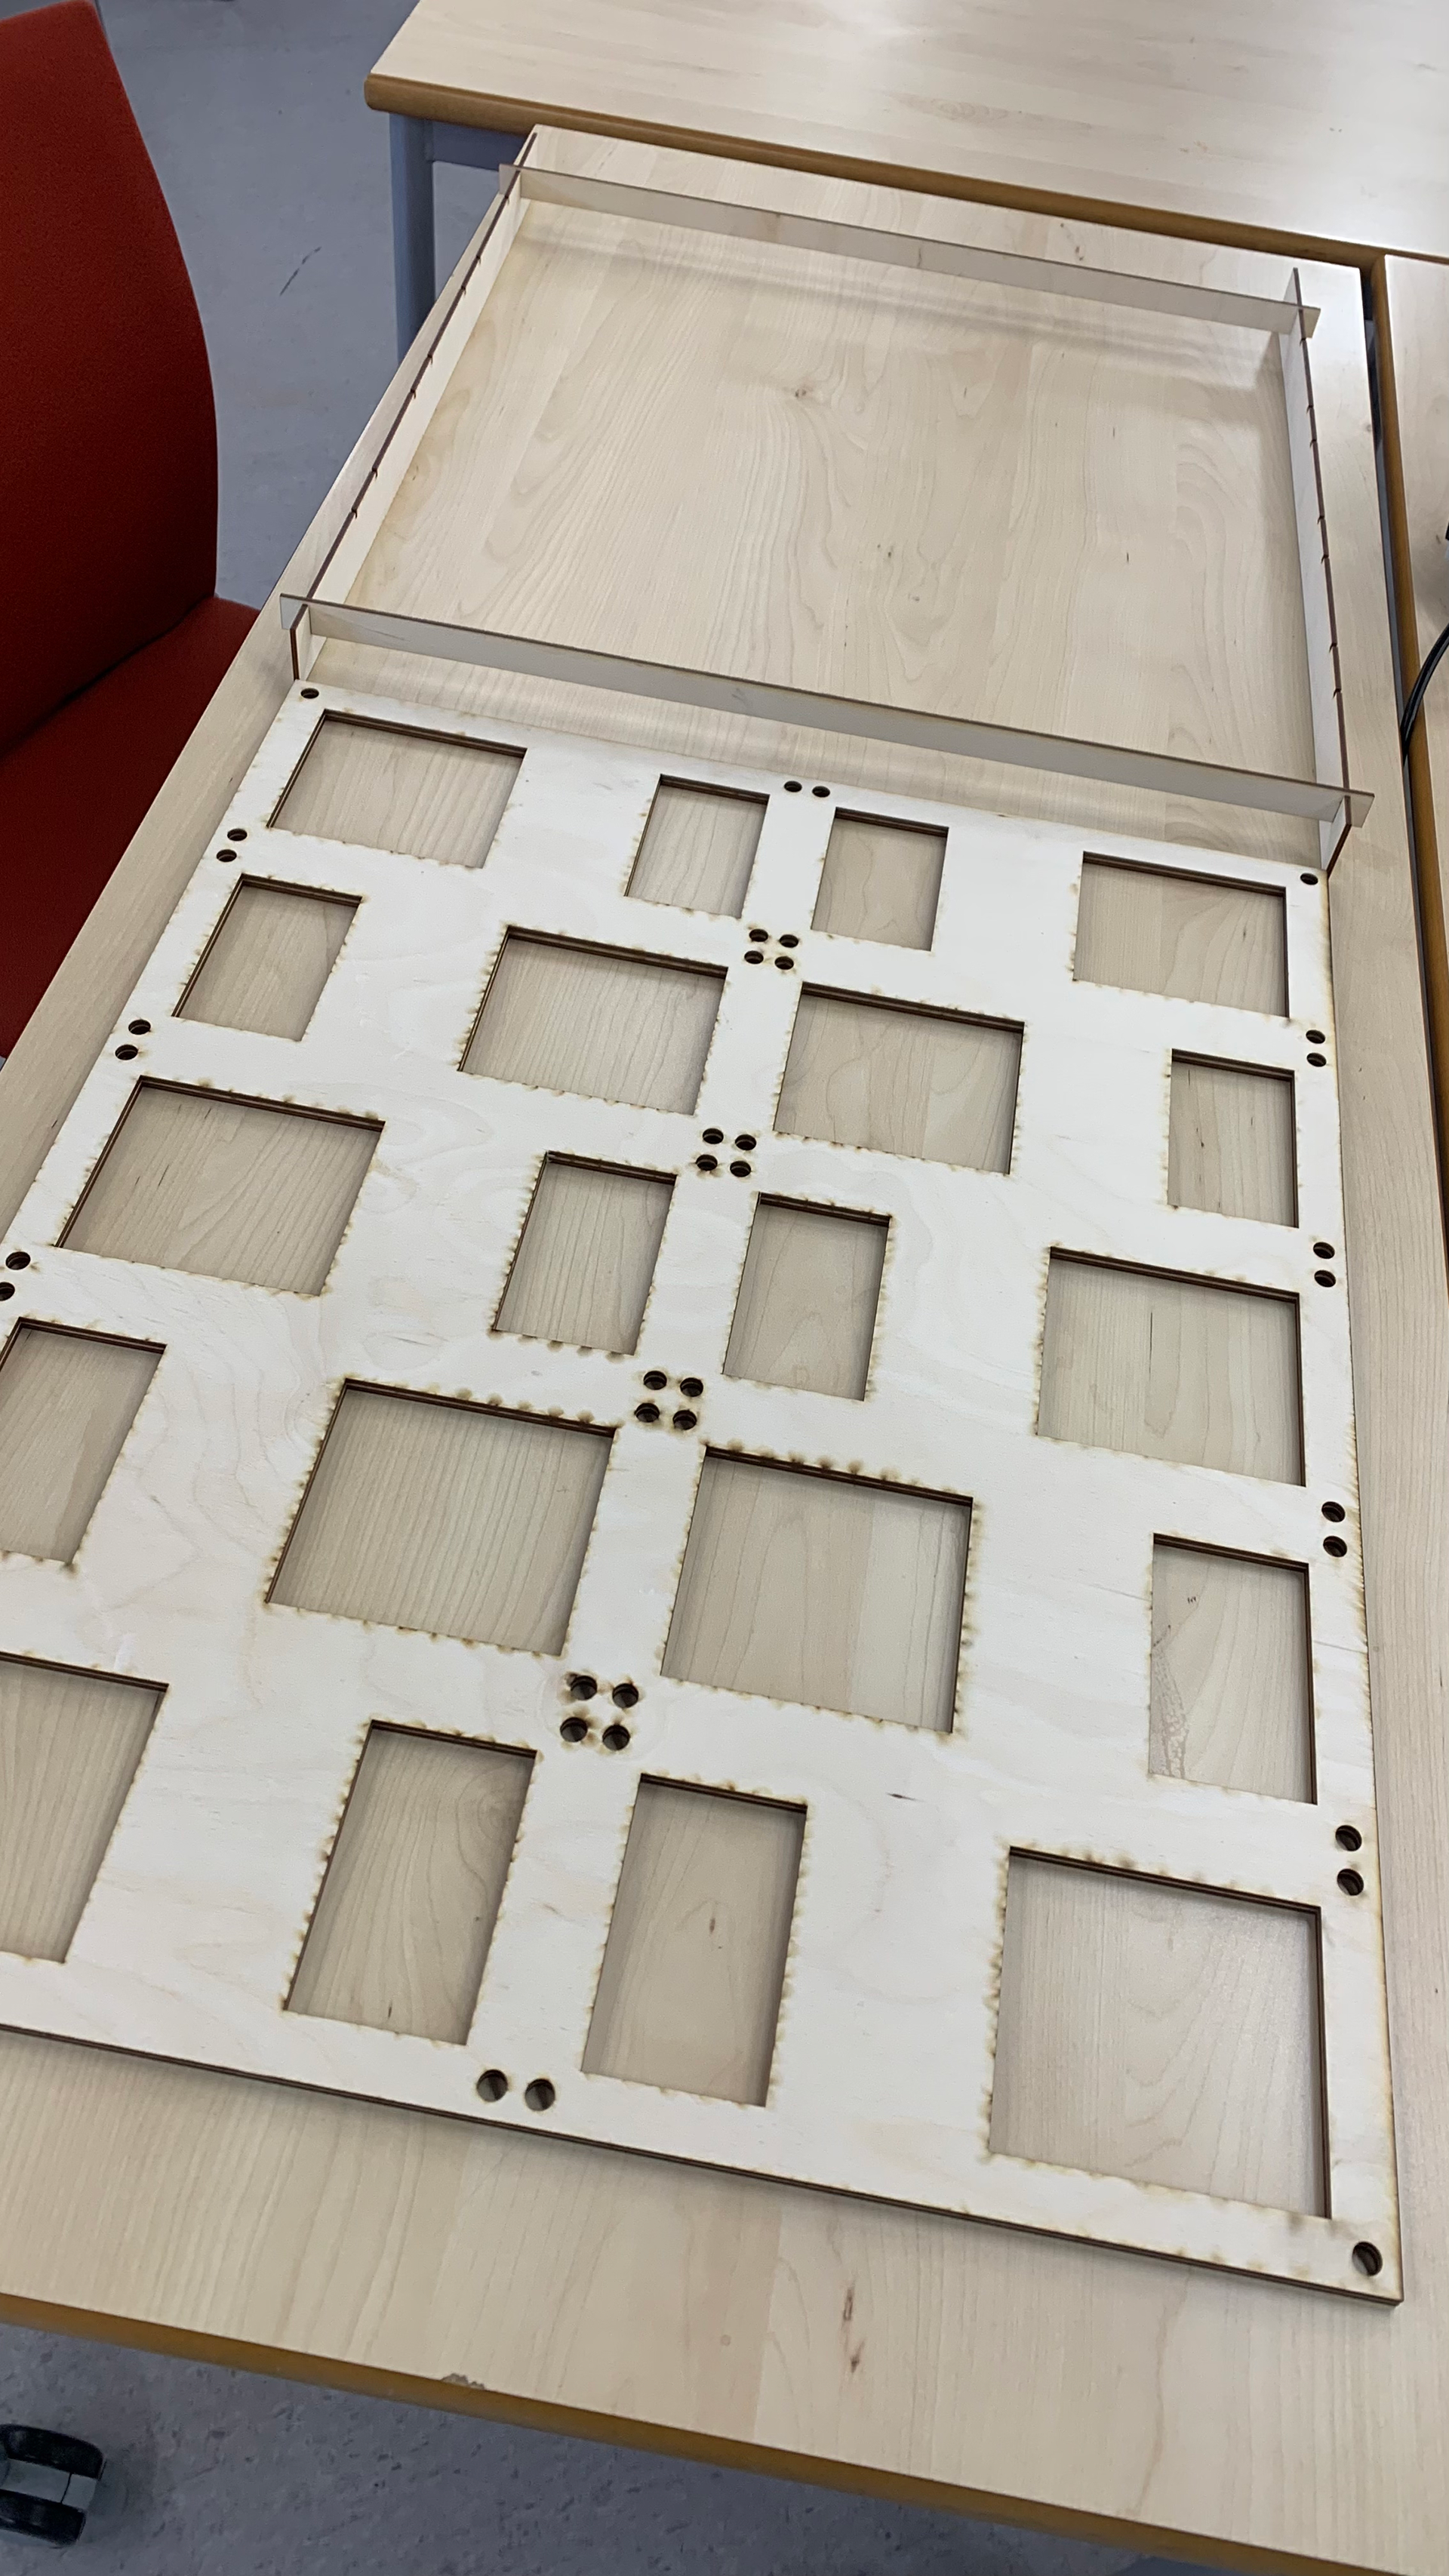
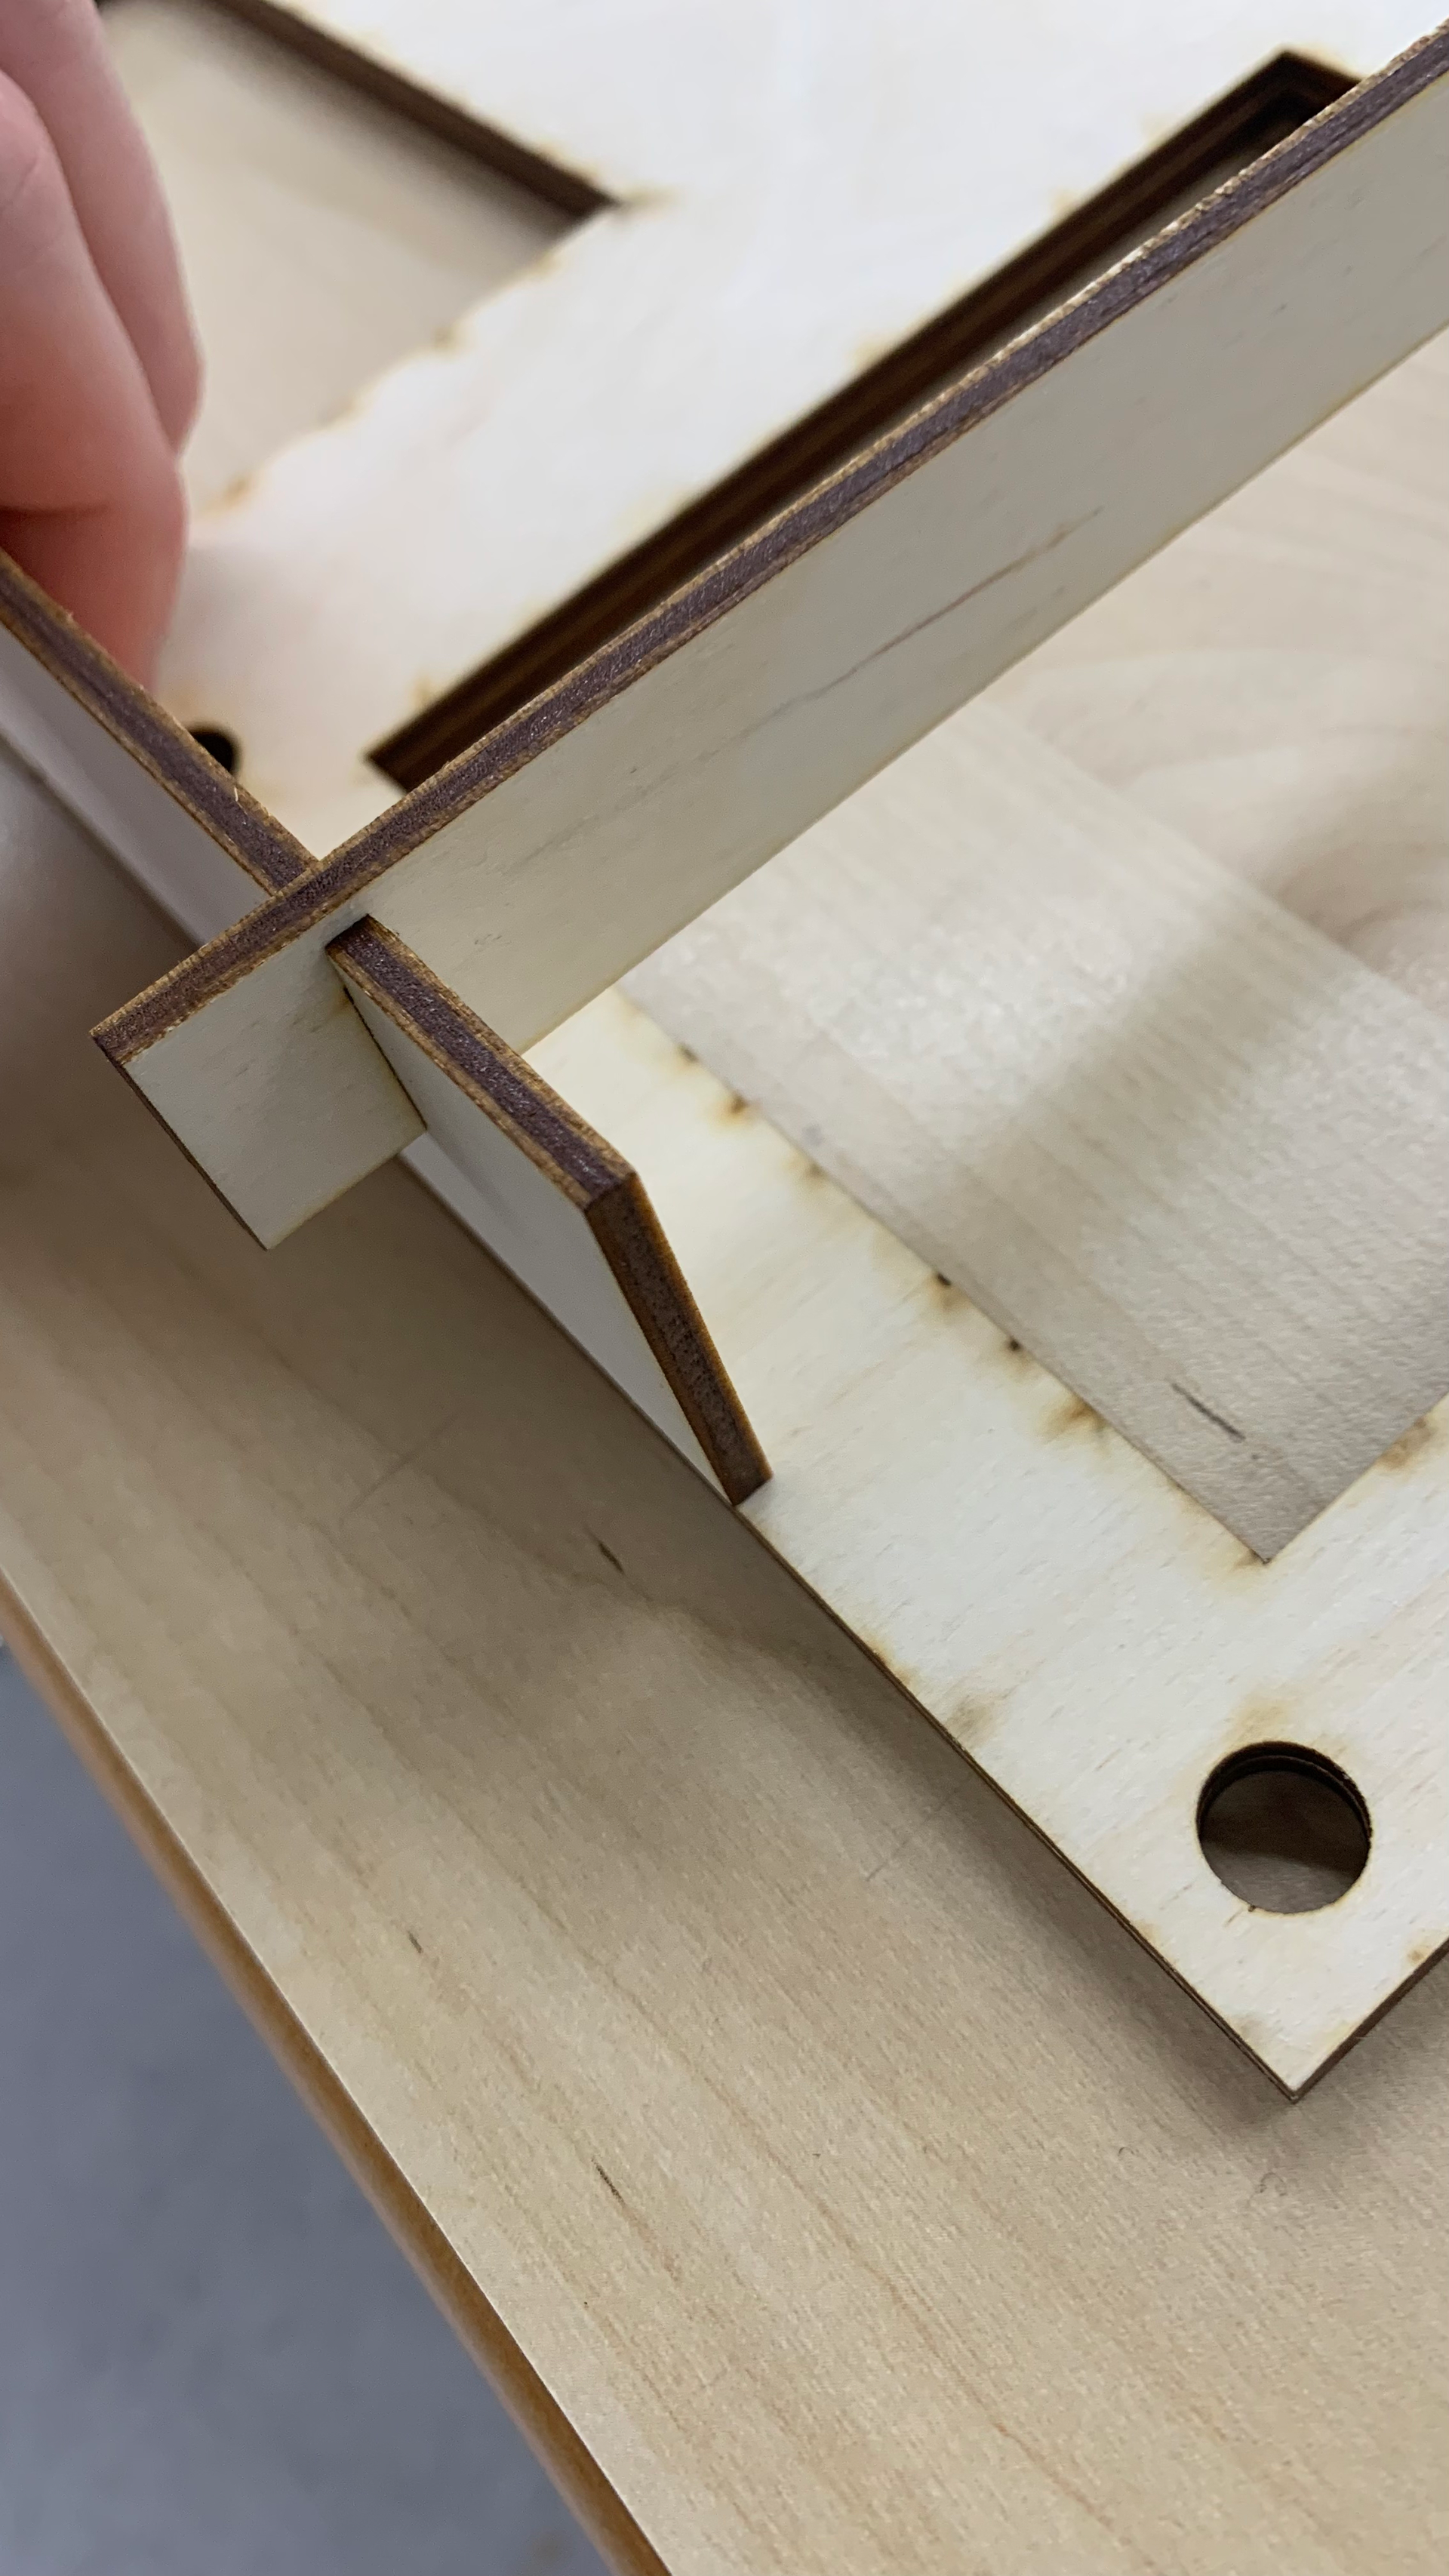
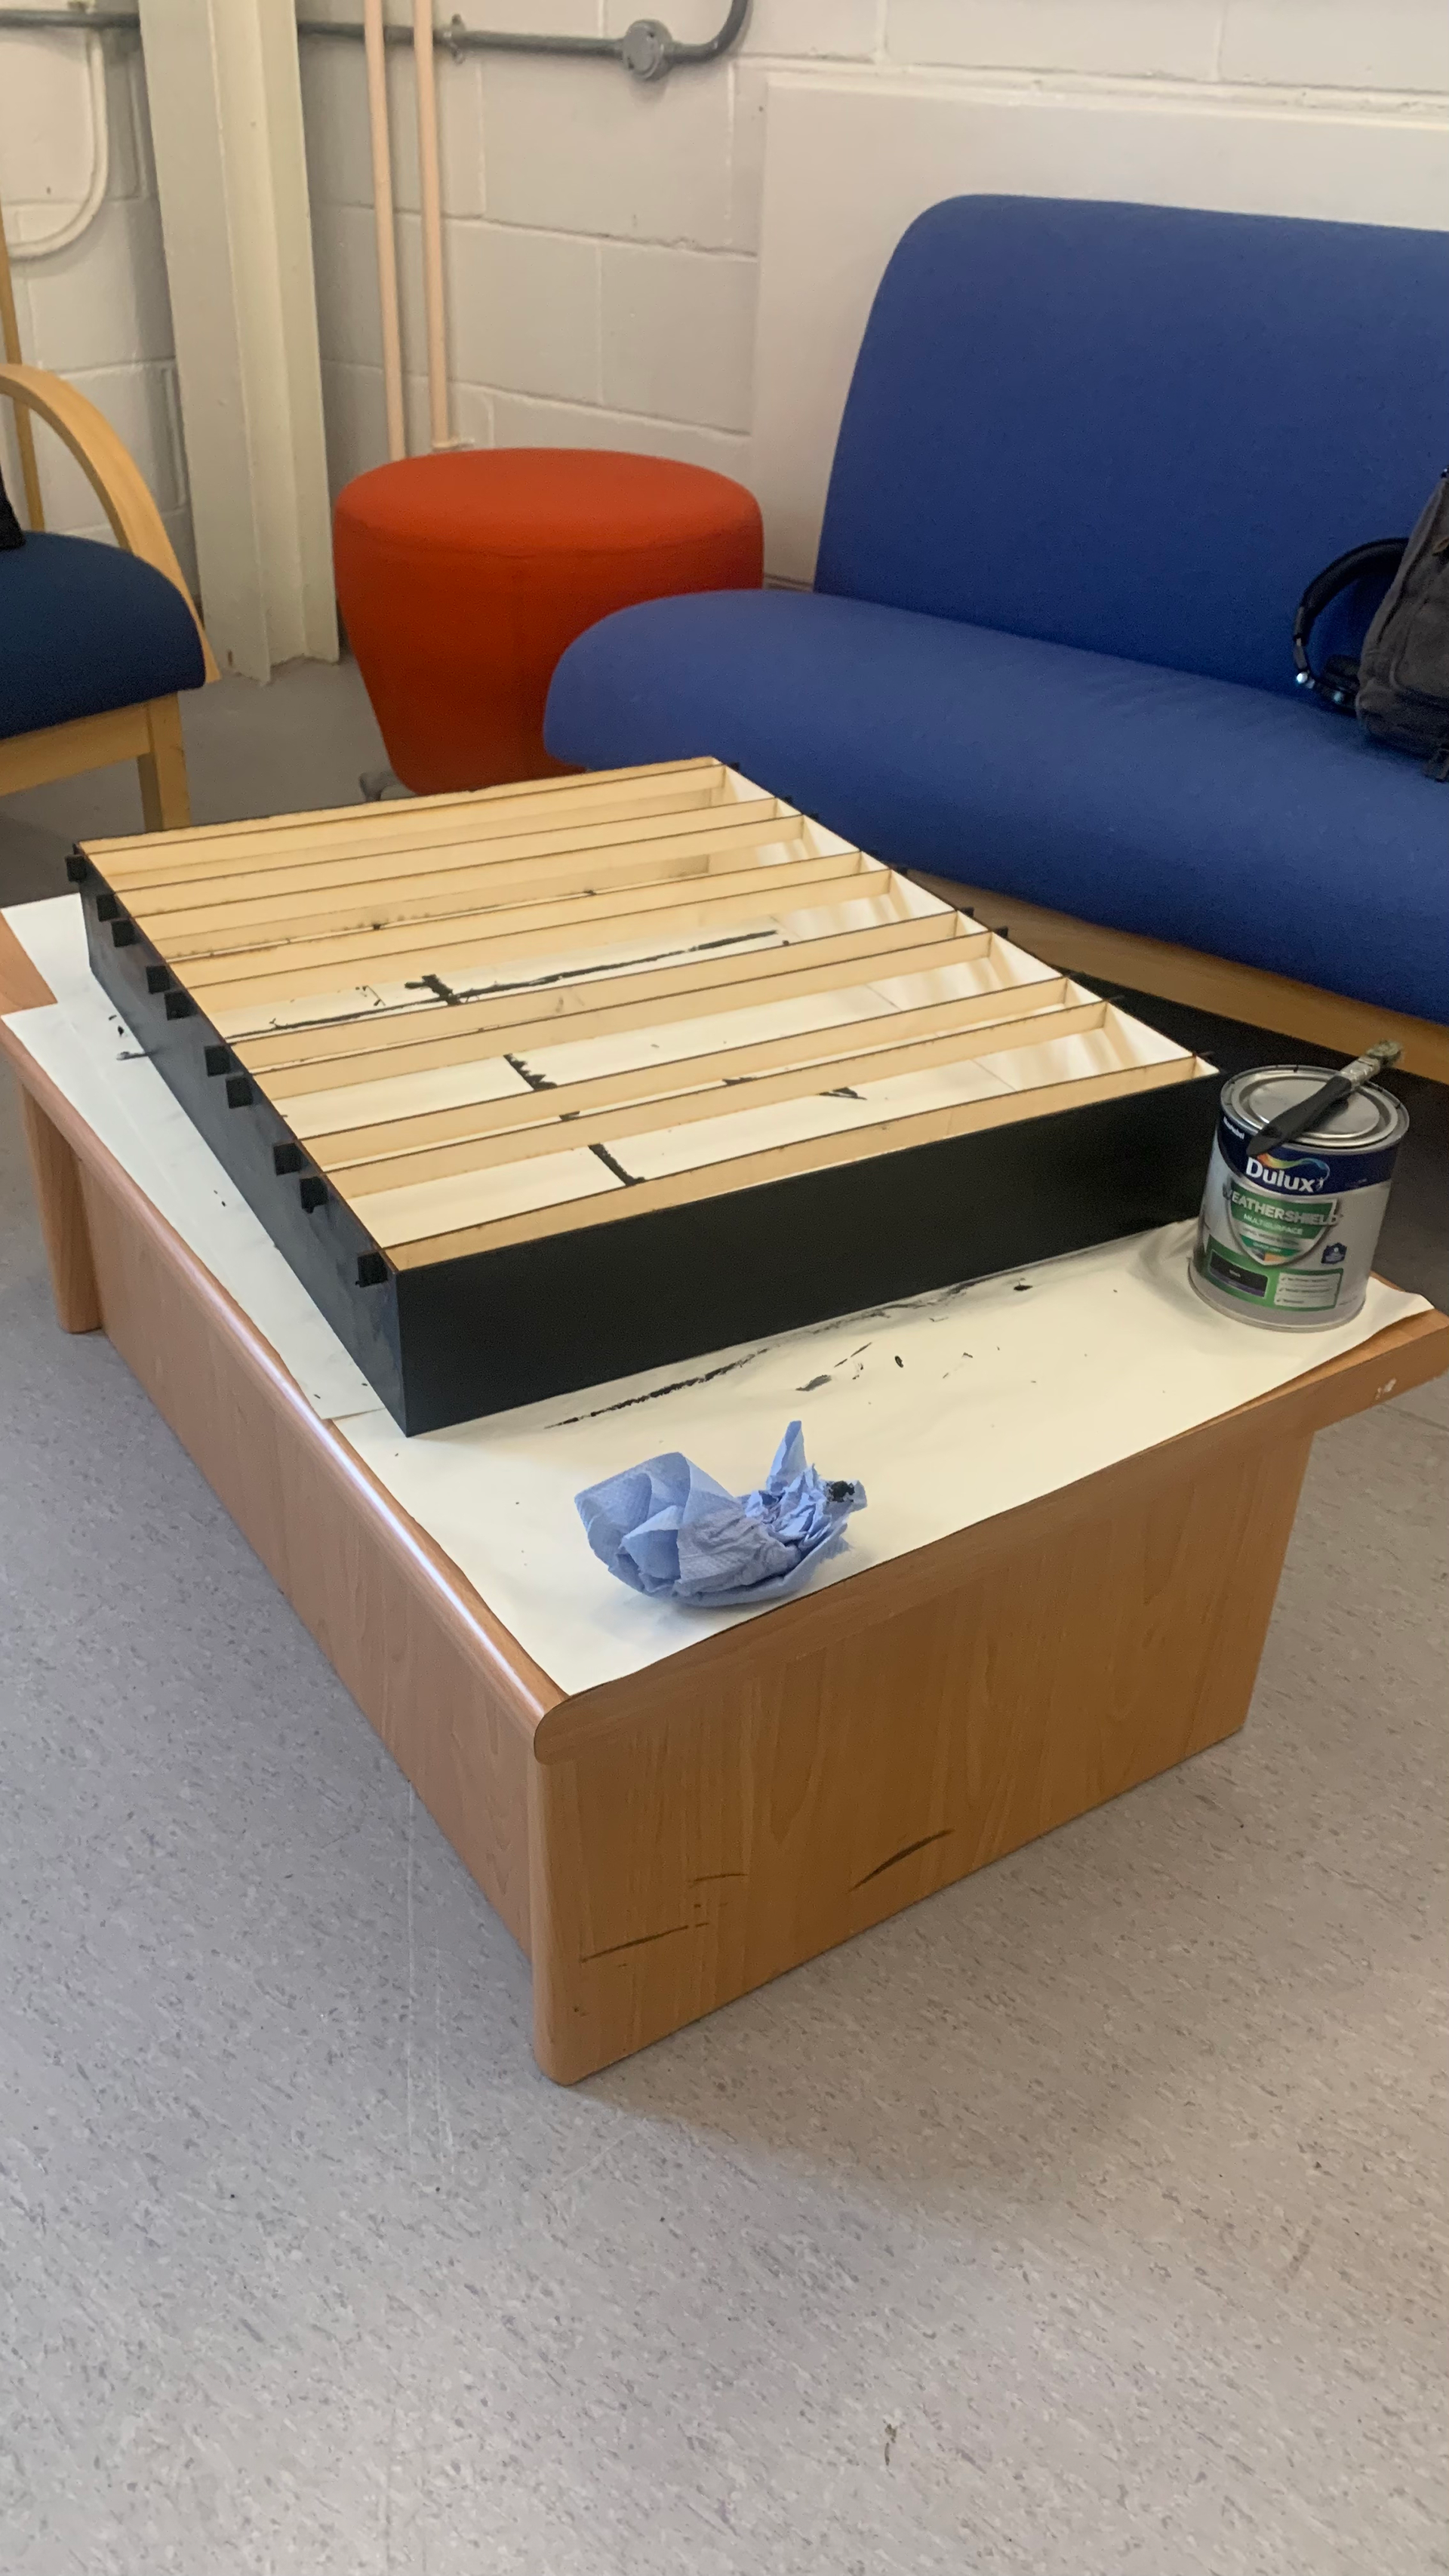
Frame v2
Version 2 of the frame had a-lot of issues to address. The focus of this second frame was to provide more stability. This was achieved by adding pillar sections up the back of the frame as-well as switching materials to 3mm plywood. This second edition also looked to add a deep back to the frame allowing for a place for both cables and the Raspberry Pi to be stored. The back of the frame, was painted black to blend in with the display and to not draw attention. The back of the frame also has columns which insert into the side of the frame to further improve stability.

Examples of RGB/LED panels
RGB LED boards can be seen everywhere and have become a staple way of advertising and display content to the masses. The modular nature of the boards makes it easy configure any kind of layout which is best suited for the needed situation, and the ease of updating these boards with new content make it a no brainer for advertising. RGB panels are mostly recognised for their large scale presence at live music shows/festivals and are now making their way onto the commercial high street.
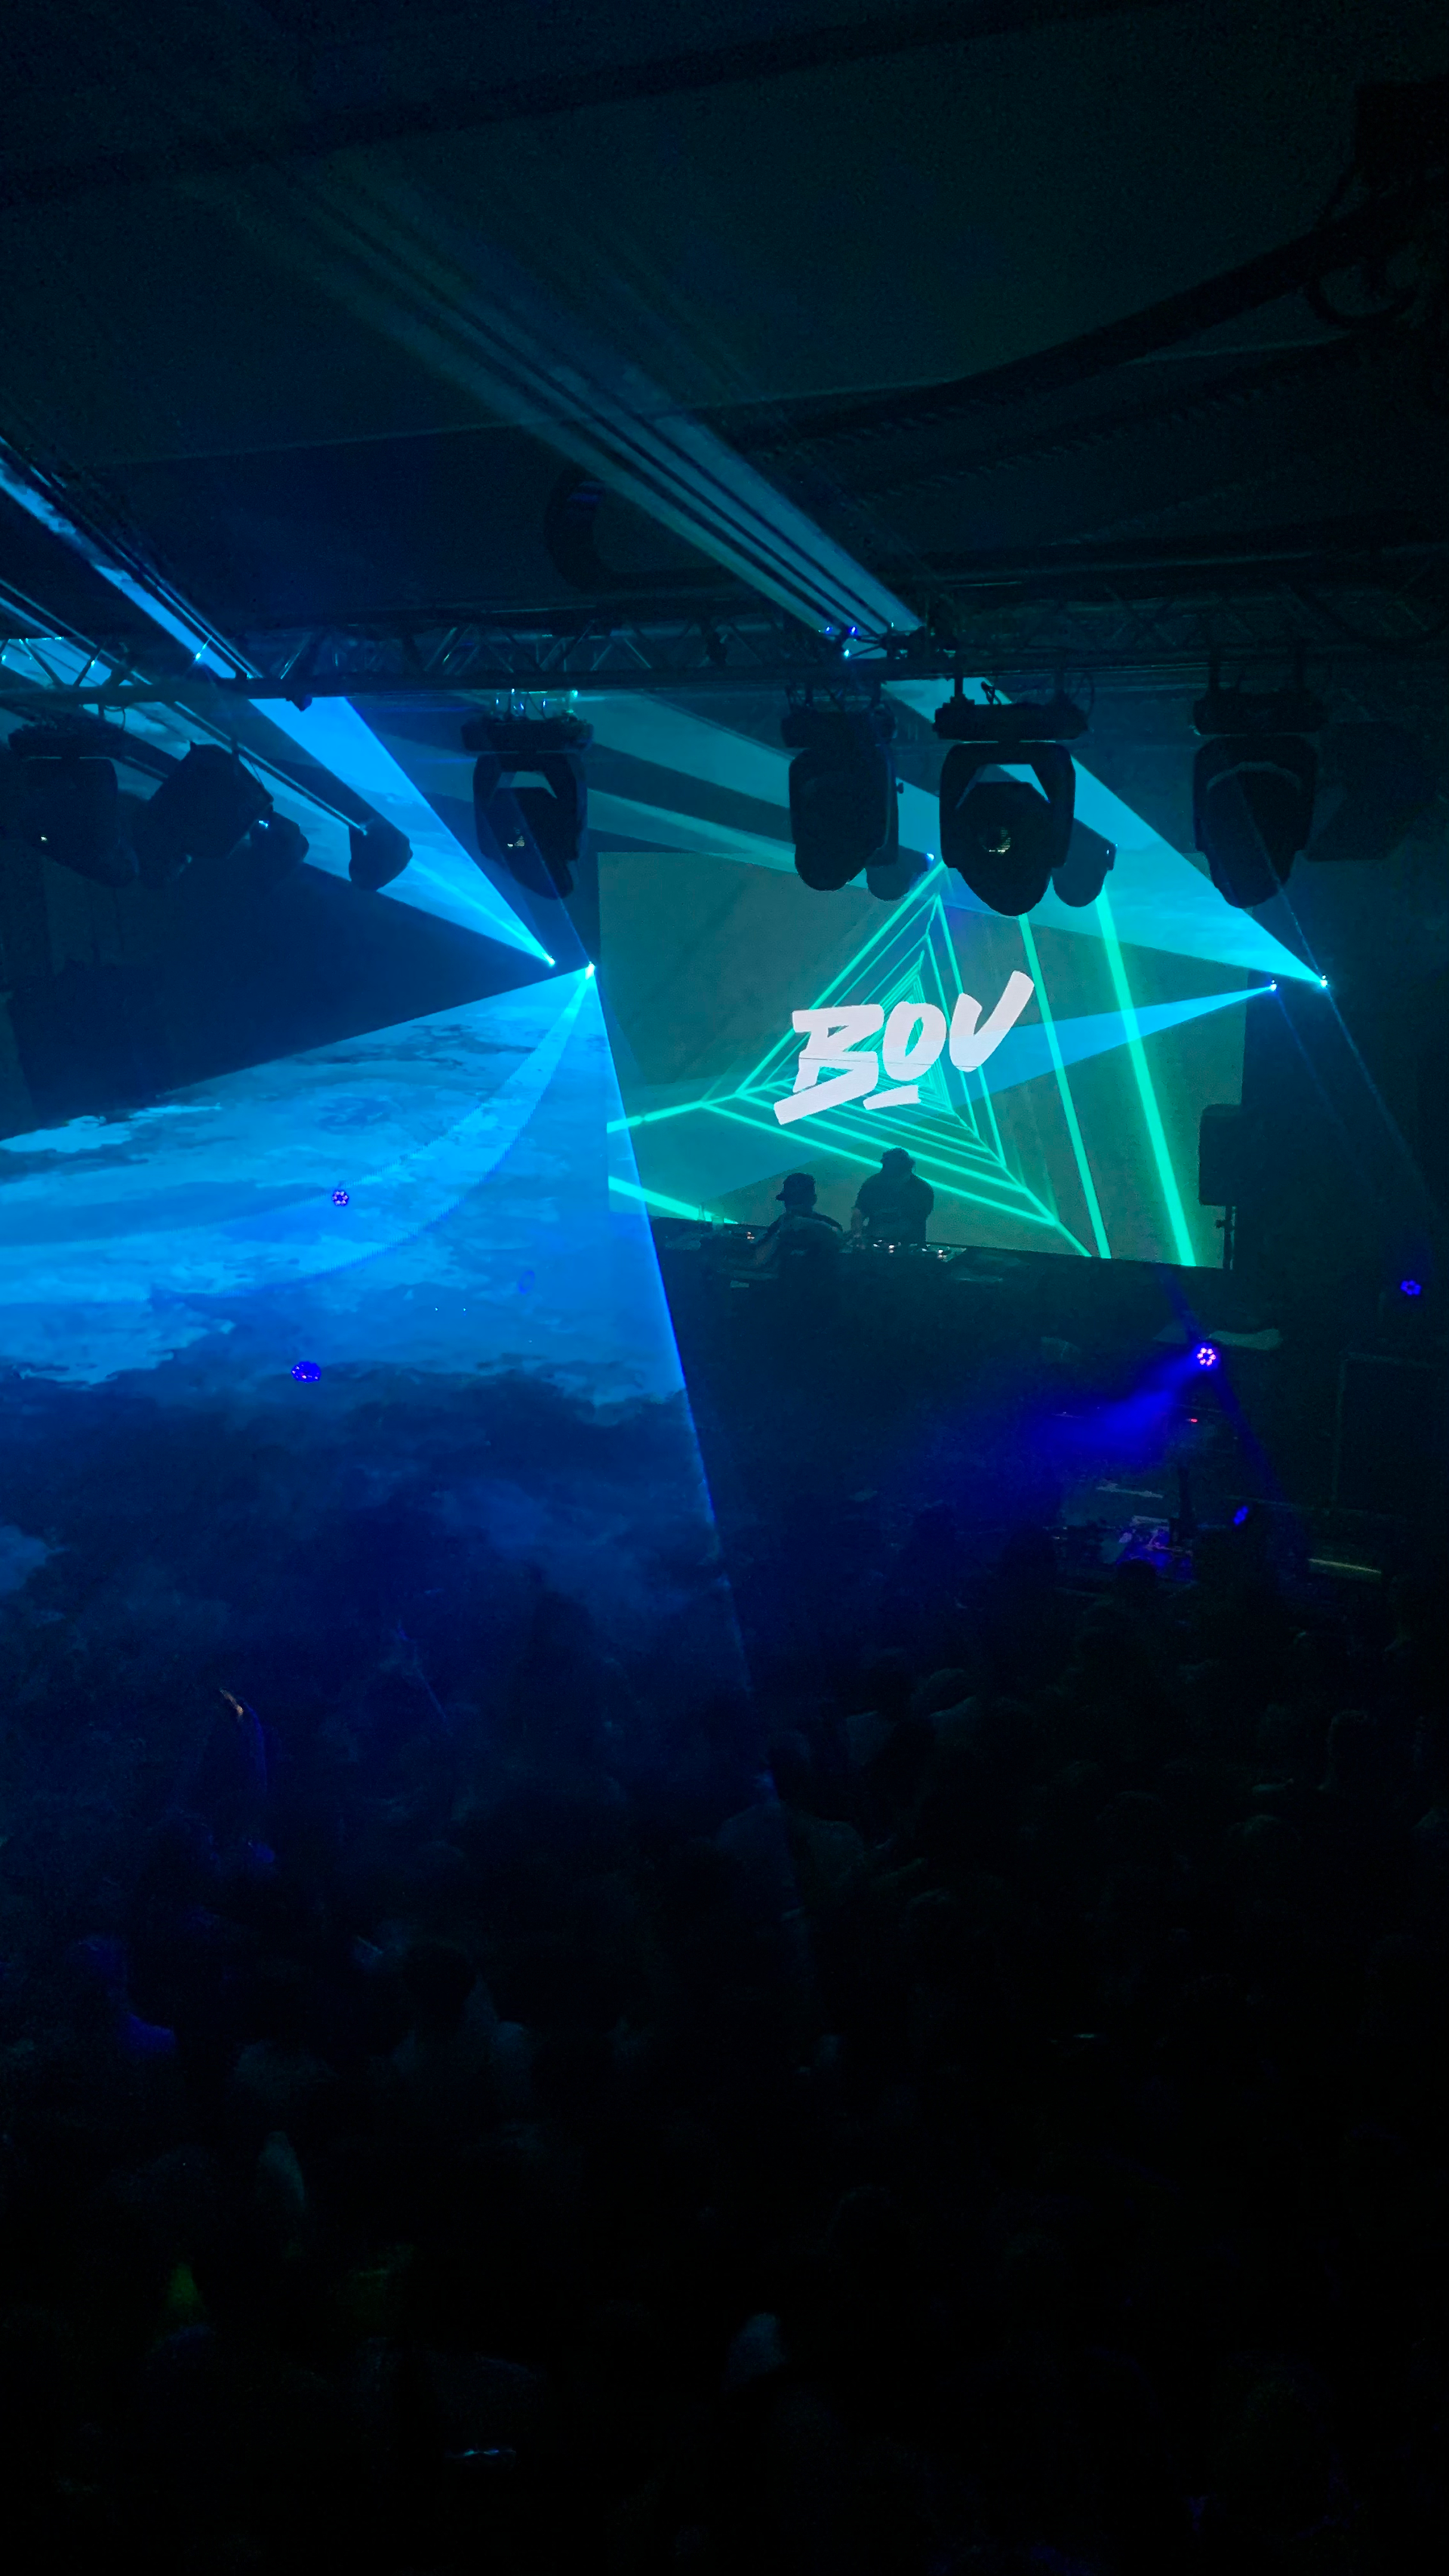
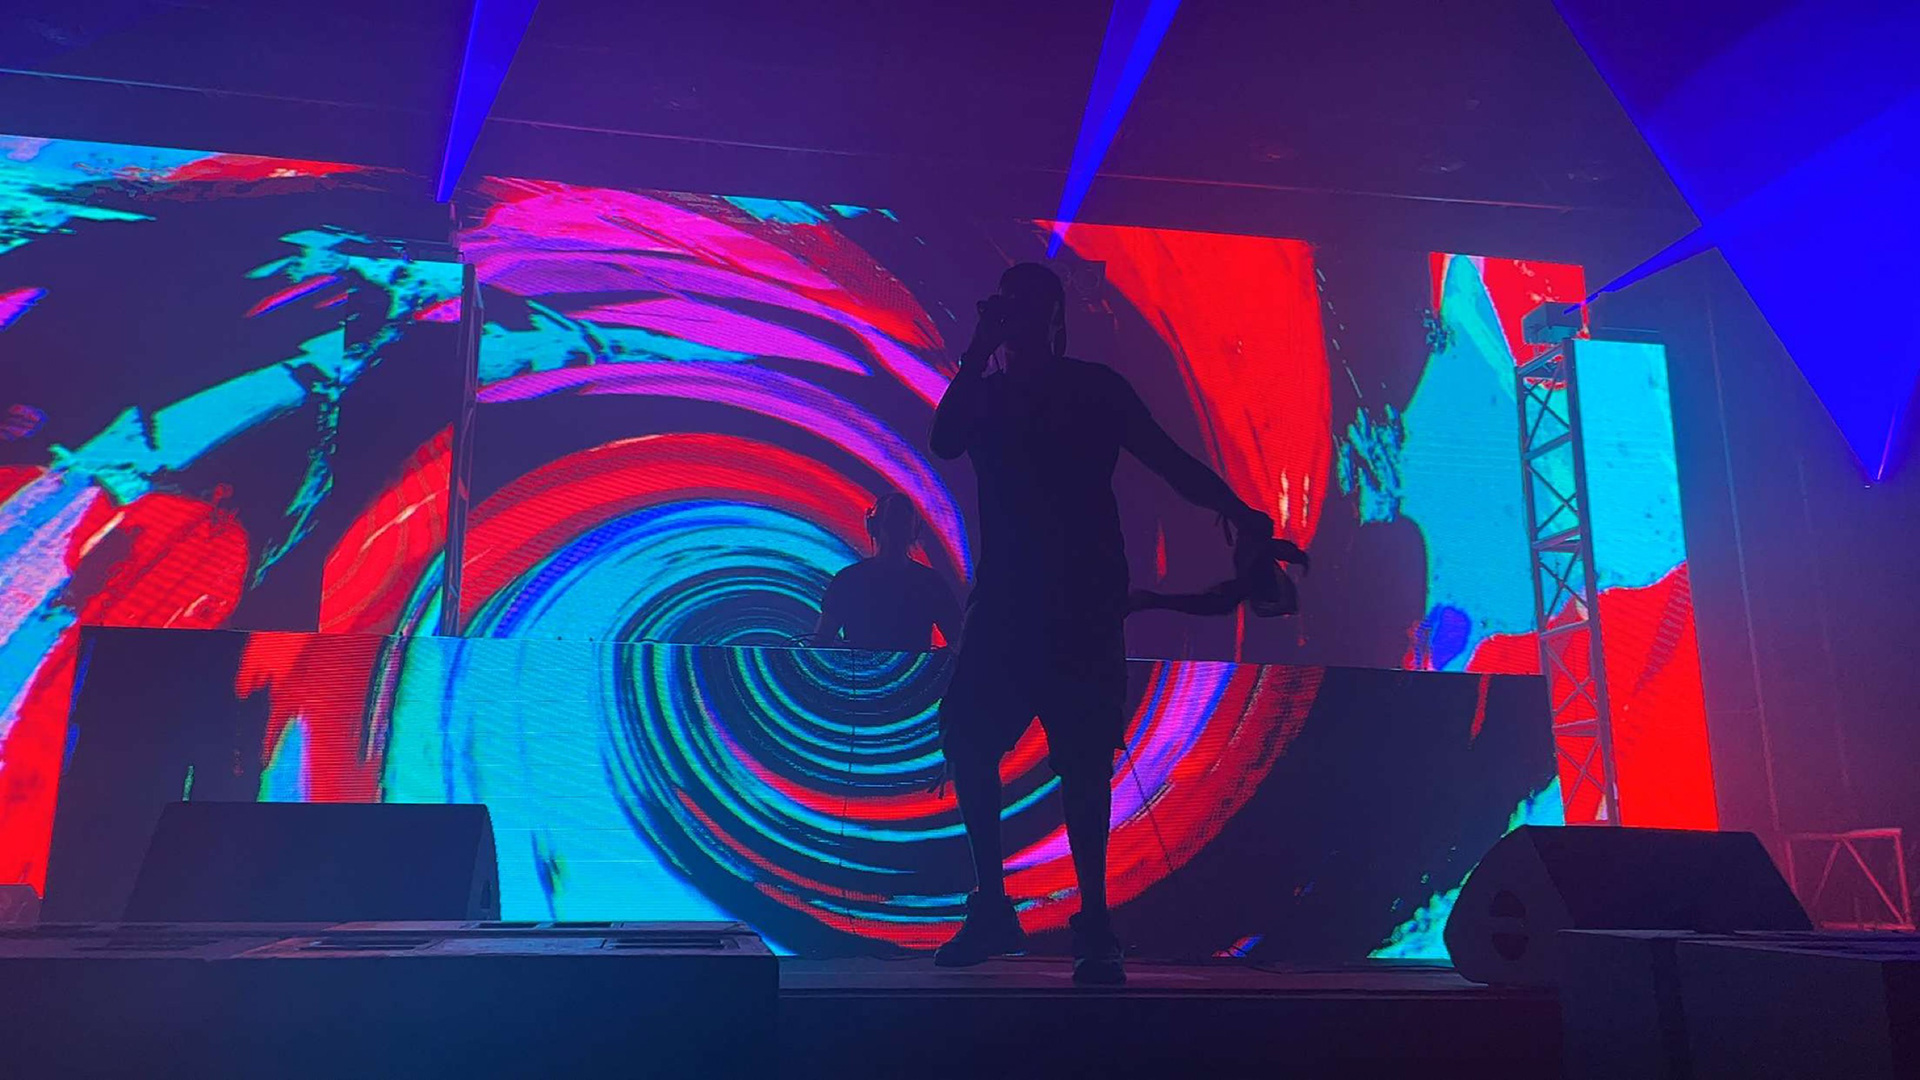
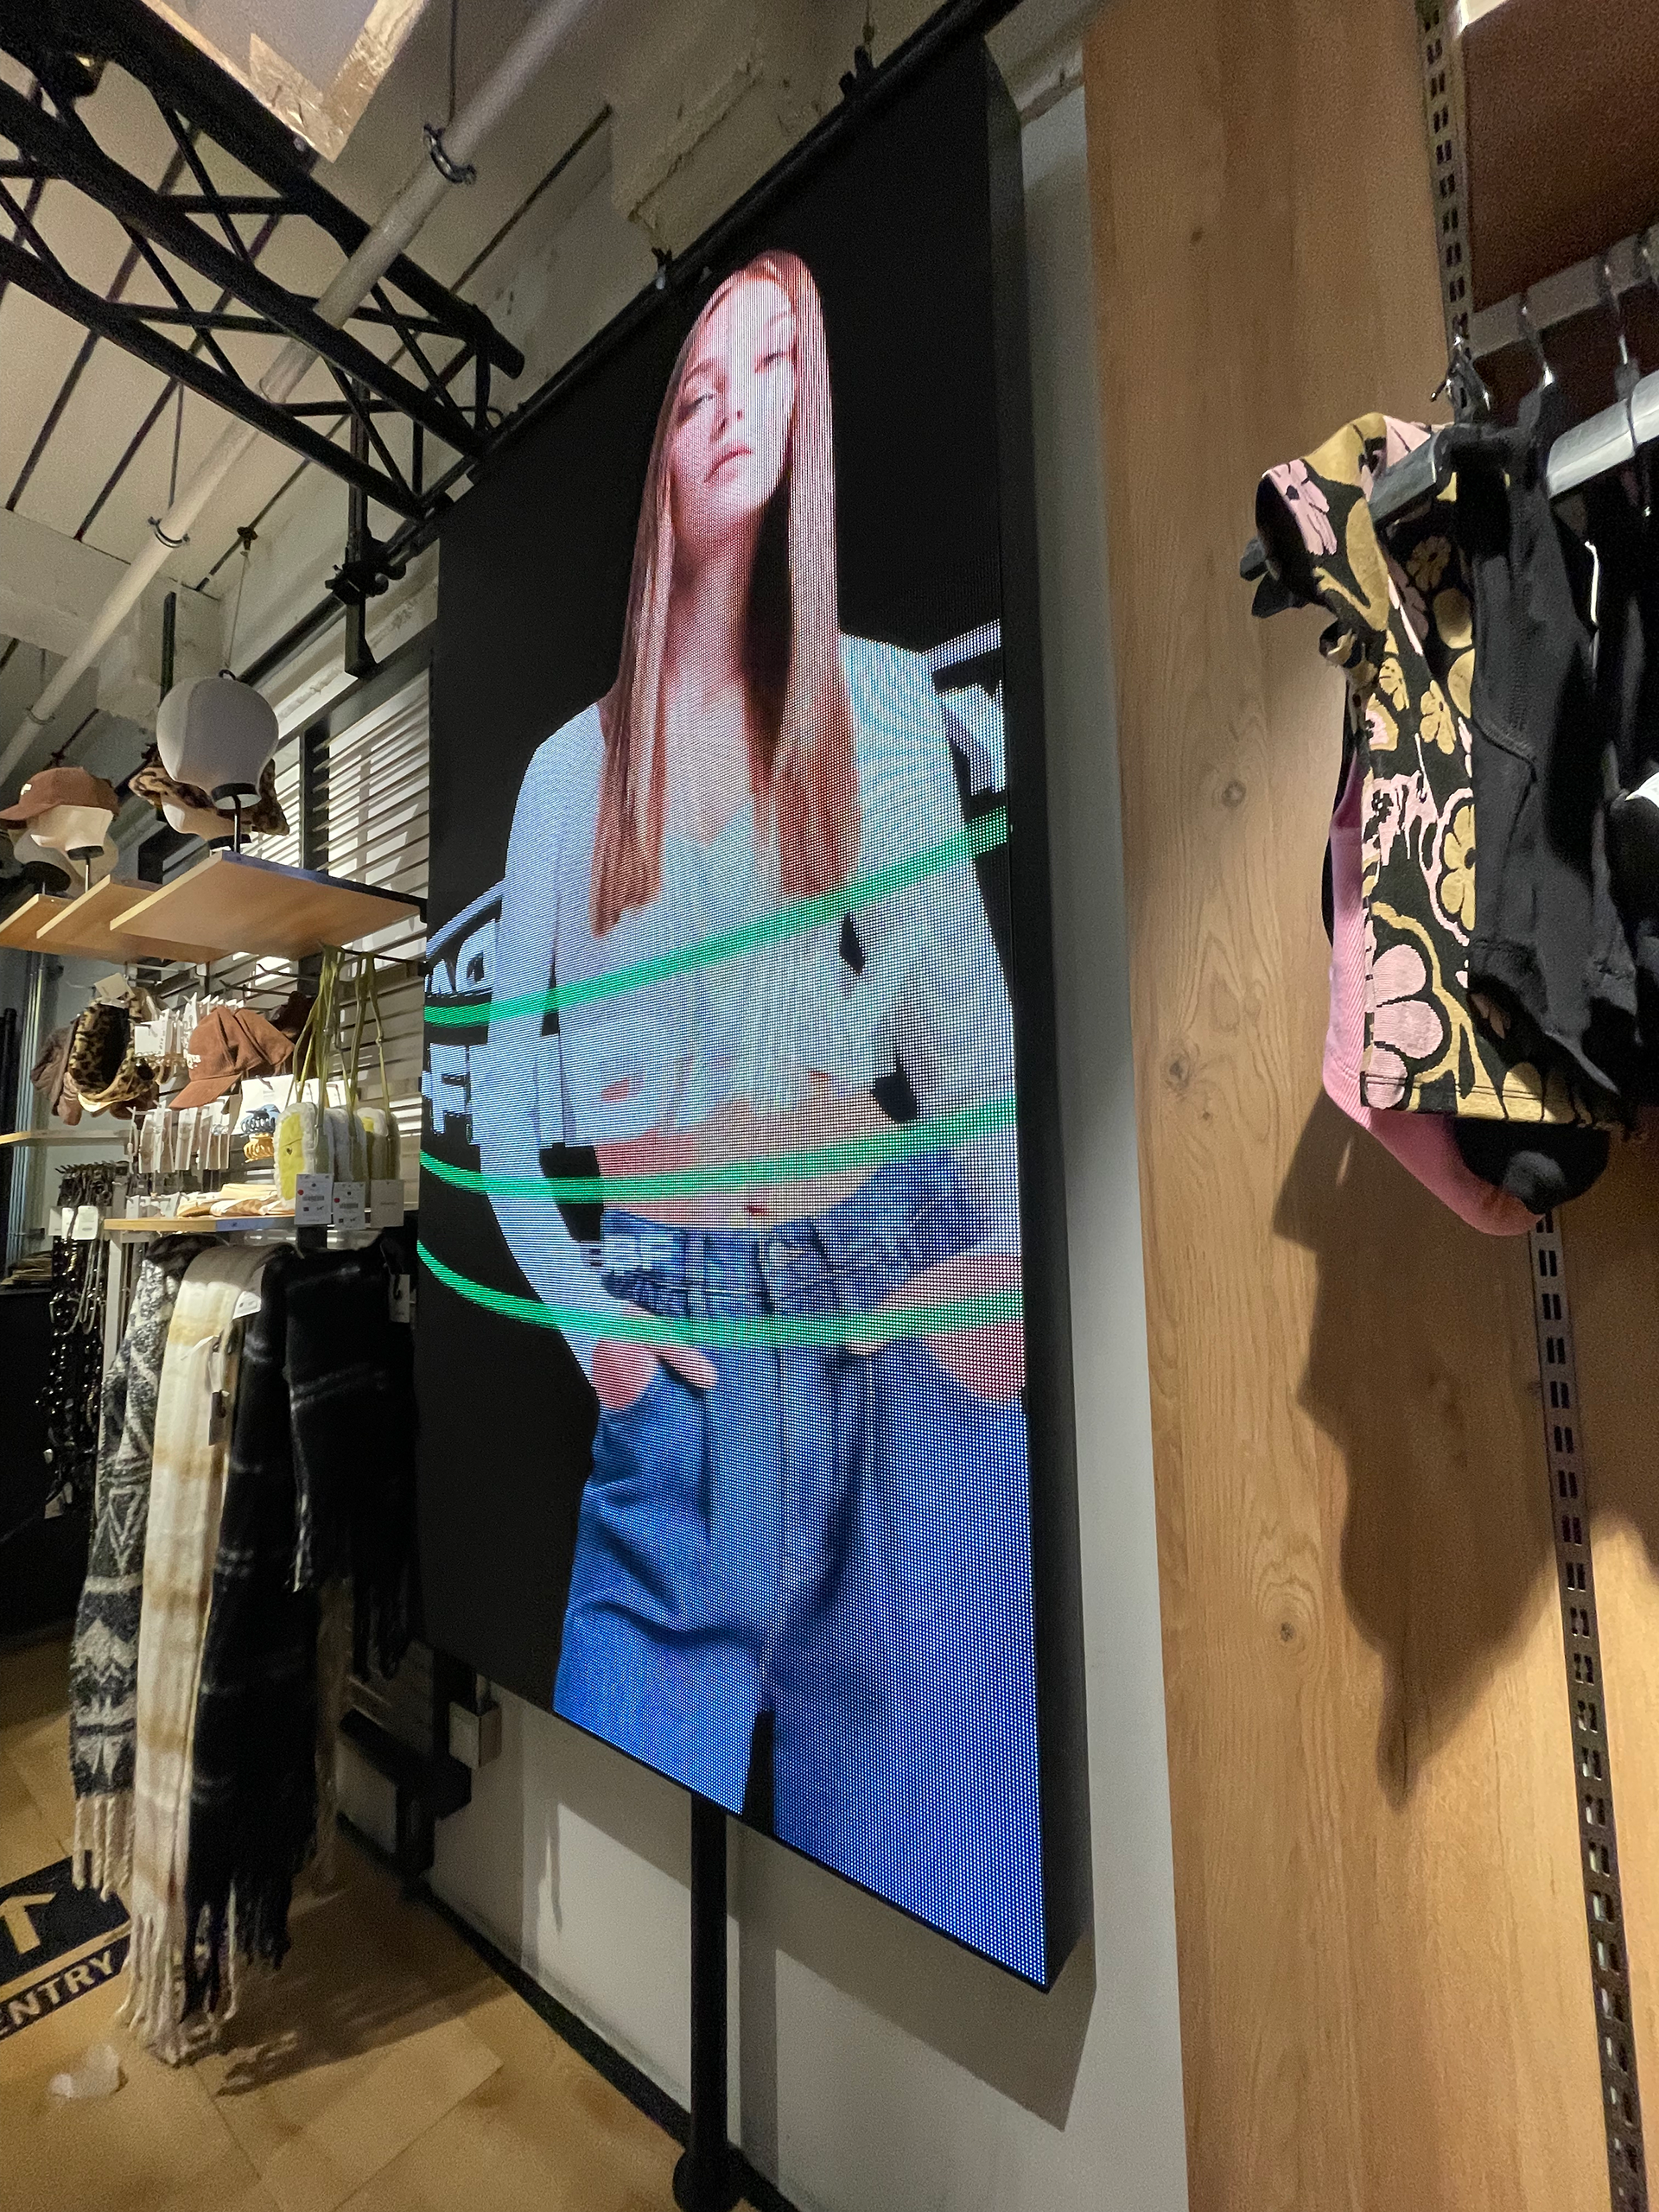
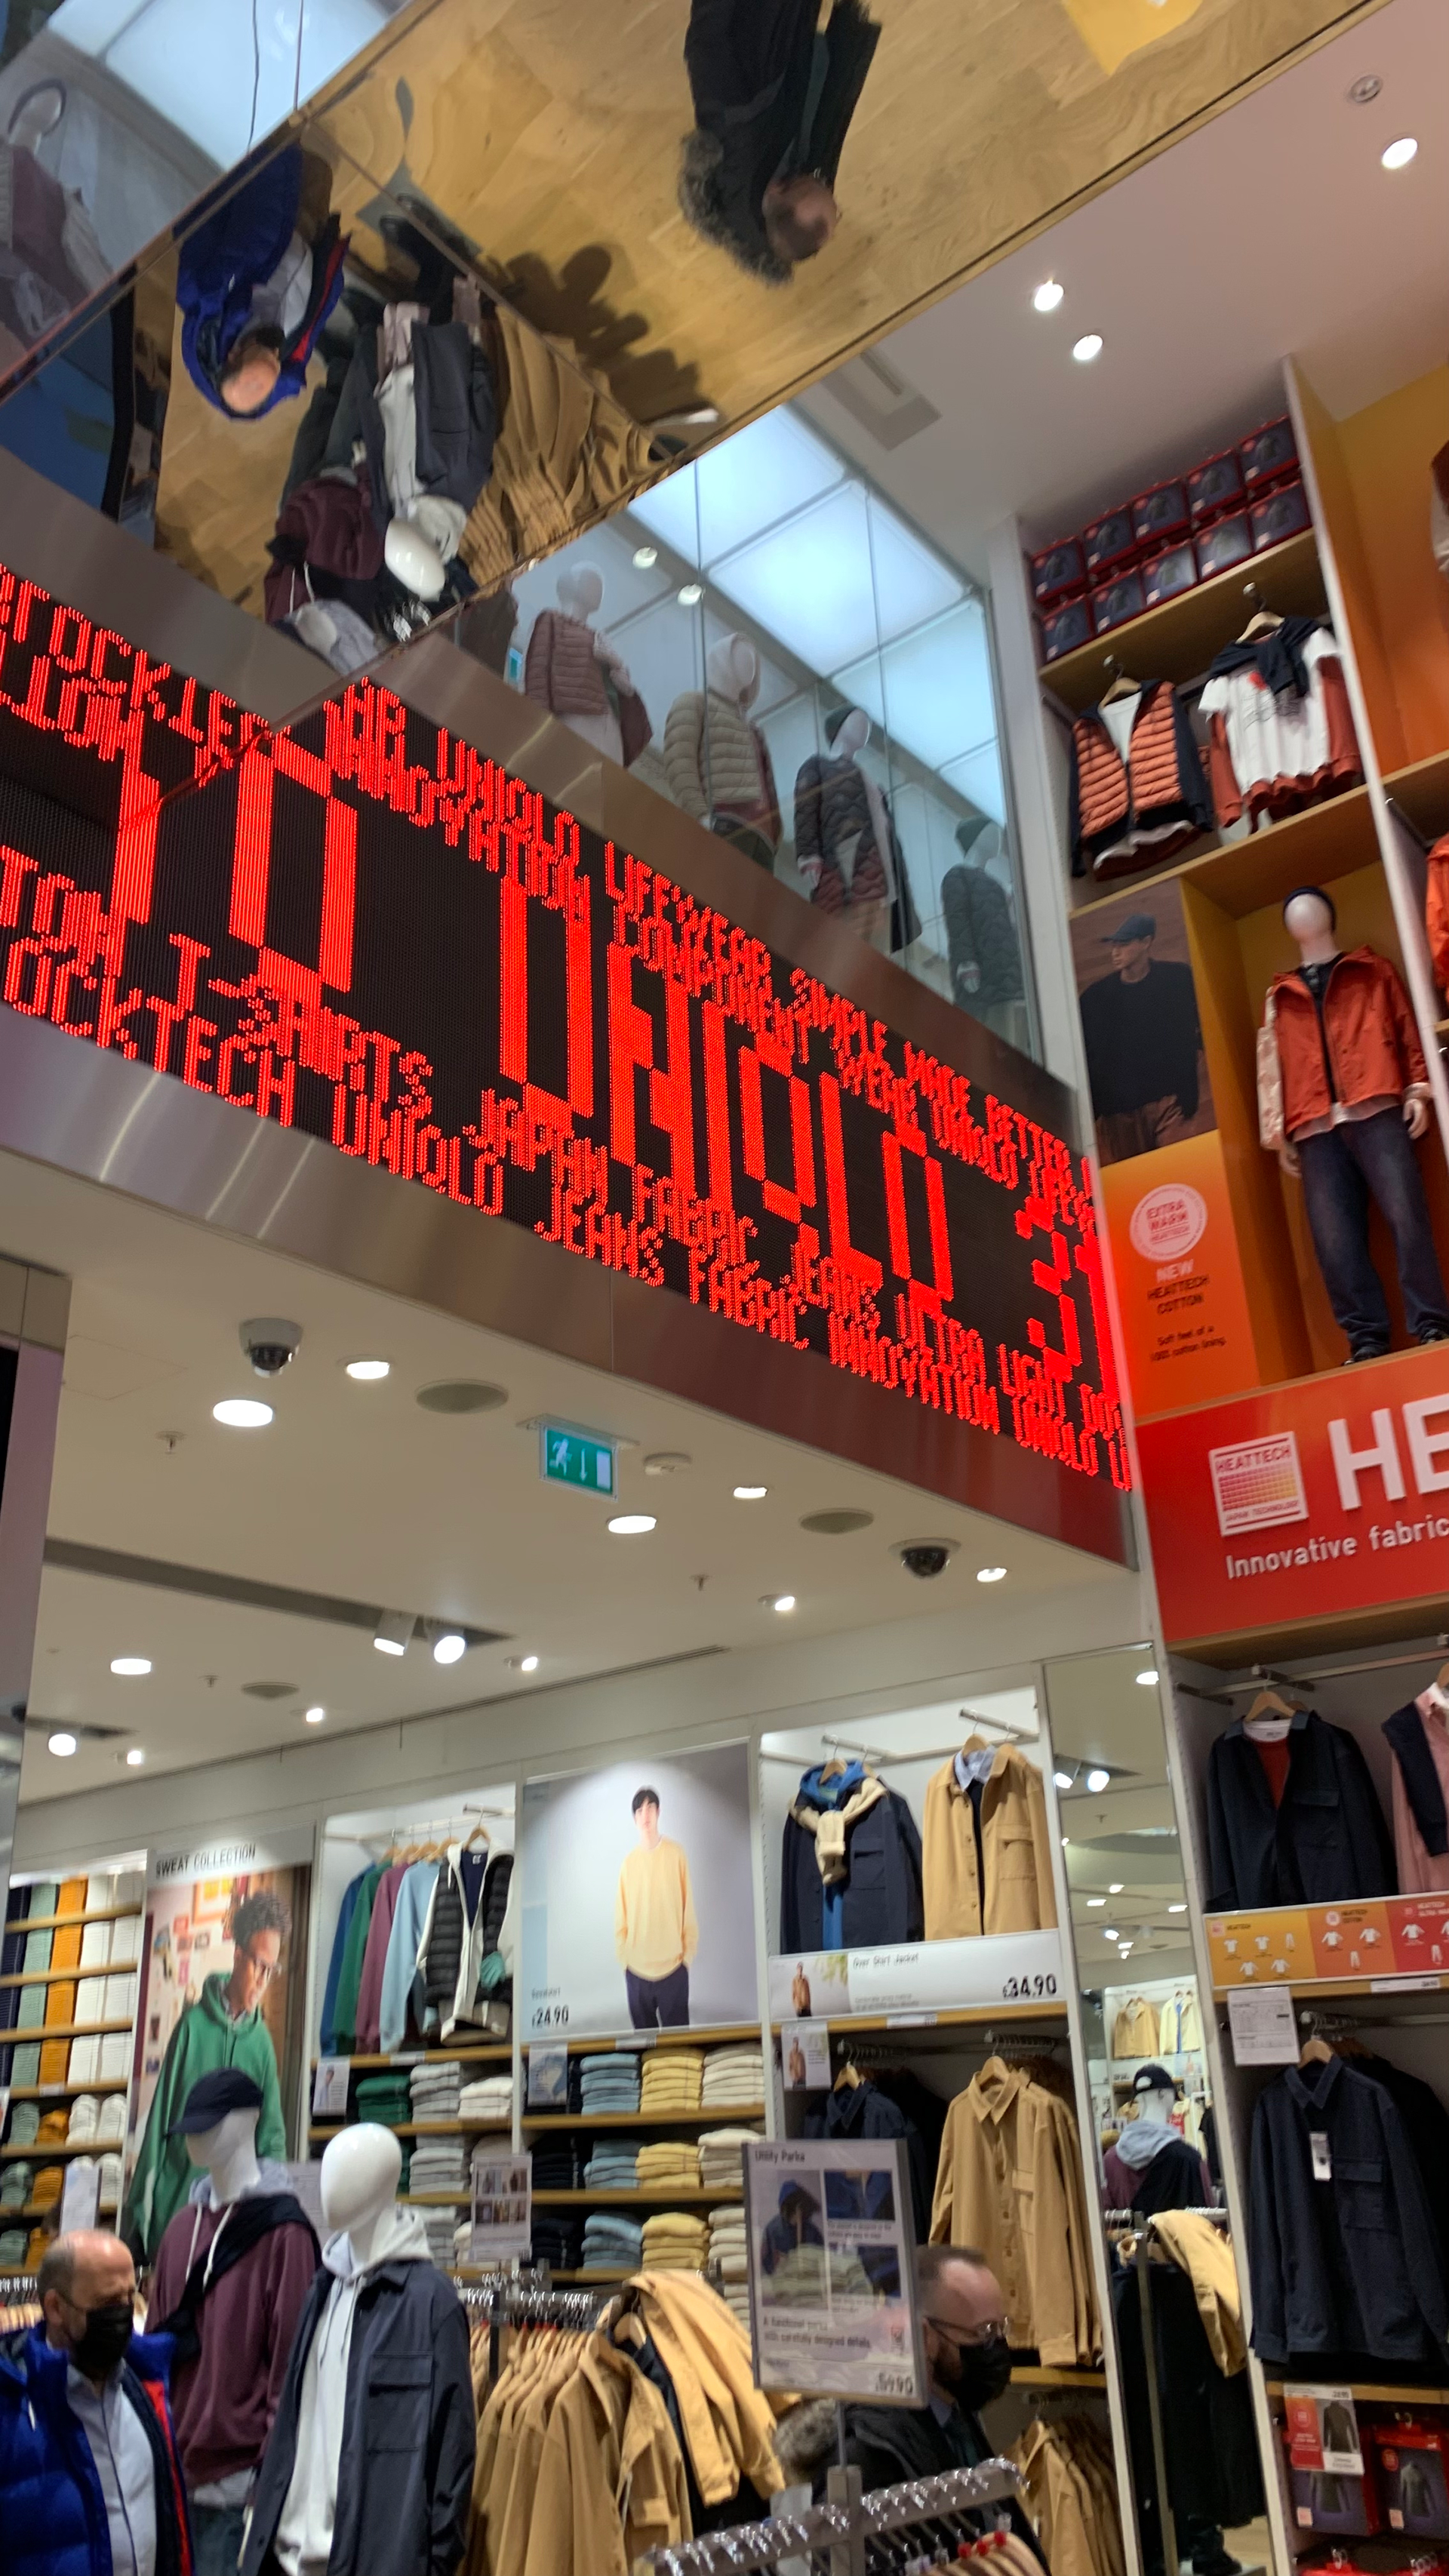
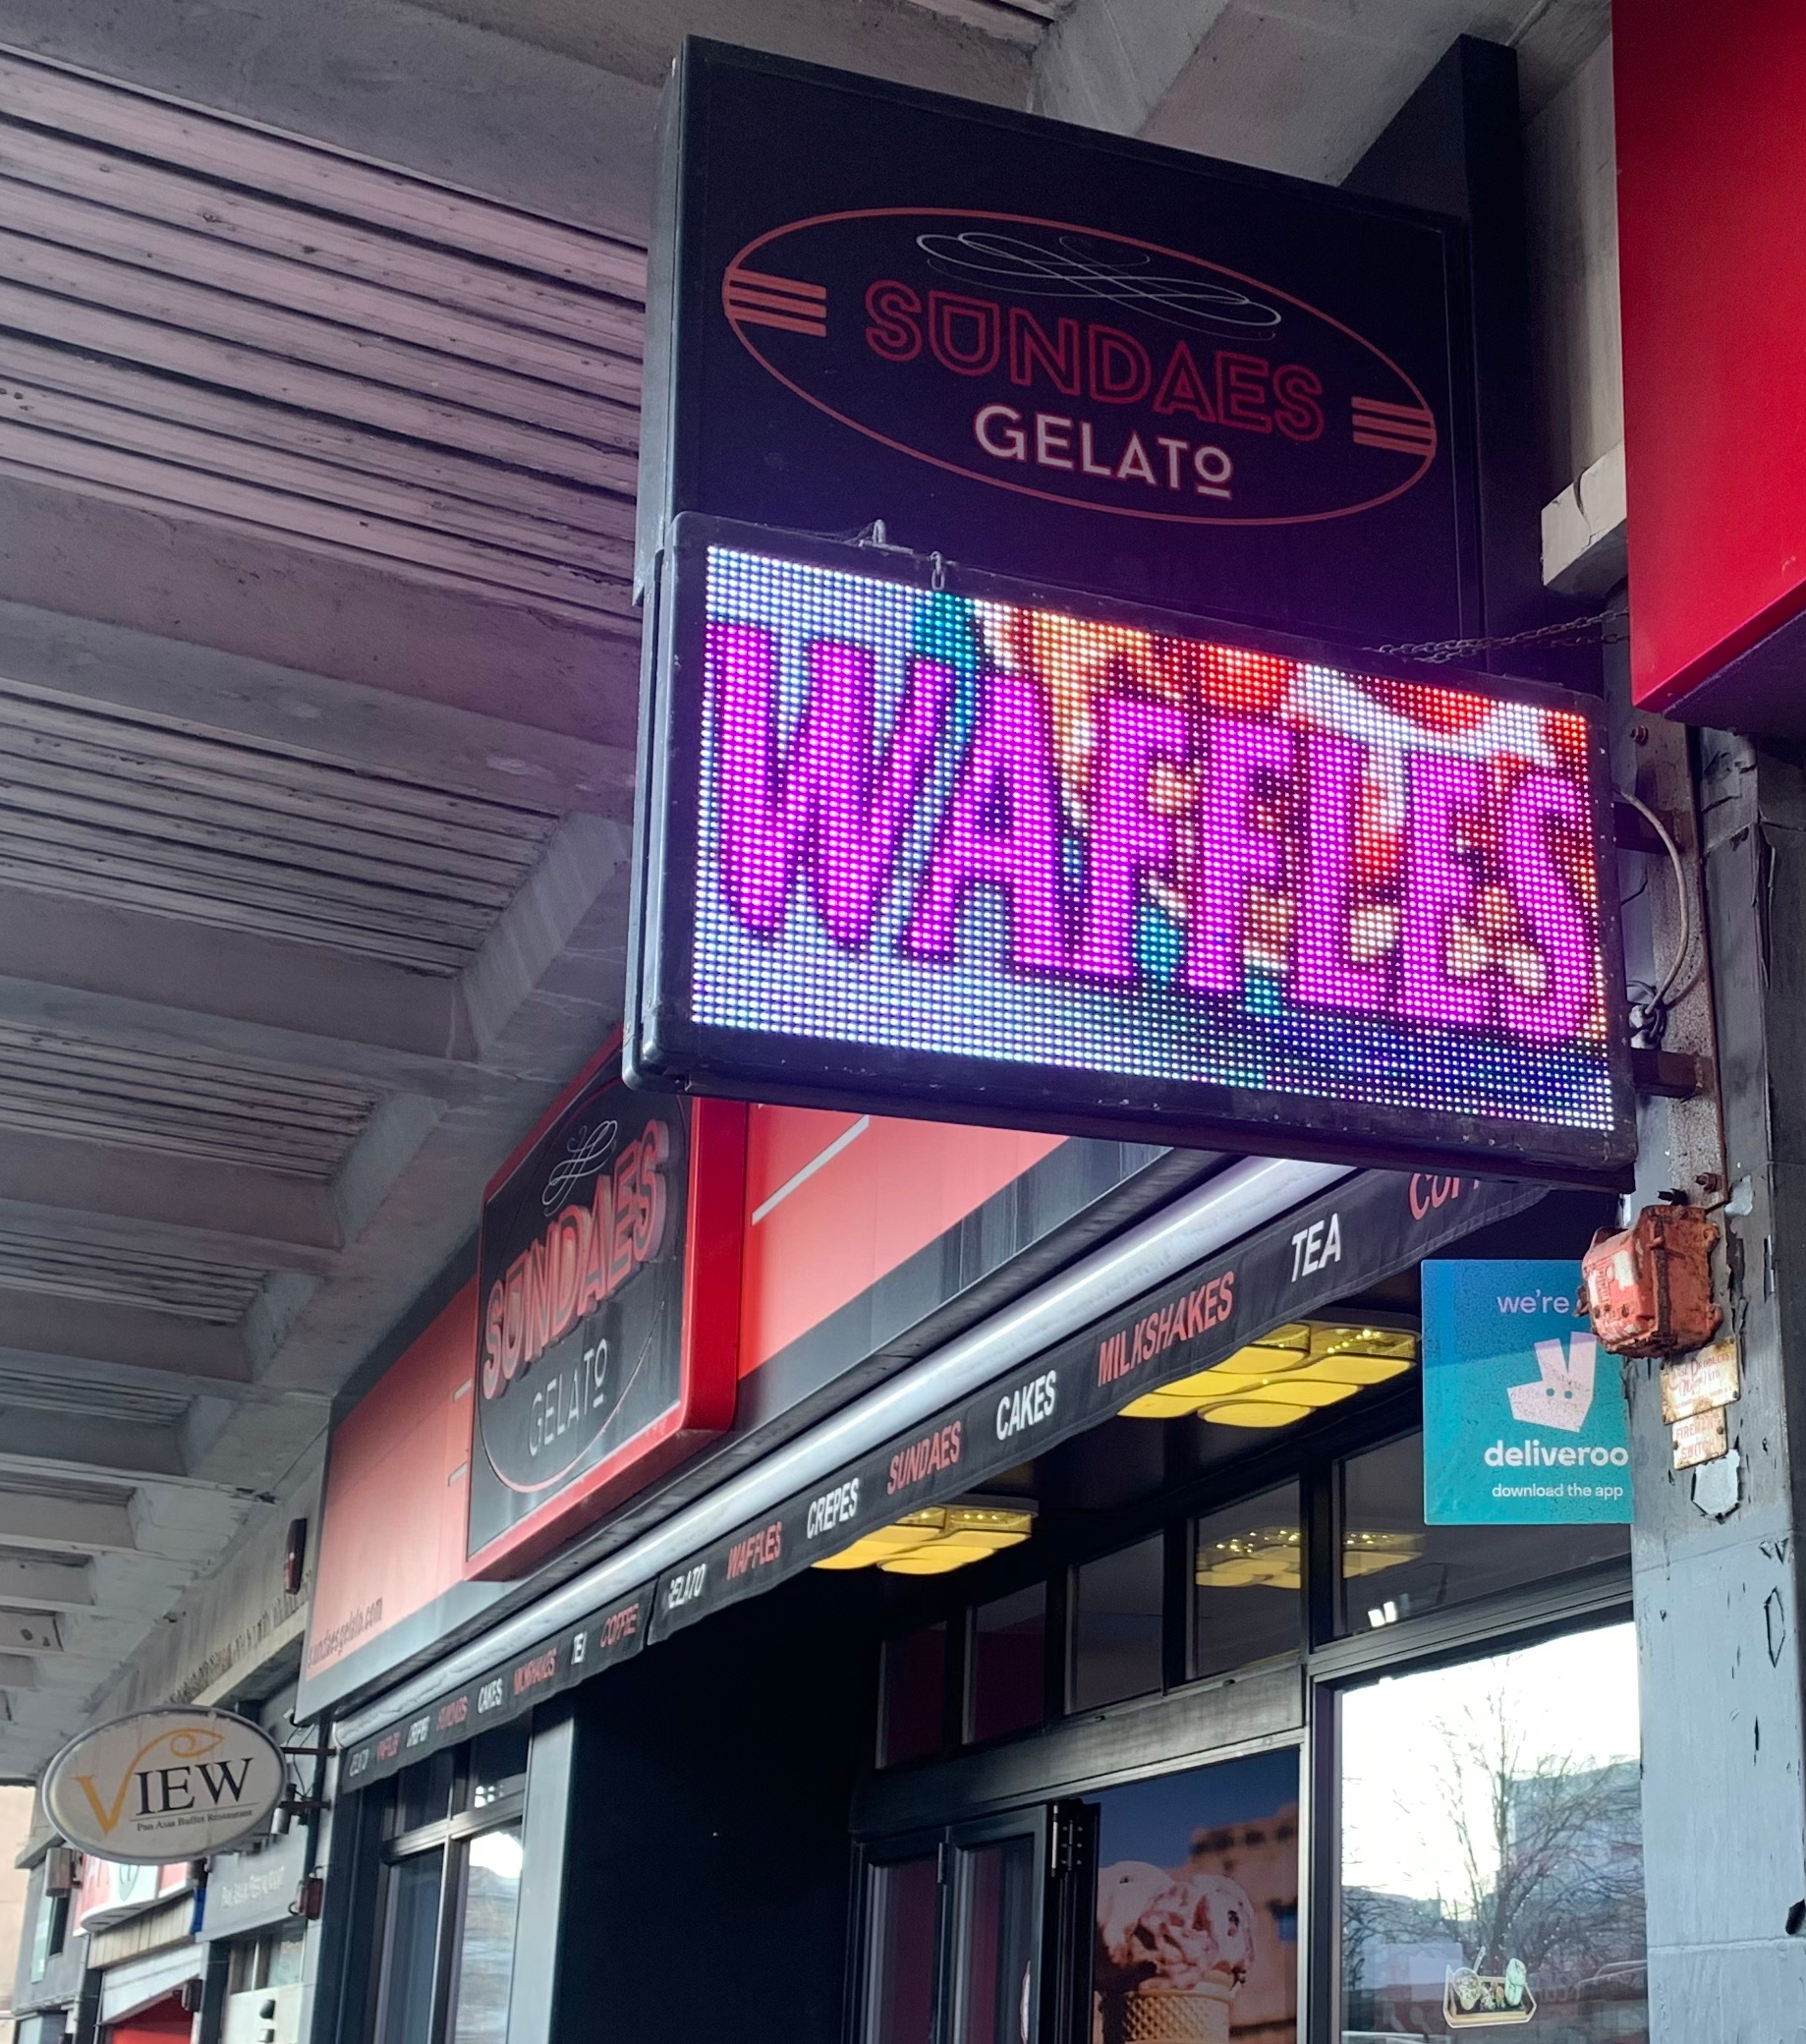
In order of appearance: Cardiff Student Union, Tokyo World, Bershka - Bristol, Image 4: UNIQLO - Oxford Street, Sundaes Gelato - Plymouth
Project gallery